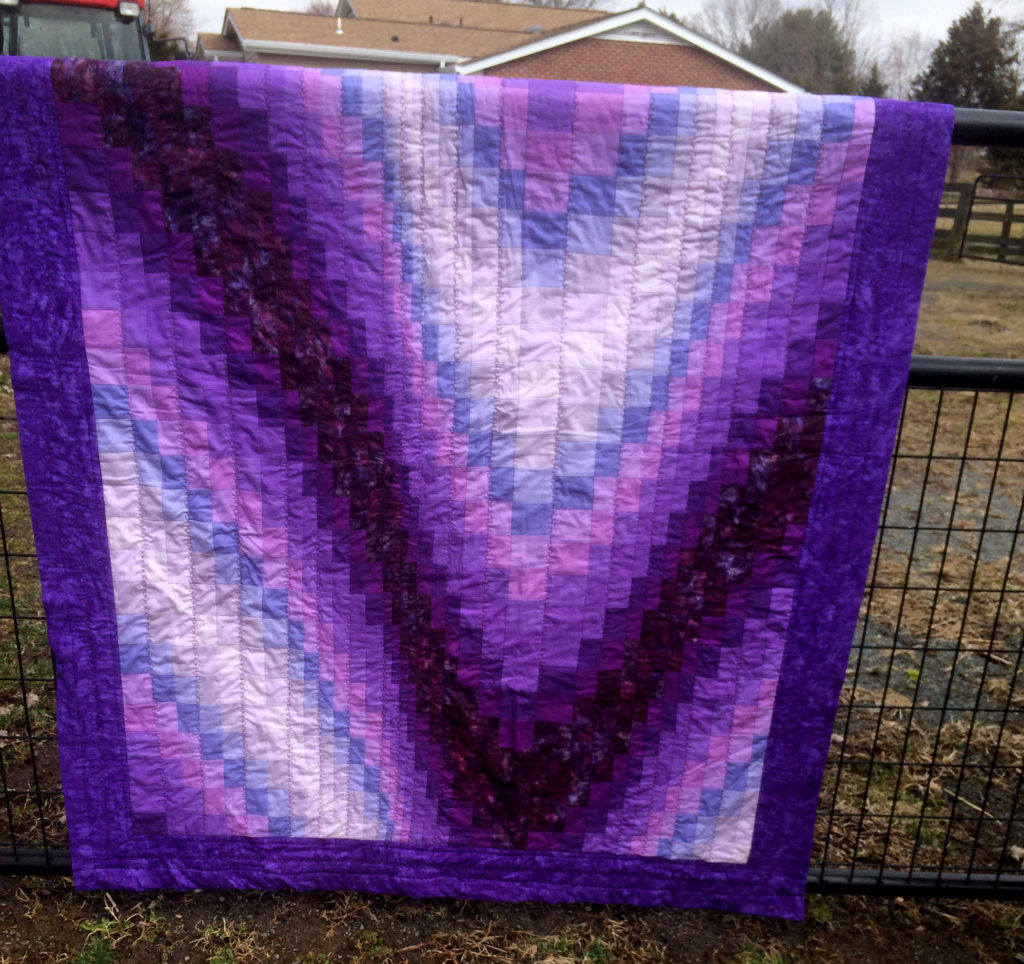
This blog page is a brief discussion of how I created my first quilt, my Purple Bargello lap size (60- by 52-inches) quilt. I assume you are either comfortable with the various stages of creating a quilt, or like me, you viewed several different web videos as you learn your way through quilting.
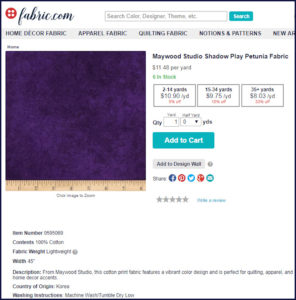
Names of the fabric are listed below but not the quantity that I purchased as I did not have a pattern but sewed strips of jelly roll fabric together then cut in 1-inch and wider lengths.
The thread that I used: 50wt Aurifil 4225 (Eggplant)
Seam allowances: Seam allowances on the front piece are quarter inch. Half inch seam allowances for the back piece and binding.
| Click any of the photos to view a larger image. |
|
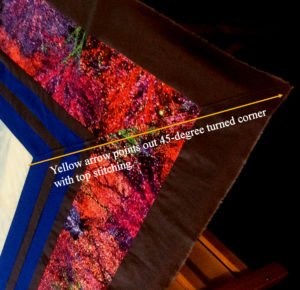
Two things took a bit of time. (1) mitered (mitred) or 45-degree corners and (2) removing of the stippling top quilting and instead using a machine decorative top stitch. (1) Mitered corners: These photos show me adding 45-degree (mitered) corners to my quilt, All Aglow. For what I call “the standard way to” mitered corners view Mary Corbet’s website: https://www.needlenthread.com/2009/06/tutorial-mitred-corners-on-linen-square.html. This “standard” approach takes a lot less fabric, but I find it takes a lot longer time for me to get it right. |
This photo shows the binding, backside and machine decorative top stitching.
Sewing machine that I use is Singer’s 7469q. Decorative stitching is running scallop-like curves with bow-ties every inch or so.
I originally did free-motion stipple top stitching but felt (once completely finished) that the stippling top stitch clashed with the straight lines of the Bargello style pattern. What a pain to remove all of that top stitching but I like the curvy bow-tie top stitching a lot better.


