
Tanja Berlin Design: Red Poll. I like this design and plan to stitch a total of three of them as inserts for Christmas cards.
The designer Tanja Berlin offers a detail instruction booklet for this Red Poll design and you can send photos and questions to her as you work the piece. I have emailed Ms. Berlin and asked for her comments on this worked piece.
The cover page for Ms. Berlin’s instruction book has a high quality photo of the actual size stitched design and
she has photos of this design stitched by others like us on her website which I viewed for ideas several times as I
worked this design.
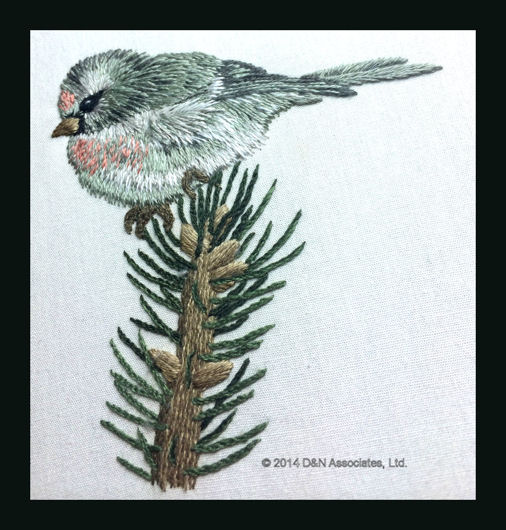
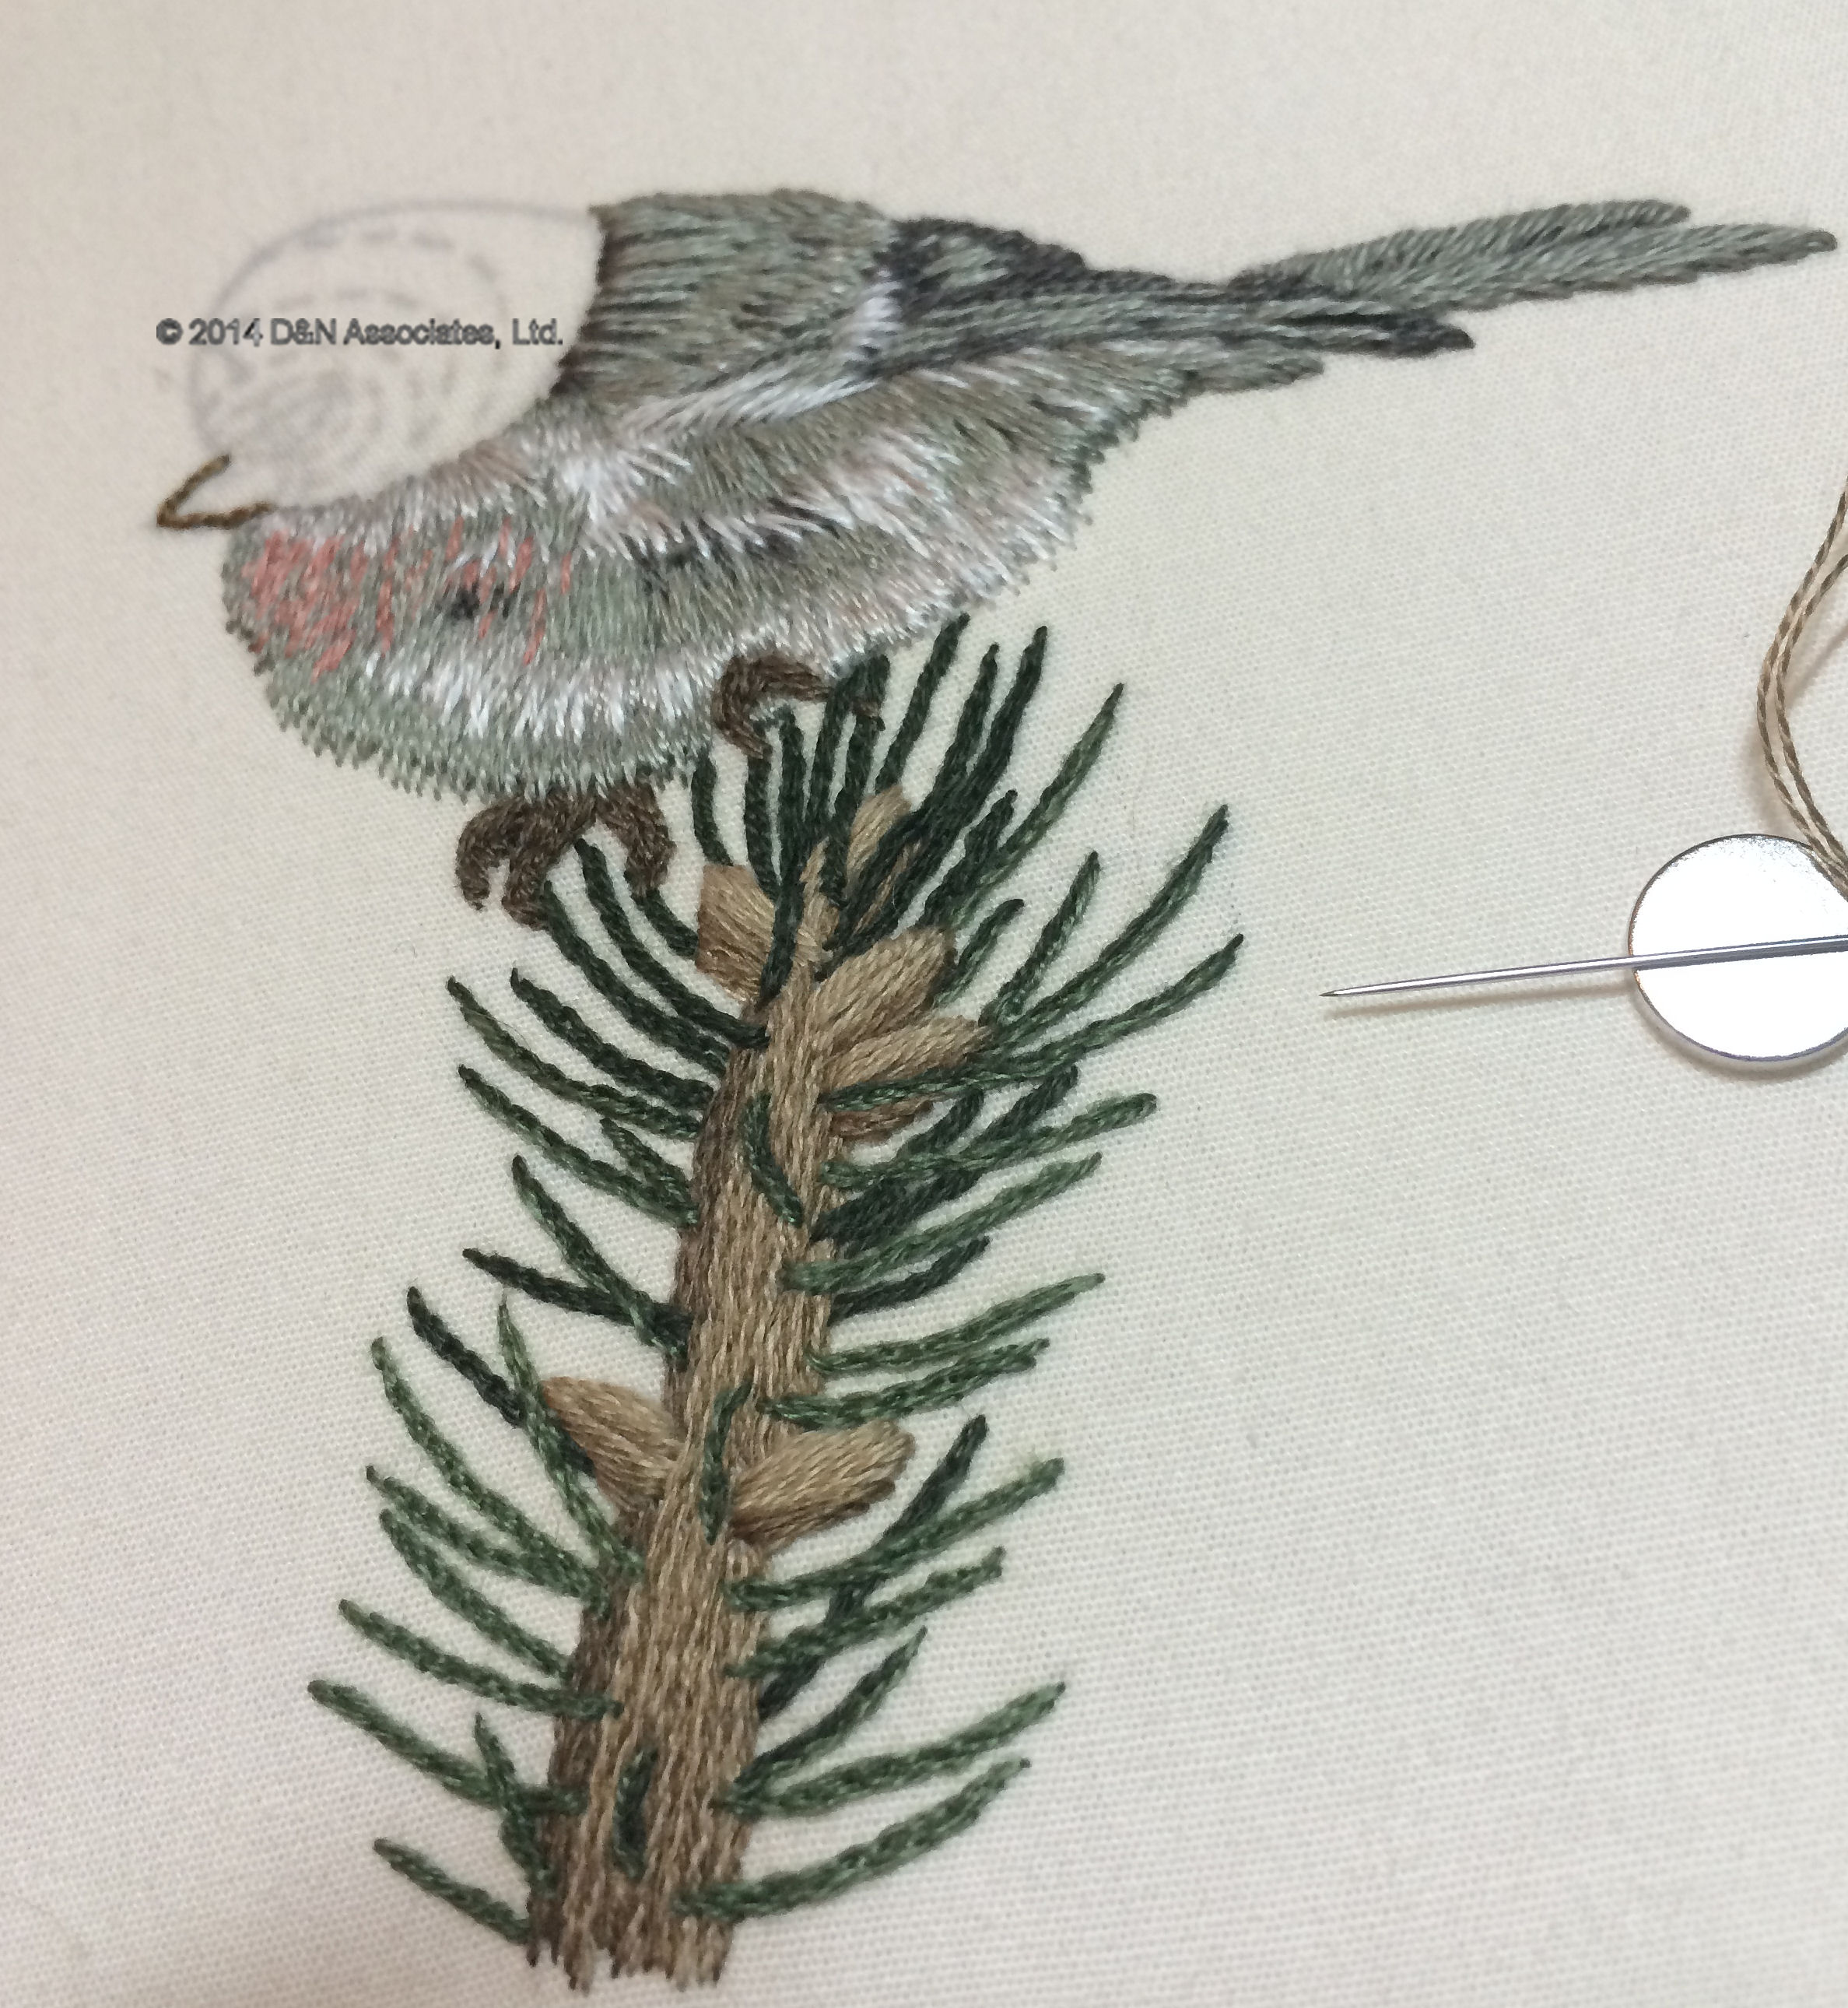
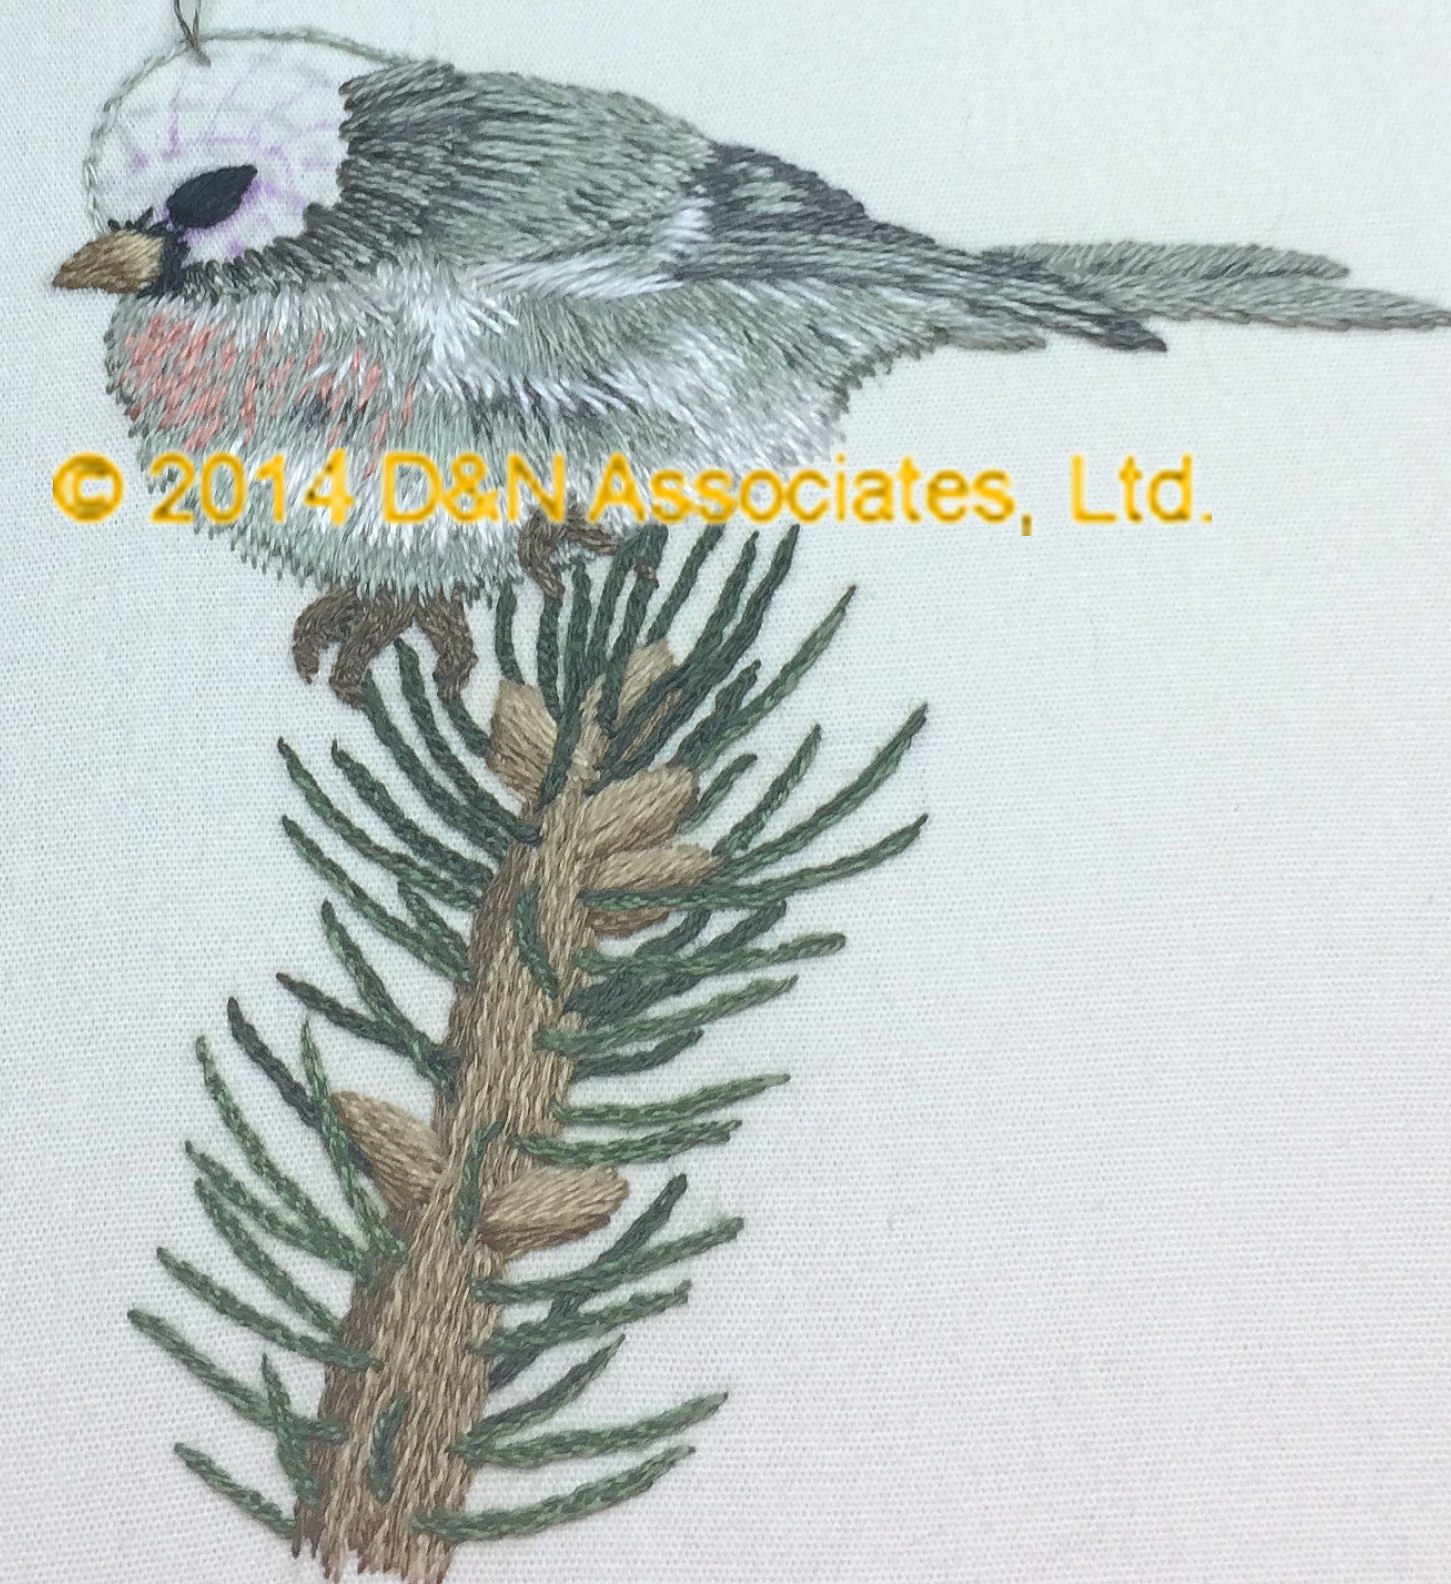
The design is called Red Poll and is a chubby red poll birdie sitting on a spruce branch.
I purchased the kit from Ms. Berlin’s website and I closely followed her 20 pages of instructions and illustrations over the months that it took for me to stitch this birdie.
The worked area is approximately 3 inches (7 1/2 cm) in height by width of 2 3/4 inches (6 3/4 cm). The design is printed on the provided 100% Southern Belle Cotton Muslin Fabric (11 inch square, 28 cm square).
I have purchased three of Ms. Berlin’s printed fabrics for this design and plan to give two of the worked pieces away as Christmas gifts.
Below are notes to myself (changes I might incorporate within the other two worked pieces of this design.).
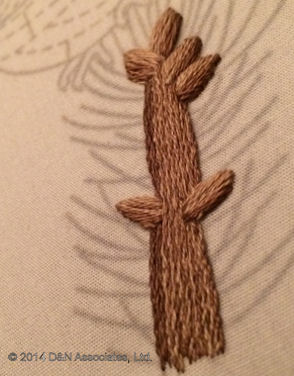 Might try long/short for bark next time in order to blend bark colors more. |
 |
 |
I like lower tail feather more than the upper one. The lower one looks more feathering to me. The upper one needs dark outline along the bottom.
I closely followed Ms. Berlin’s instructions and her photos when I was doing the birdie’s feet and really like how the feet turned out. |
 |
I find it easier to change angle of a thread than if I drew lines on the fabric. |
 |
I decided to take out numerous long/short stitching as I worked to individually get the angle of the threads that I wanted.
Not sure if feathers below body should be longer or not. |
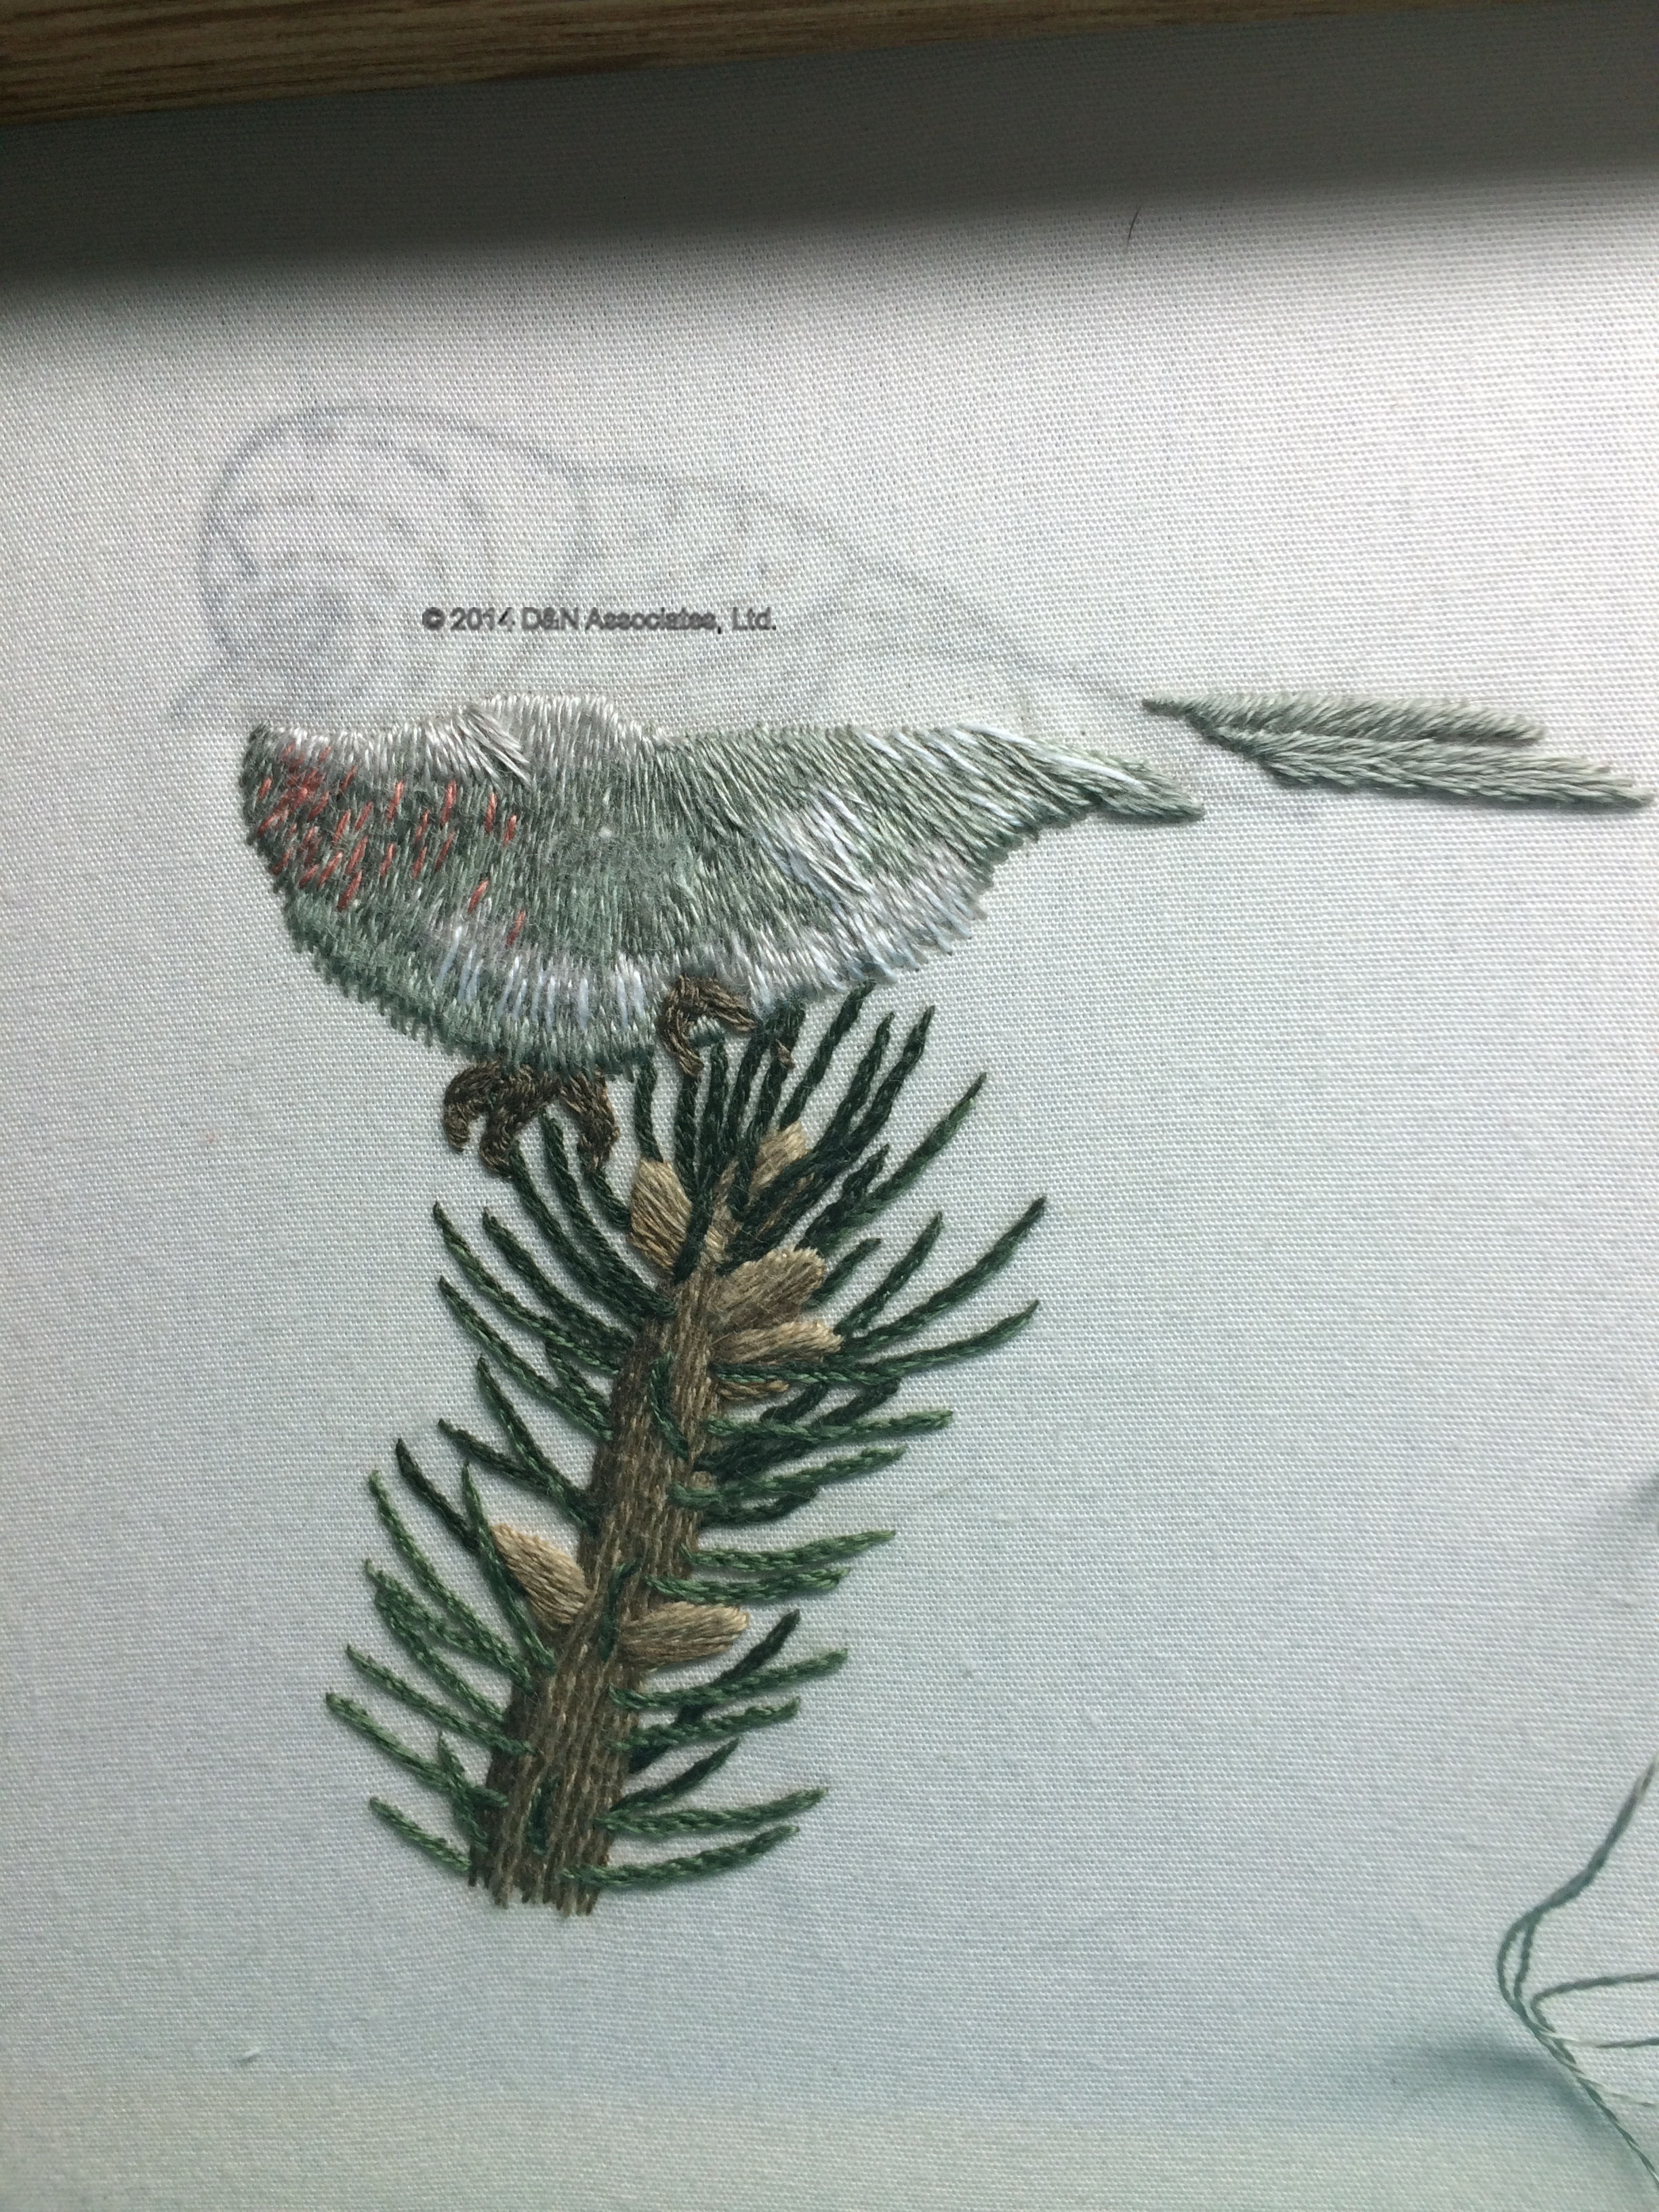 |
I am going to have to remove stitching and do another attempt at the wing. Hopefully next try will be better, not so heavy looking. Plus I do not like the look of the red breast of this birdie, seems too sparse (with regards to the red stitches).
I plan to give the wing another try, will take photo of that and send email to Tanja Berlin asking her for advice. |
 |
I finished my second stitching of the body and am about to begin the feathering stitching for the head. I found looking at the detailed photo Ms. Tanja supplied on her website and within the instruction booklet helped me a lot for the shading placement. Tanja Berlin’s website has several WIP photos of this design, I found it very helpful to view these photos as I worked |
 |
Instructions said to do middle to lower edge of head mantle using DMC 647. I decided to use dual threads of DMC 866 and 646. Next I will come back and do top stitching in DMC 647.
I had to remove the white stitching on the upper body wing and restitch the area. (It was getting too thick with stitching.) |

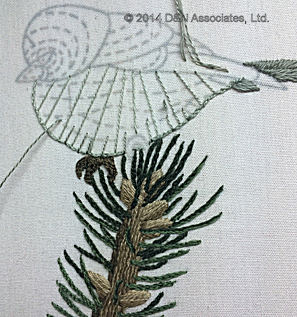
The Red Poll looks good. I especially like the stitching at the top of the body that I have circled on your embroidery picture.
On the next embroidery incorporate more areas of this angled stitching as it has a fuller look.
Sometimes it is hard to add in additional stitches as highlights, if it is not looking right you are correct in leaving them out.
The additional stitches have to be at the correct angle for the body, it comes down to experimenting until you find something that looks good or leaving them out if it does not add to the embroidery.
Personally I would have the white line in the eye (glint) just minutely shorter as it looks more like a line than a glint and gives the bird a bit of a sly look. A slightly shorter line will soften the expression of the bird. If it is too short and does not show up, just and another stitch on top.
I thought it over for a few days and decided not to change the eye glint on this worked piece.
I will incorporate Ms. Berlin’s comments into my next one and then decide which eye I like better.