
My mom would have done a lot of hand basing and pinning when crafting a pillow and then use the sewing machine. Well, I like to wing it. Just go for broke and use the sewing machine … no hand basing, no pinning.
But before putting your foot to the sewing machine petal make sure your front side of the worked piece is facing you and that you place the piping so that its raw edge is facing out towards the raw edge of the worked piece.
Steps for creating a pillow:
- What style pillow do you want to make? Boxed or knife edge. And the filling.
- Knife edge pillows have one seam around the edge. I normally stuff loose fillmaying into this style of pillow.
- A box pillow has a 2-3 inch width of fabric that separates the two pieces of fabric (front and backing). Thus you have two seams around the pillow edge. This box edge provides the area into which you insert one piece of foam (cut to the appropriate width, length and thickness).
- Pillow with or without piping edge.
- Purchased or self-crafted piping.
- Fabric for the back of the pillow.
- Zippers: I found that I never washed the toss pillows so I no longer put in zippers.
- Sewing machine with a zipper foot so that you can stitch quite close to the piping.
Please note: clicking any of the photos presented on this page will provide an enlarged view of the photo.
I have found that the larger (than 10 inch square) pillows work nicely for someone sitting in one of our barrel-backed wood chairs and the 9-inch pillows work well as support in the small of one’s back when sitting on our sofa. But no matter what size the pillow is, sat about the house in various chairs and deacon benches the pillows provide a nice way to display my worked pieces.
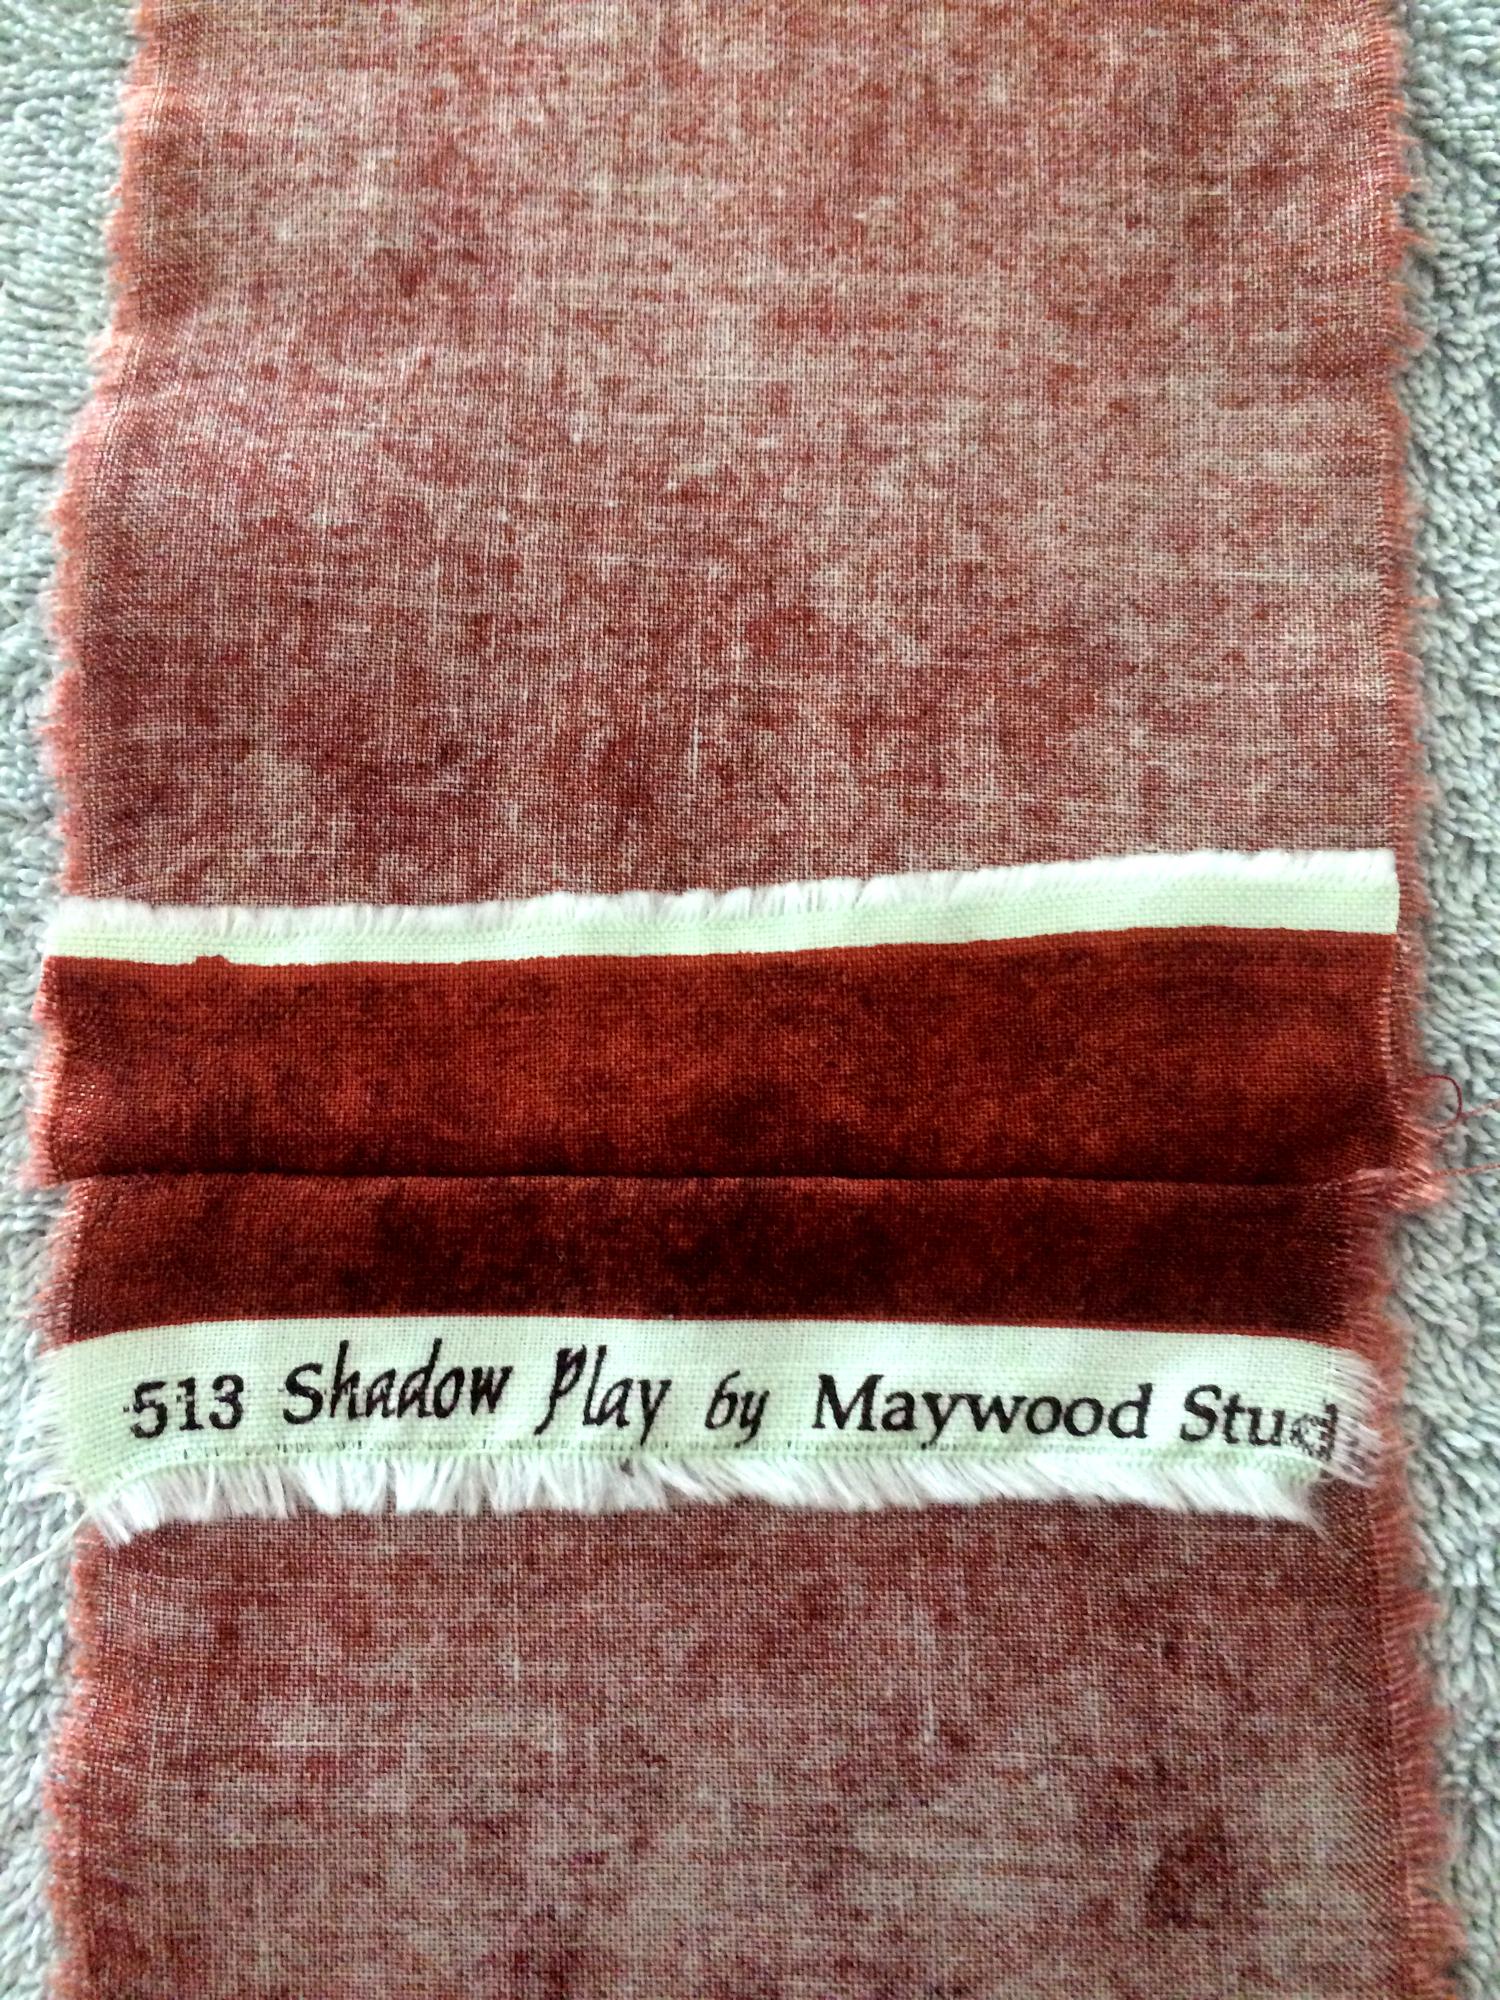
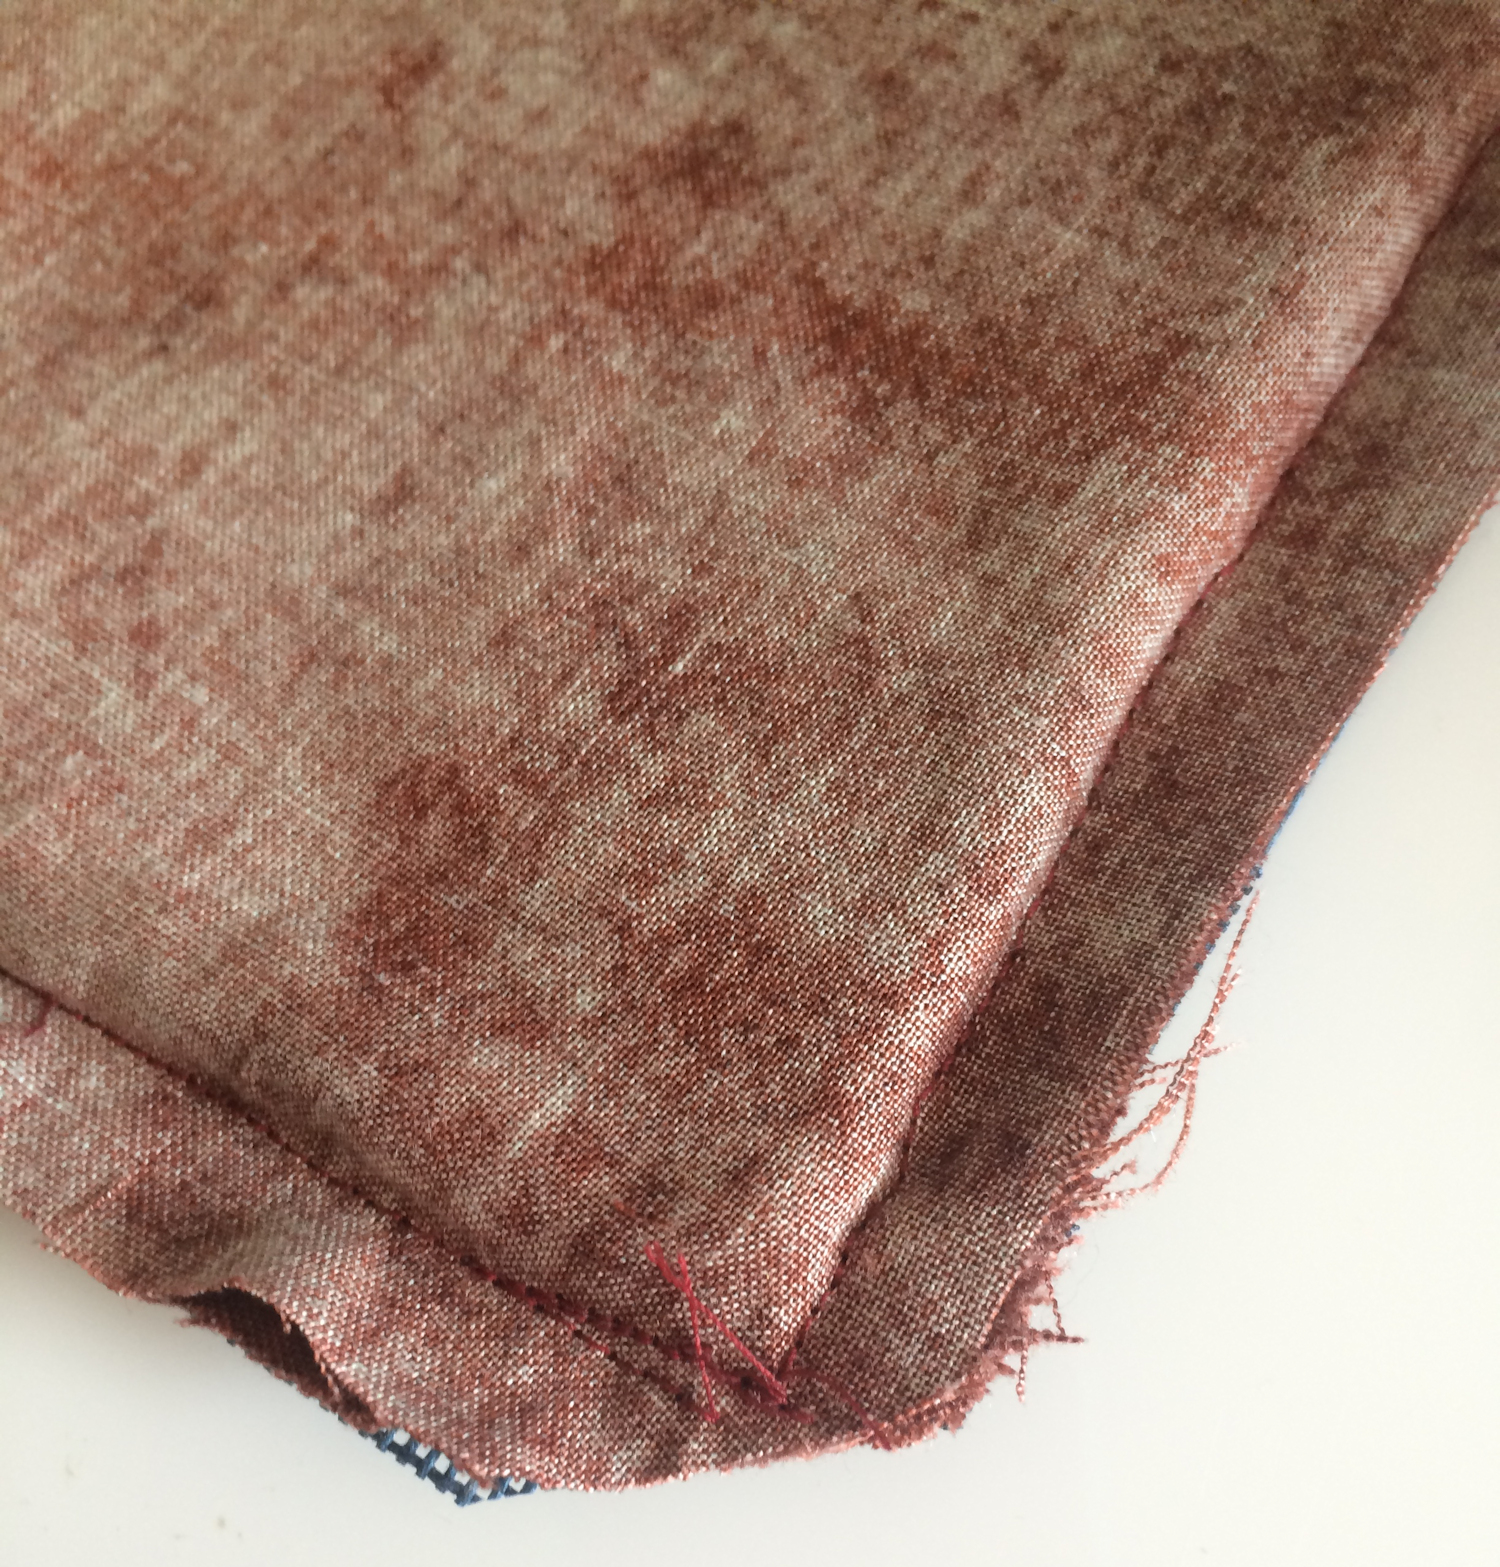
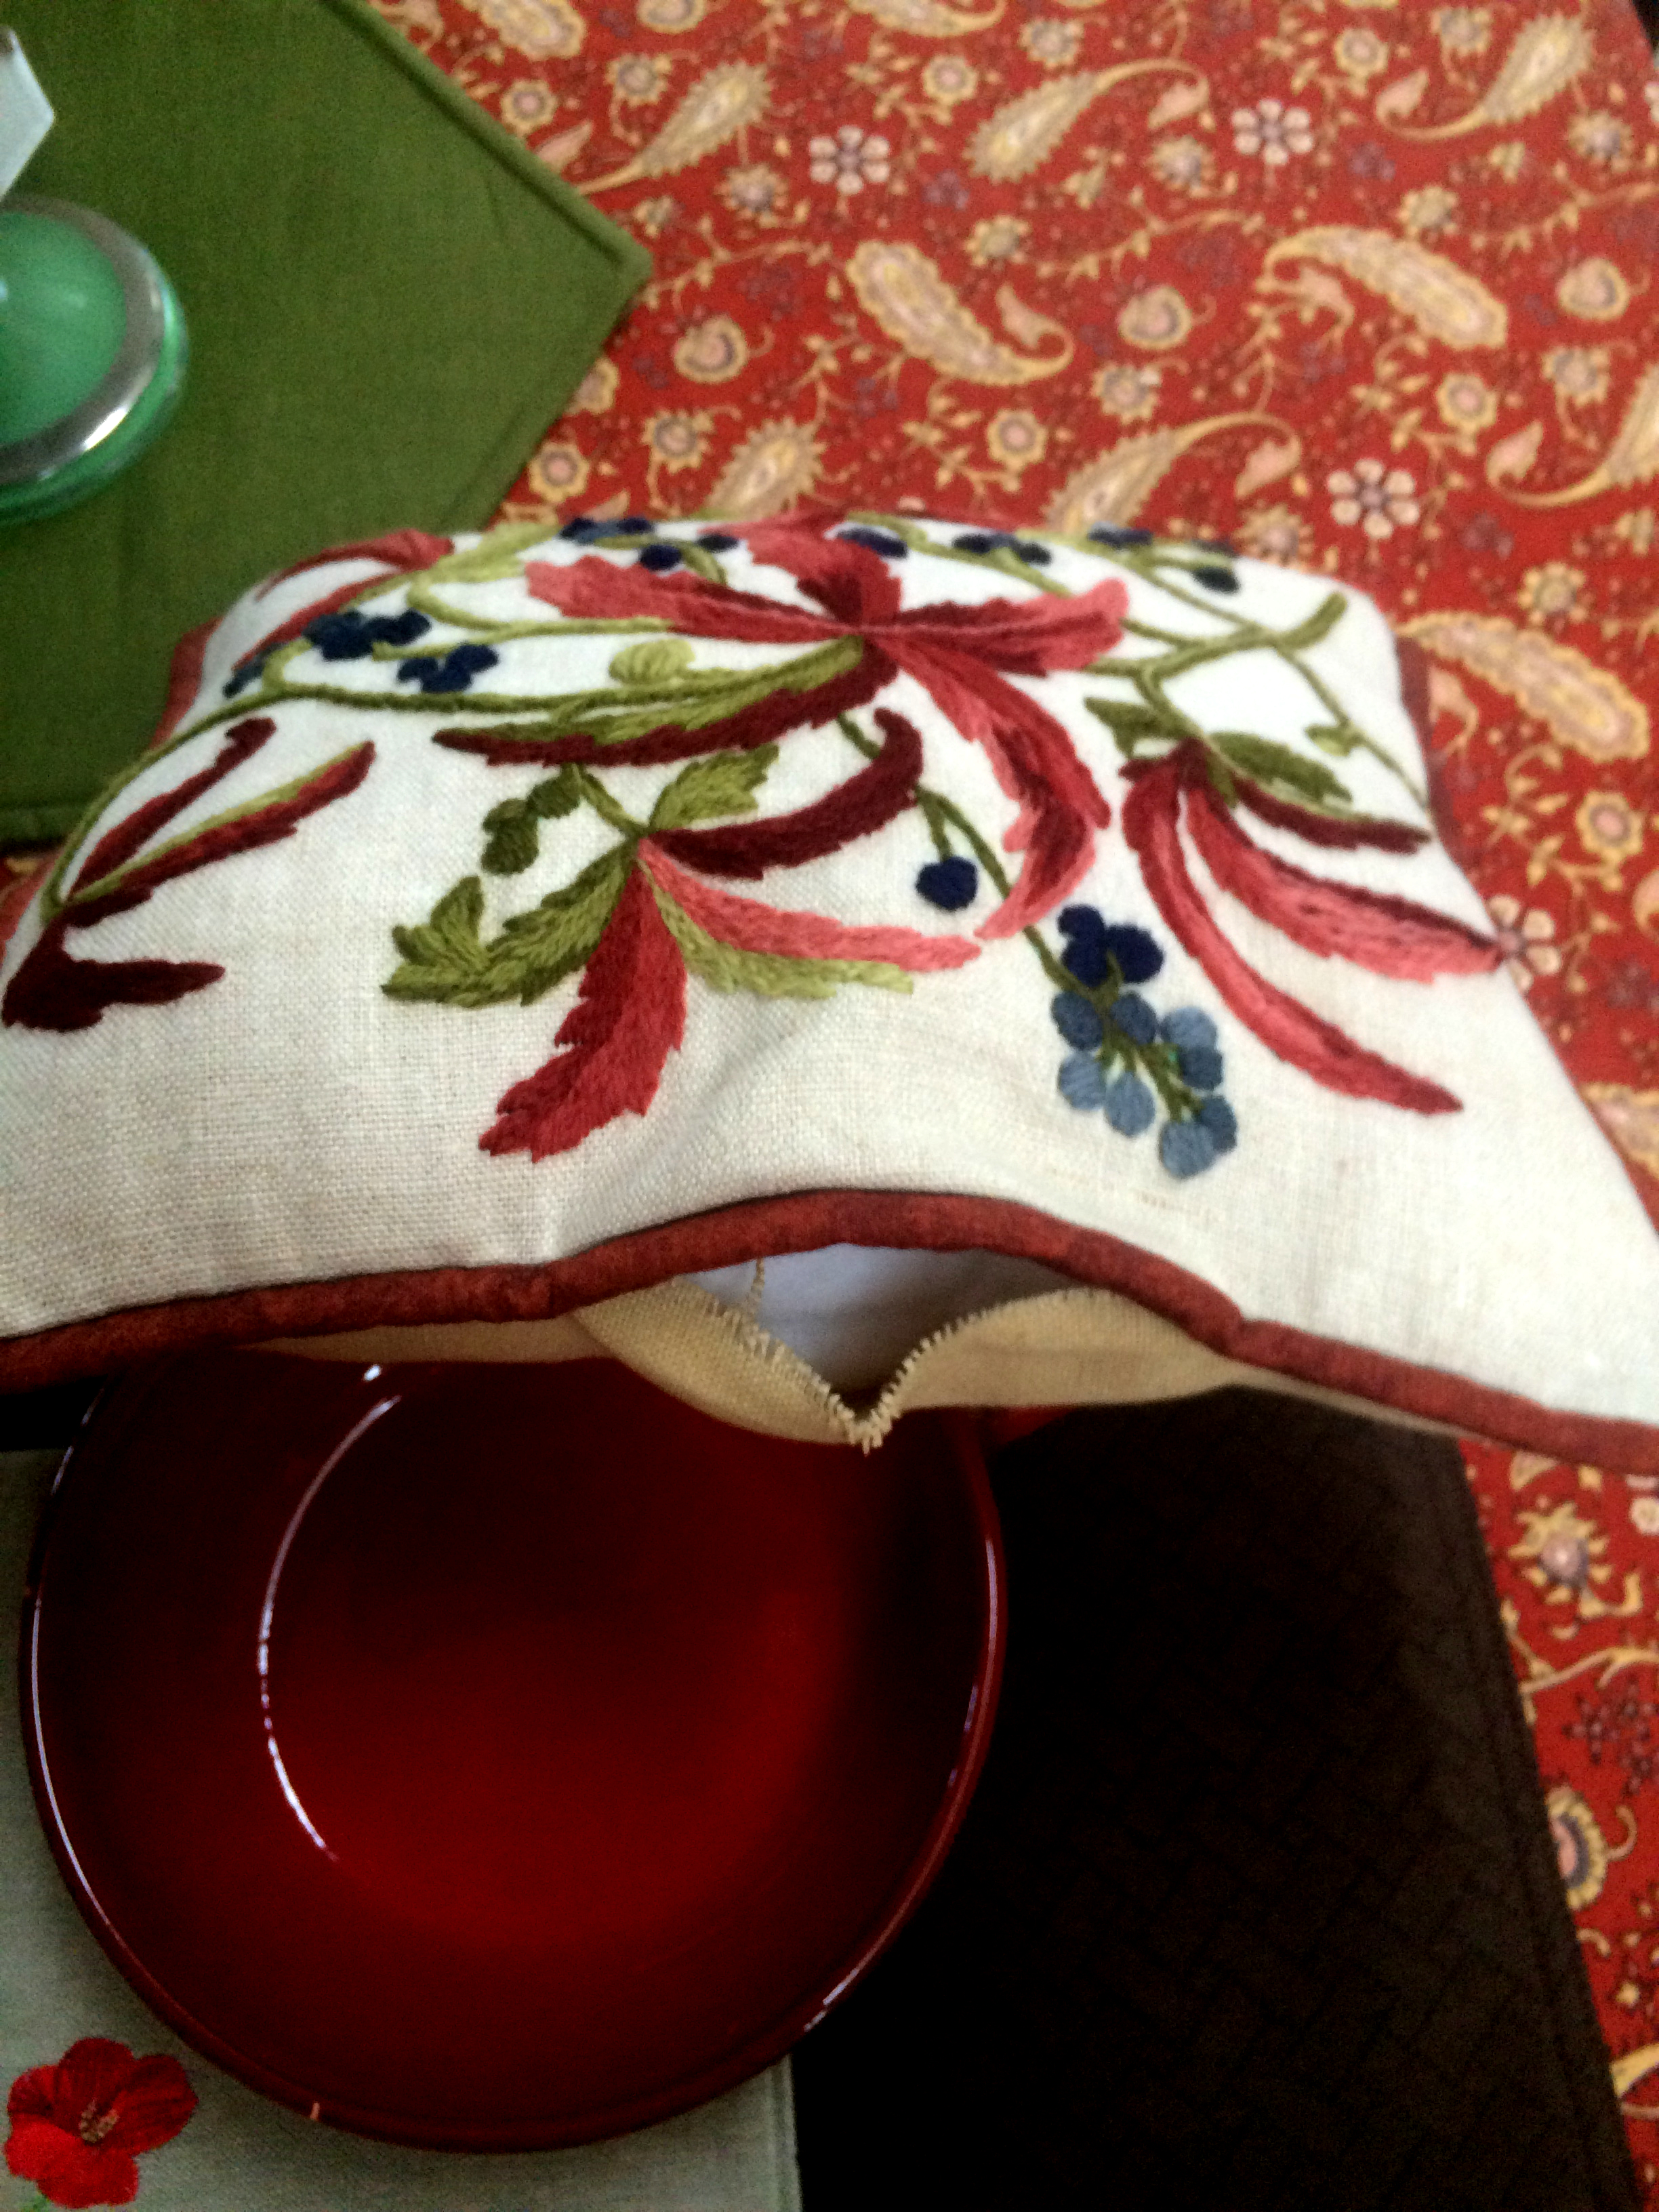
Pillow style (sharp edge or box edge):Discussion below is for a knife edge pillow with a piping edge. Decades ago I machine sewed a box edge pillow. It turned out well and I would sew a box edge pillow again but for now I’m into knife edge style pillows. 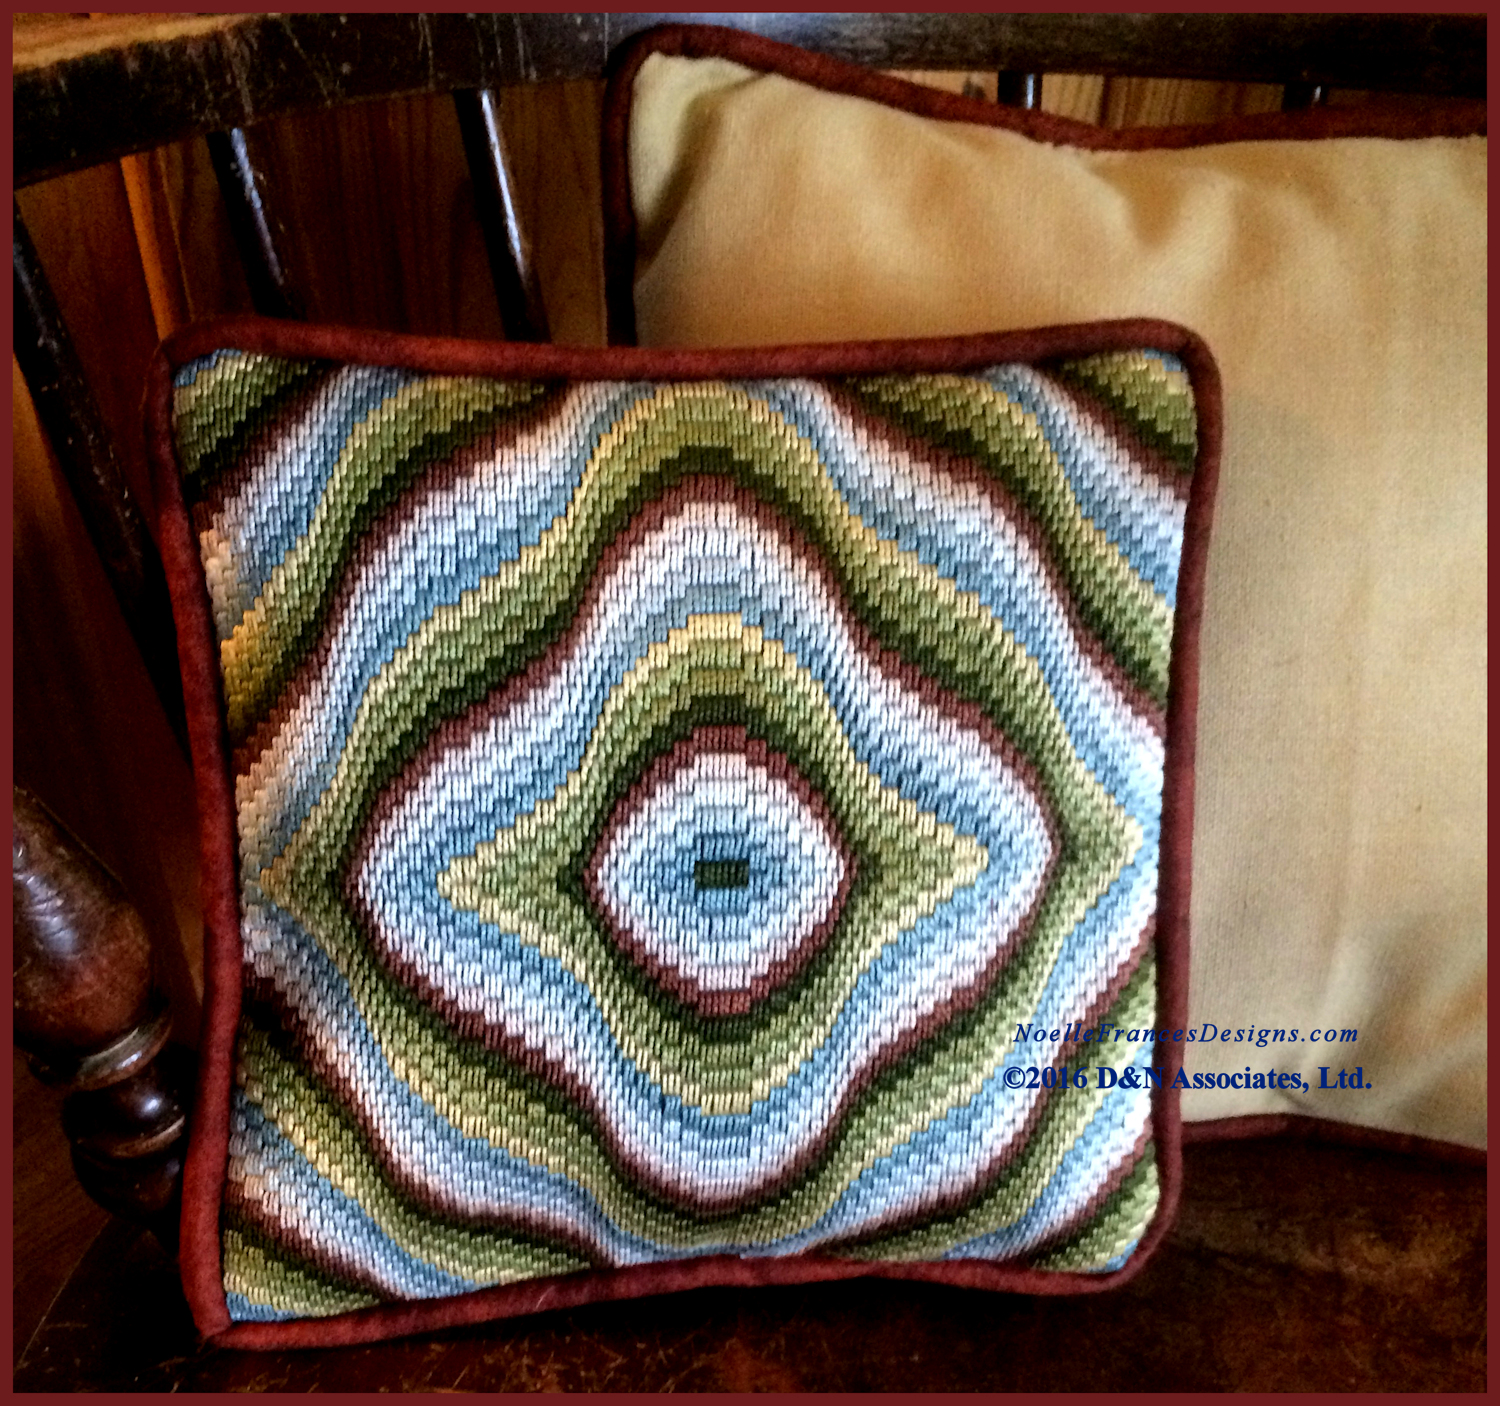 Front view of the 9-inch Waves of Early Fall pillow and behind that pillow is the back side of the 12-inch Fall leaf pillow.For the Waves of Early Fall pillow I wanted a strong, 100% cotton material for the backing and piping. I headed to a local quilting store where I greatly enjoyed viewing their rows of quality fabric. The 44/45-inch wide cotton fabric that I purchased for the piping and back fabric for the Waves of Early Fall pillow is called Shadow Play in a rust color. |
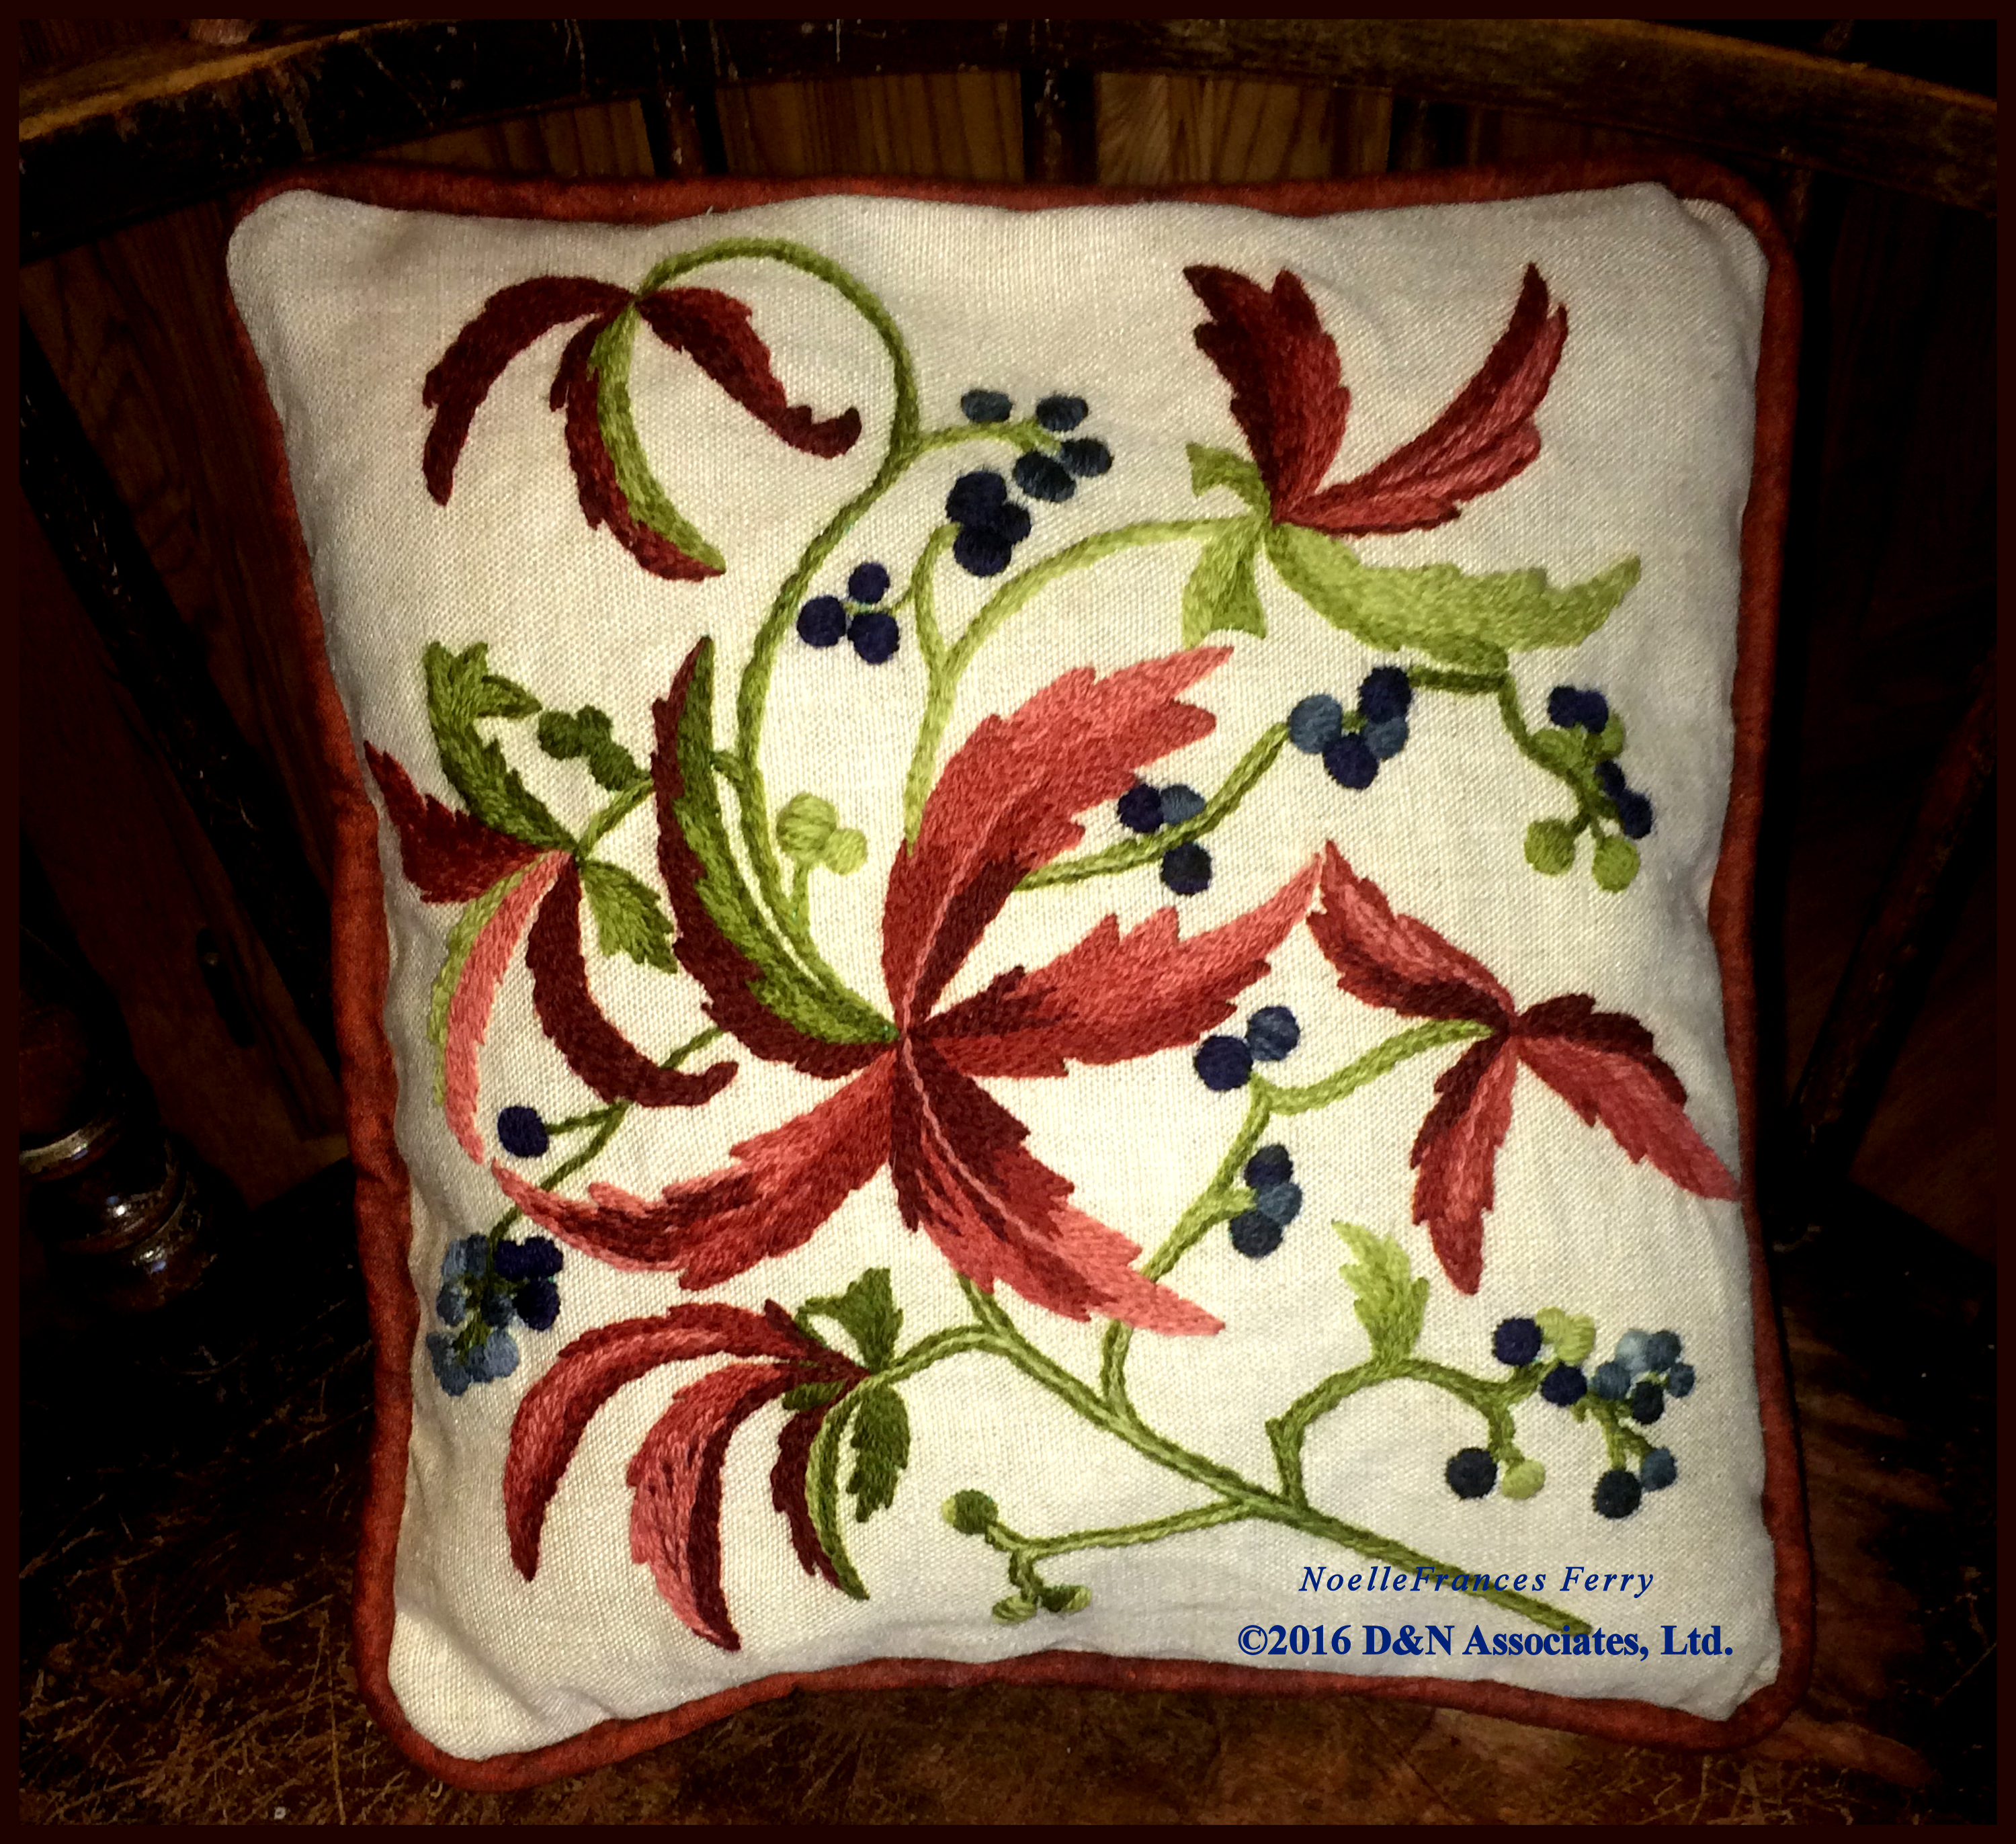 For the Fall leaf crewel pillow I used a tea dyed linen fabric.The piping for Fall Leaves is made from same range of rust colored fabric as the piping for Waves of Early Fall pillow. |
 12 by 13-inch Entwined Pomegranates pillow with piping.Bottom of this page provides more information about the worked designs used for the front pieces of these pillows. |
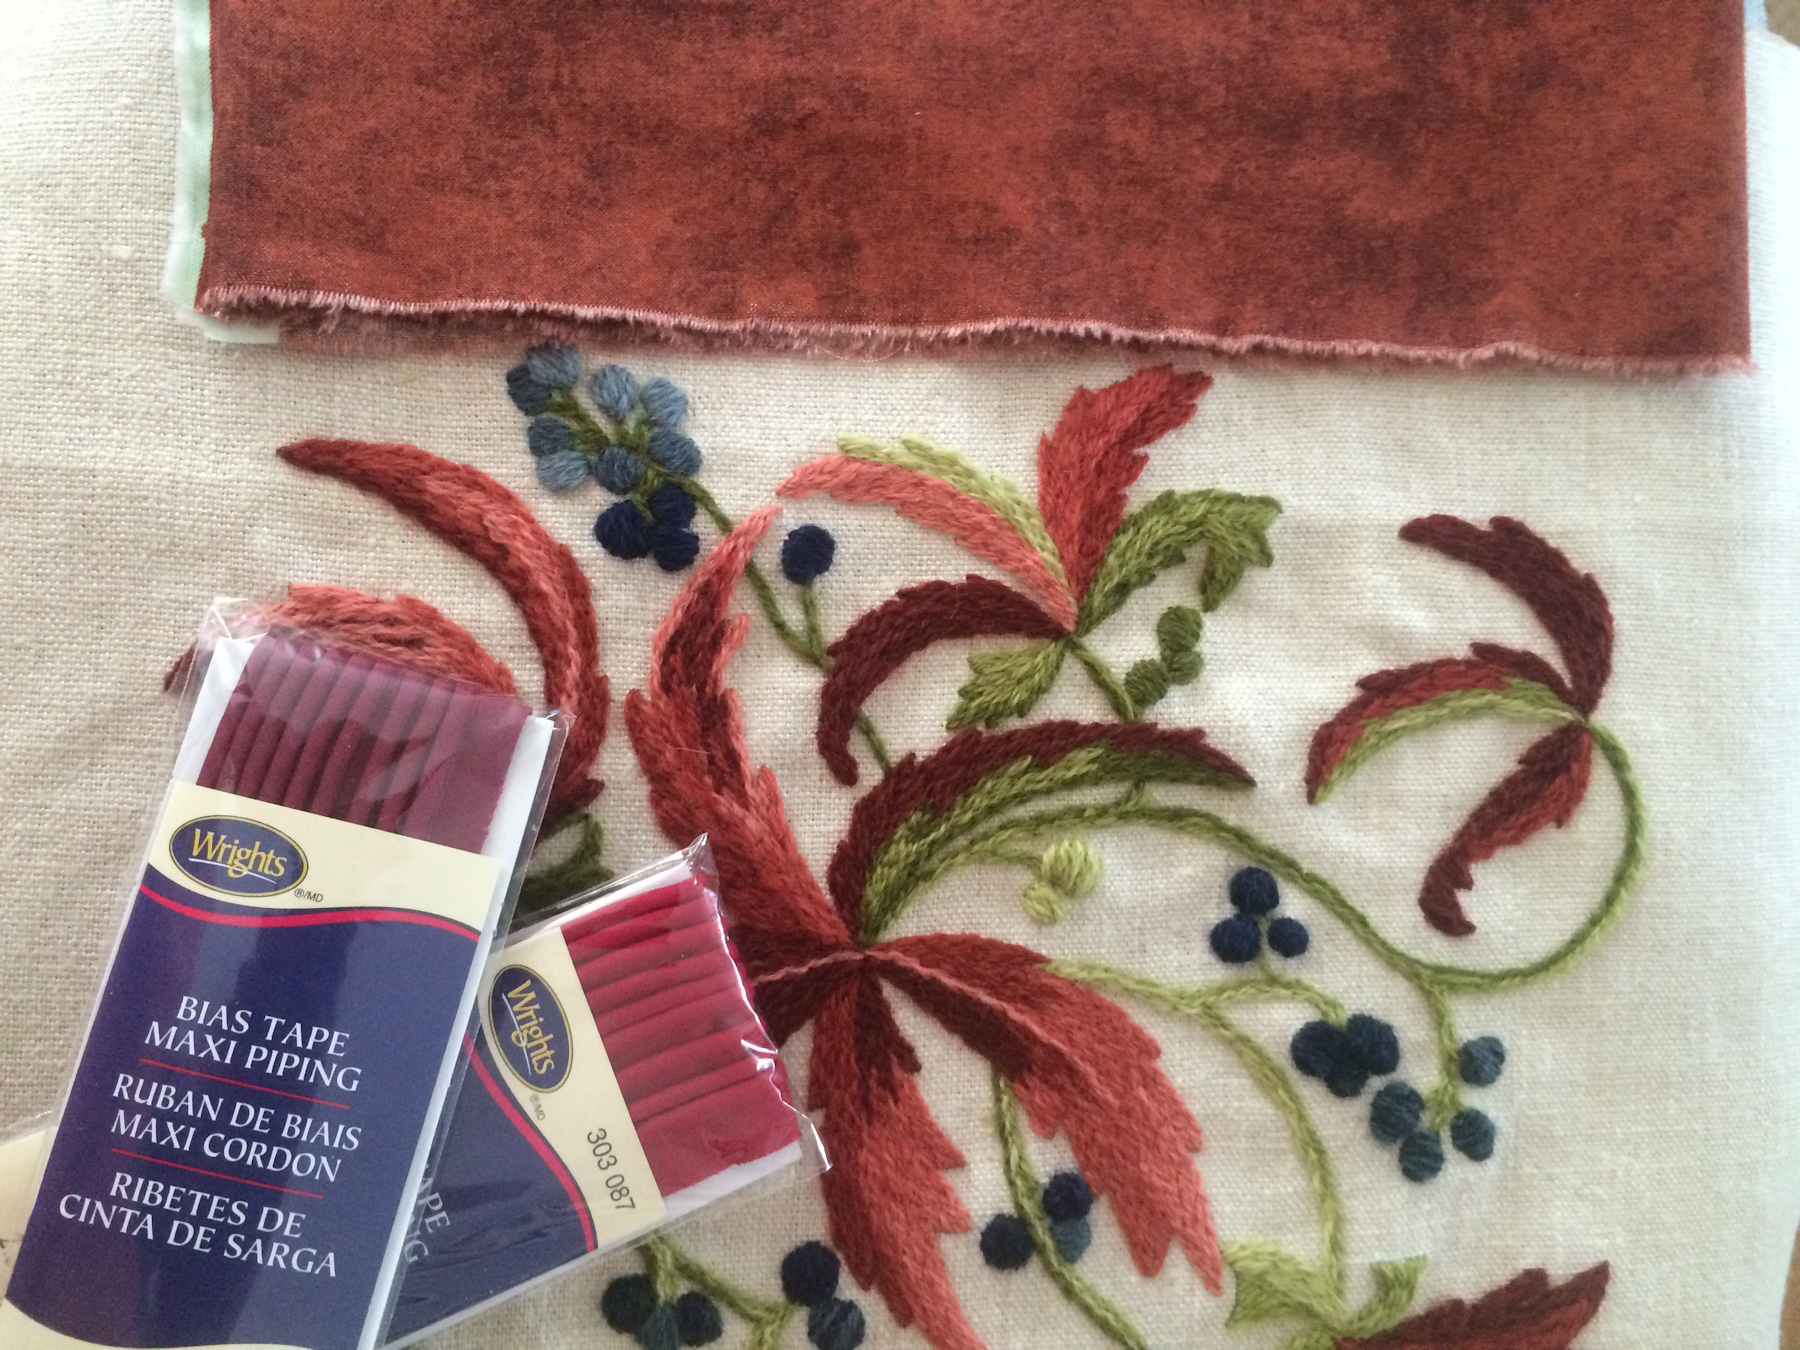
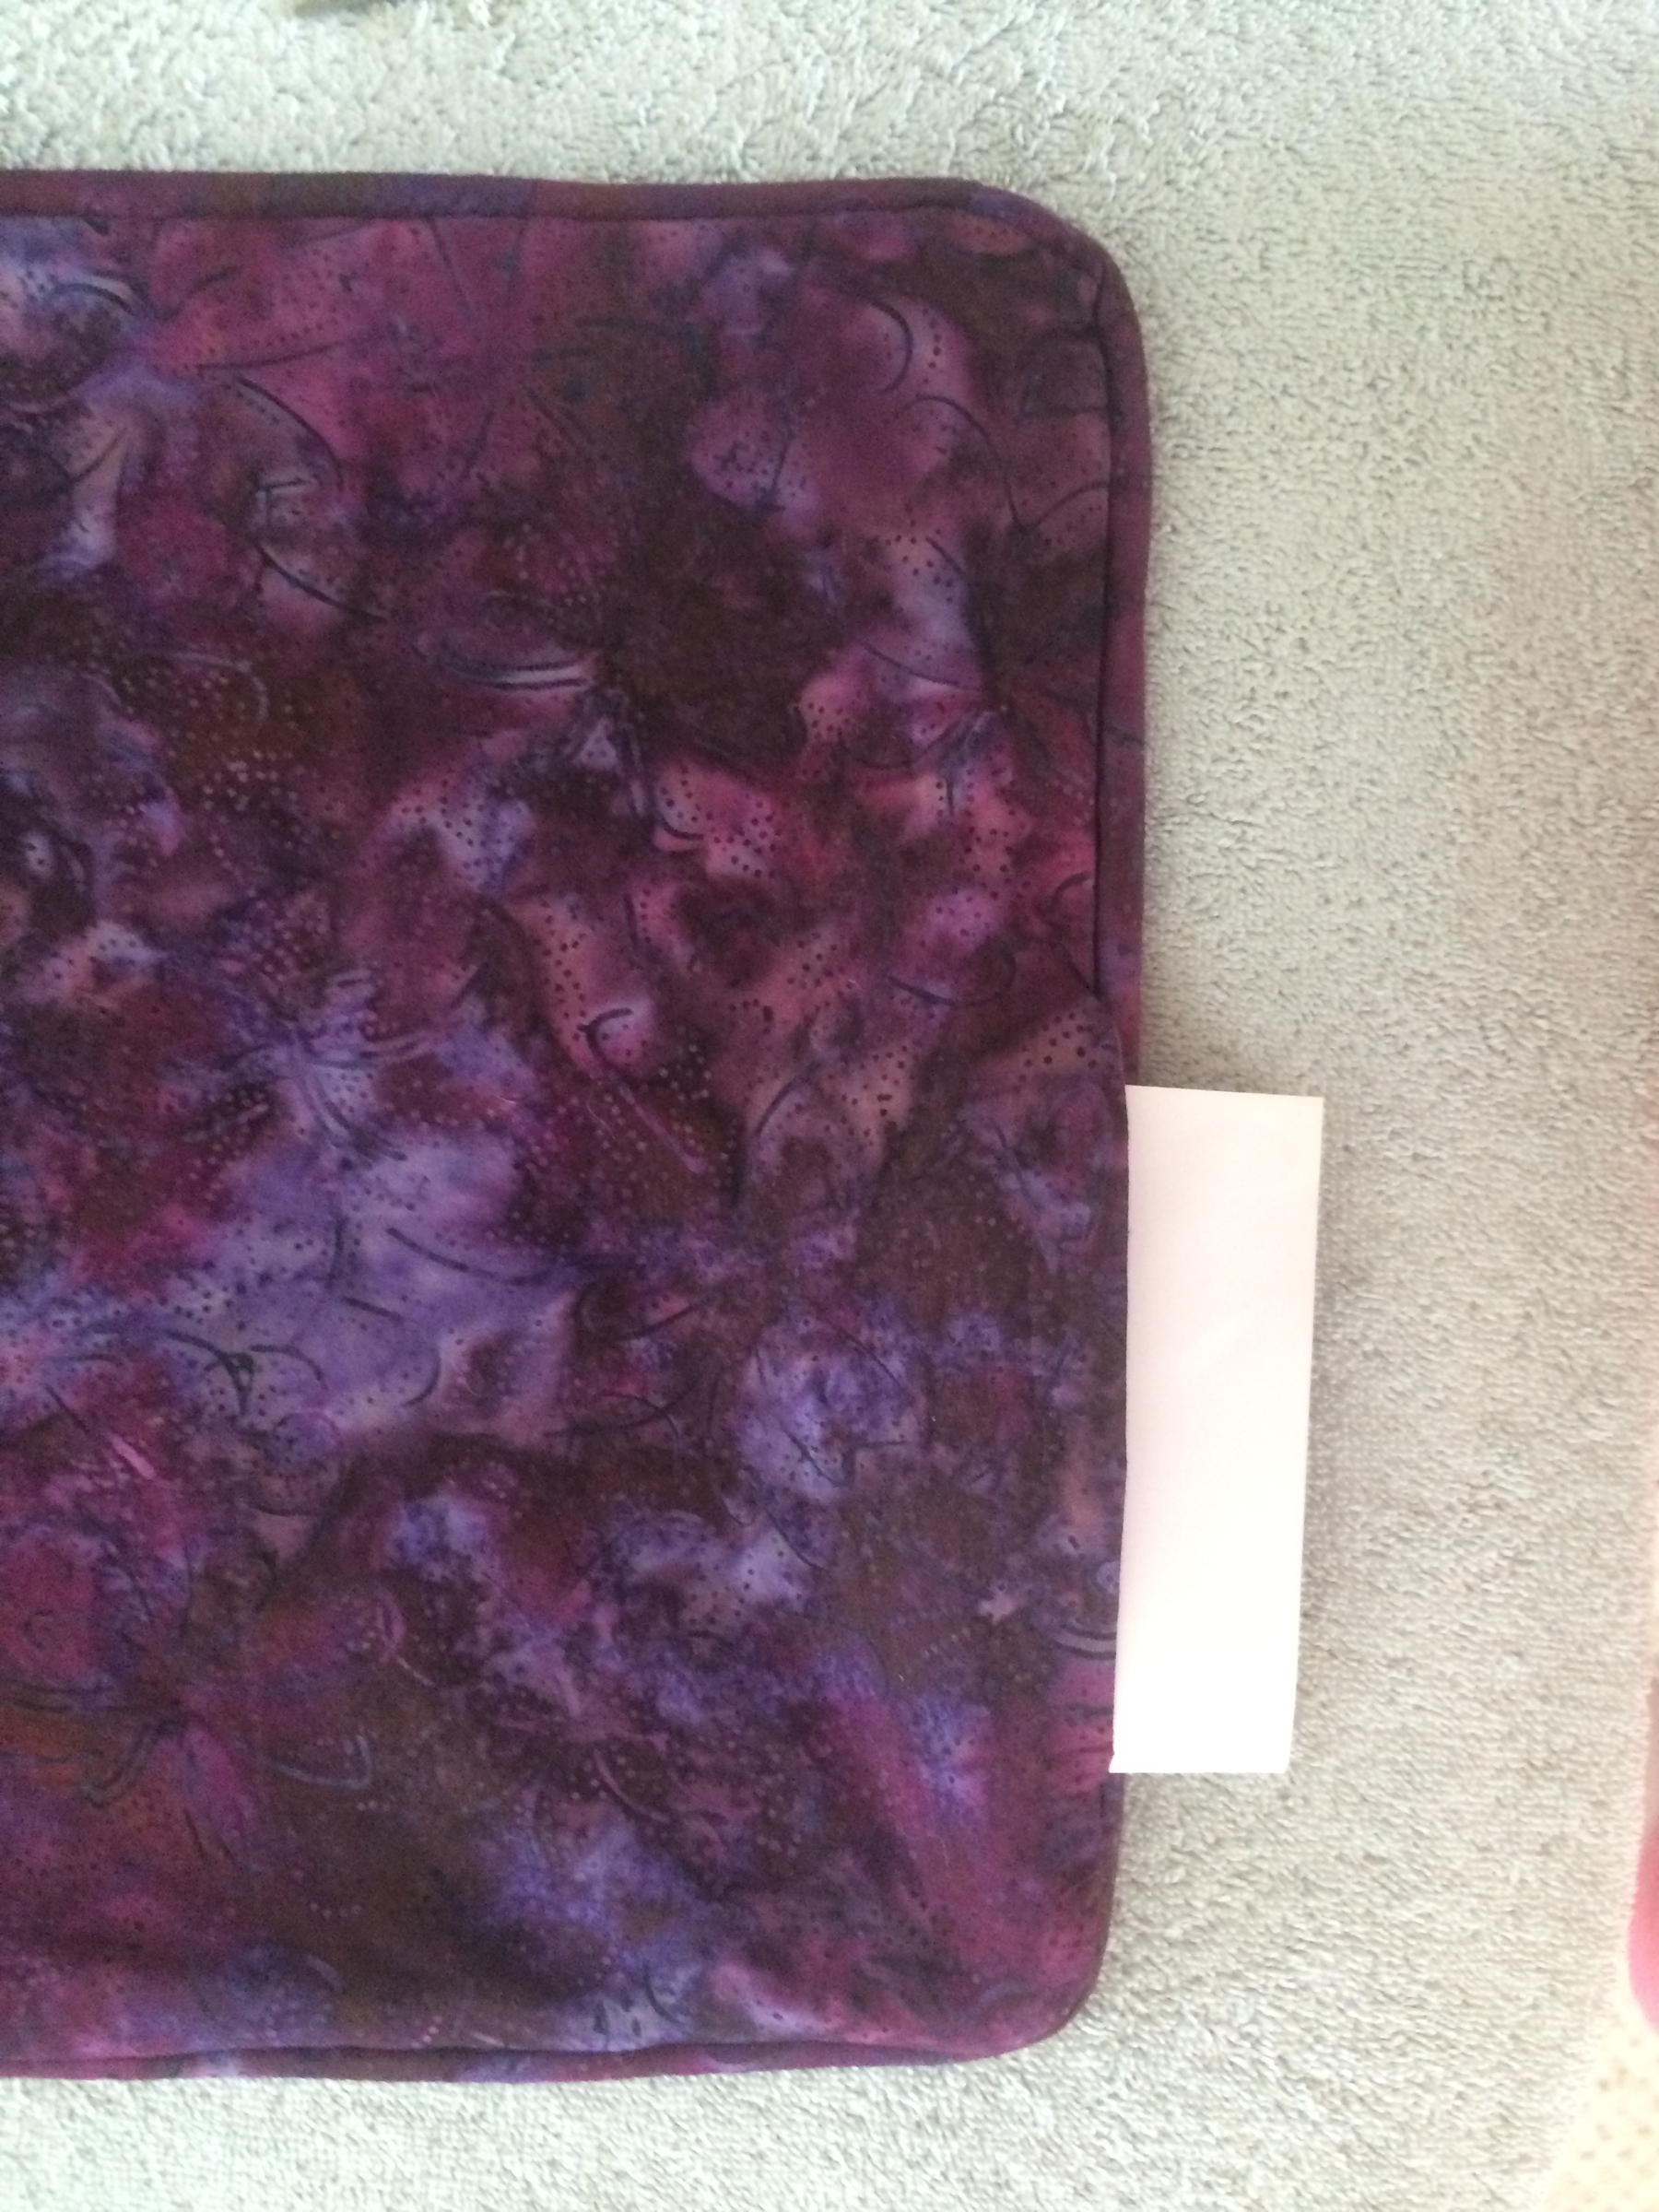
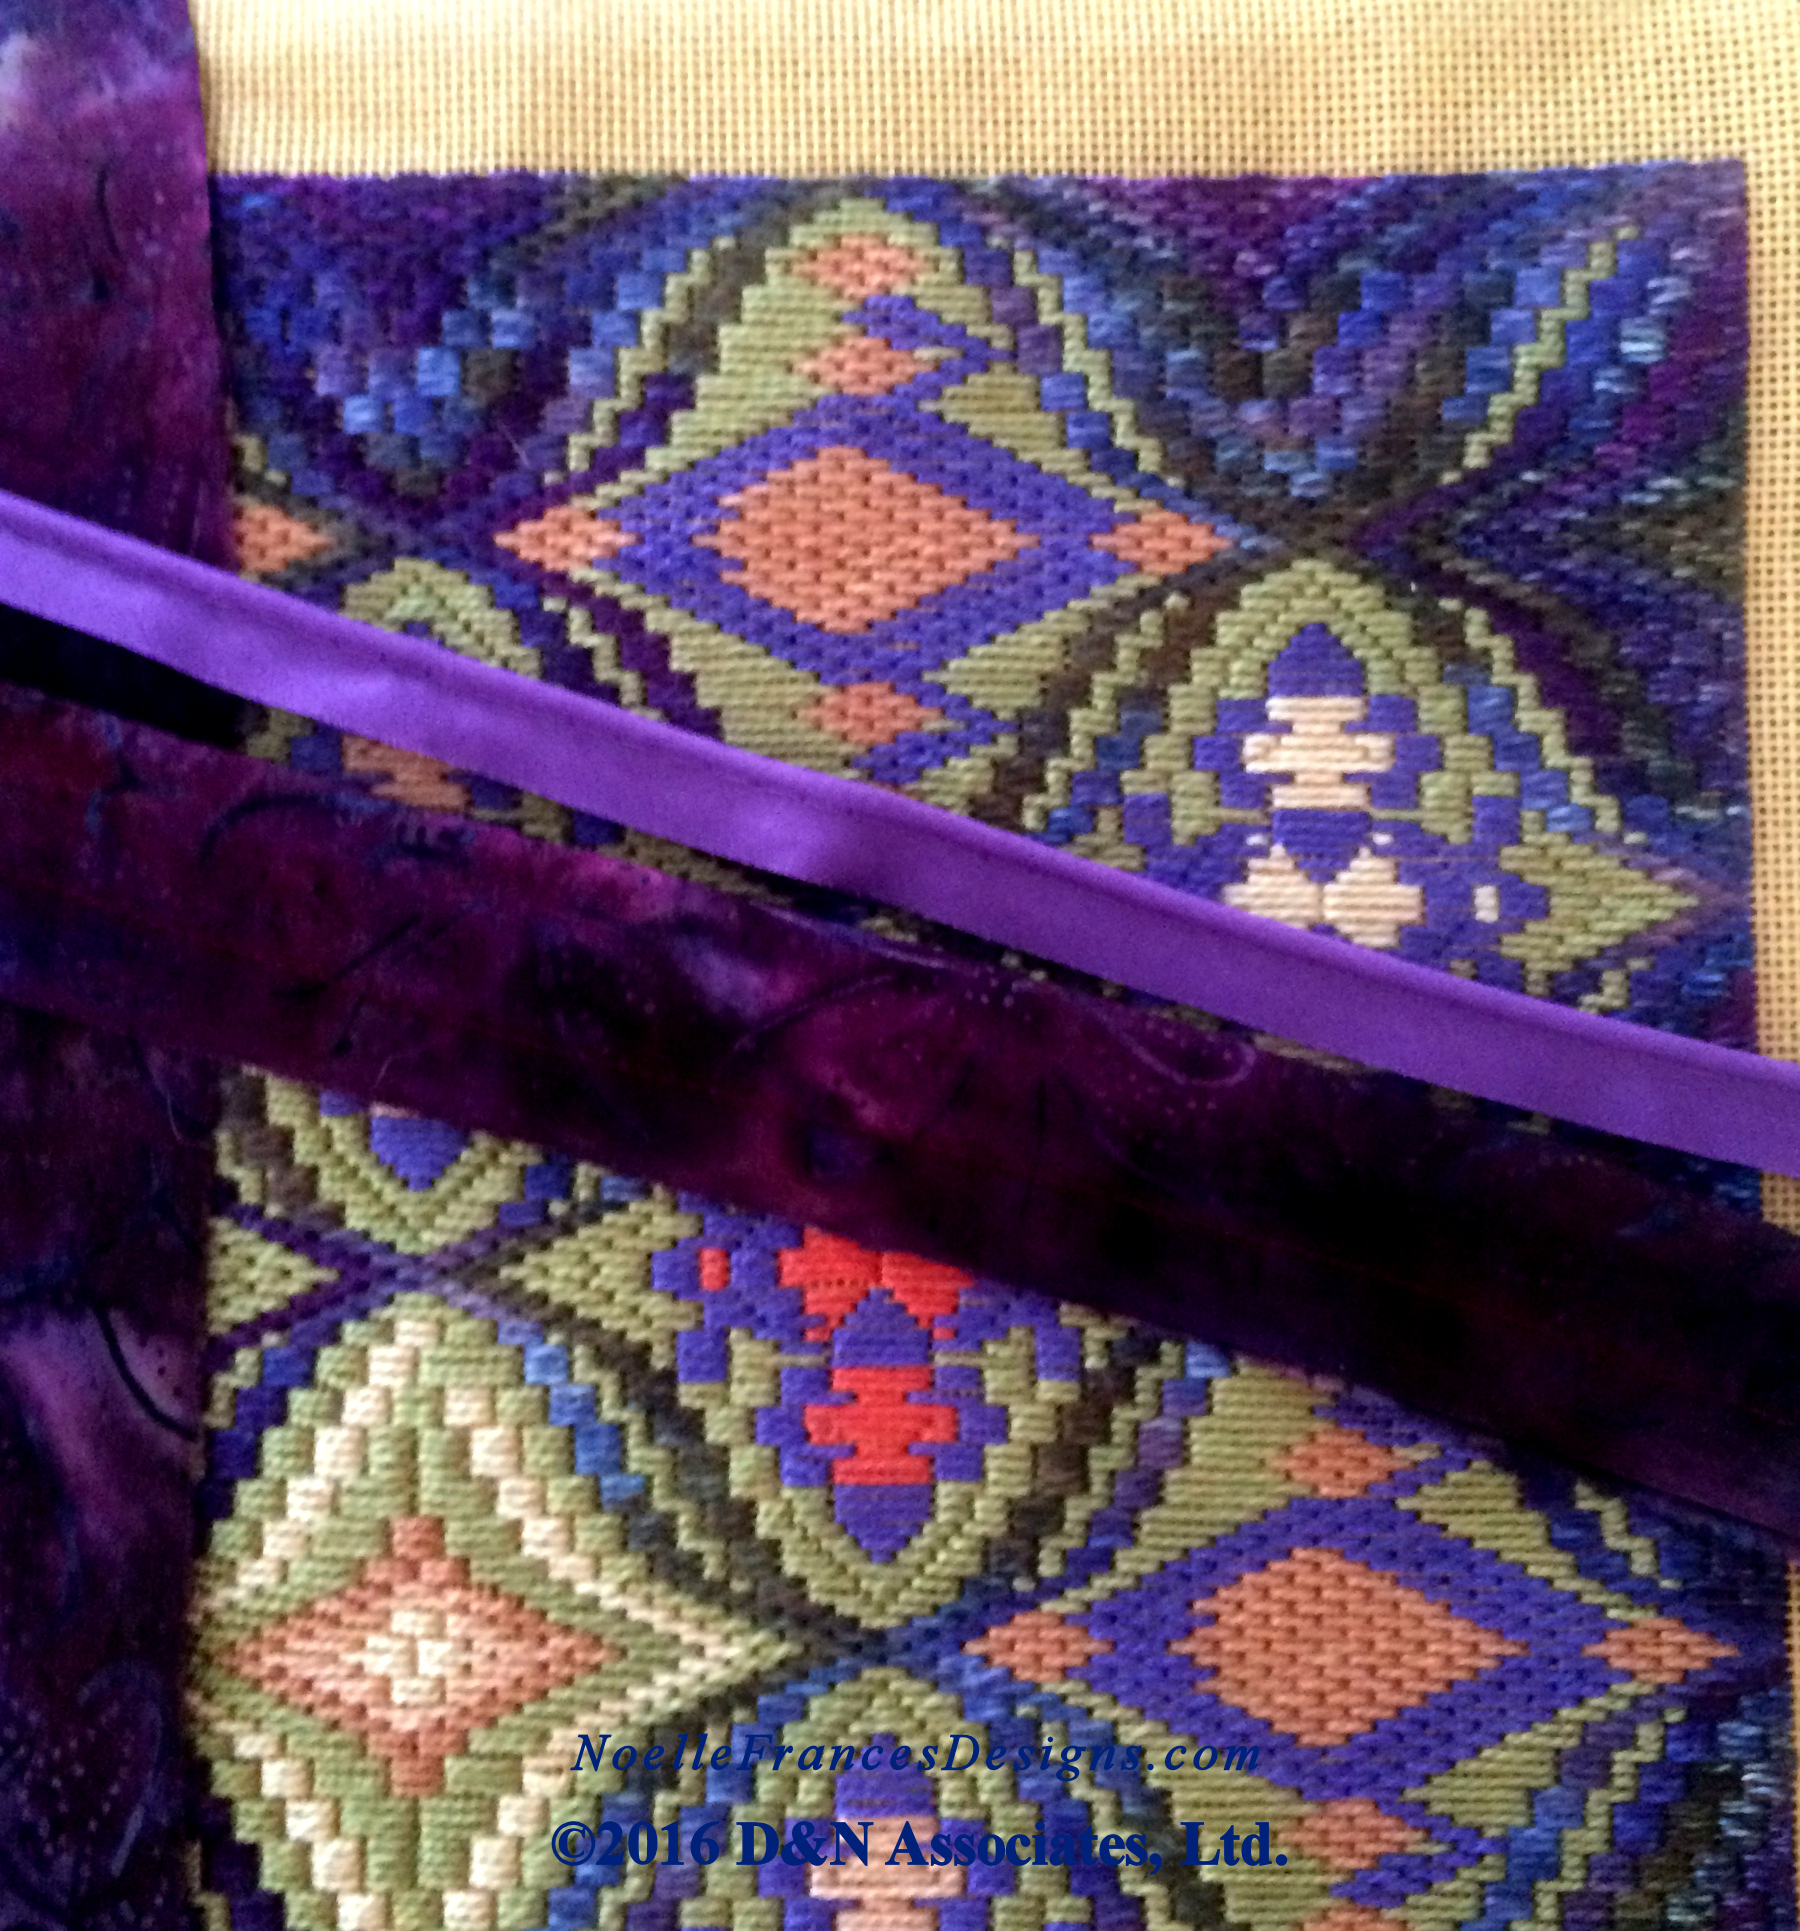 I had originally thought to use purchased purple piping instead of creating my own piping. This photo shows the purchased piping. I liked the solid purple color of this purchased piping for use with this pillow but decided to instead create a piping that matched the backing fabric of the pillow. |
|
UPDATE TO BELOW DISCUSSION:
I normally liked to use a long strip of fabric along the selvage edge for creating piping. In early fall 2023 I discovered a Missouri Star Quilt Company tutorial for creating bias piping (for a pillow). The used of bias material and a length of cord to create the piping creates a piping that is easier for going around the corners as you make the pillow. Read my discussion below to see how I make piping or click this link for another tutorial on creating pillows: |
Purchasing fabric for the piping:I had assumed when headed towards the fabric store to purchase a long length of fabric and take the piping fabric from the selvage edge. Once home, as these two fabrics are overdyed, I machine washed the fabric several times. I didn’t want to chance color from the pillows rubbing off onto the light color upholstery fabric of my sofa. You can view front and backs of these pillows at the bottom of this page. |
Getting ready to create your own piping:I used Wright’s 1/4-inch 100% cotton cording that I purchased (50-yard spool) on Amazon.com.
|
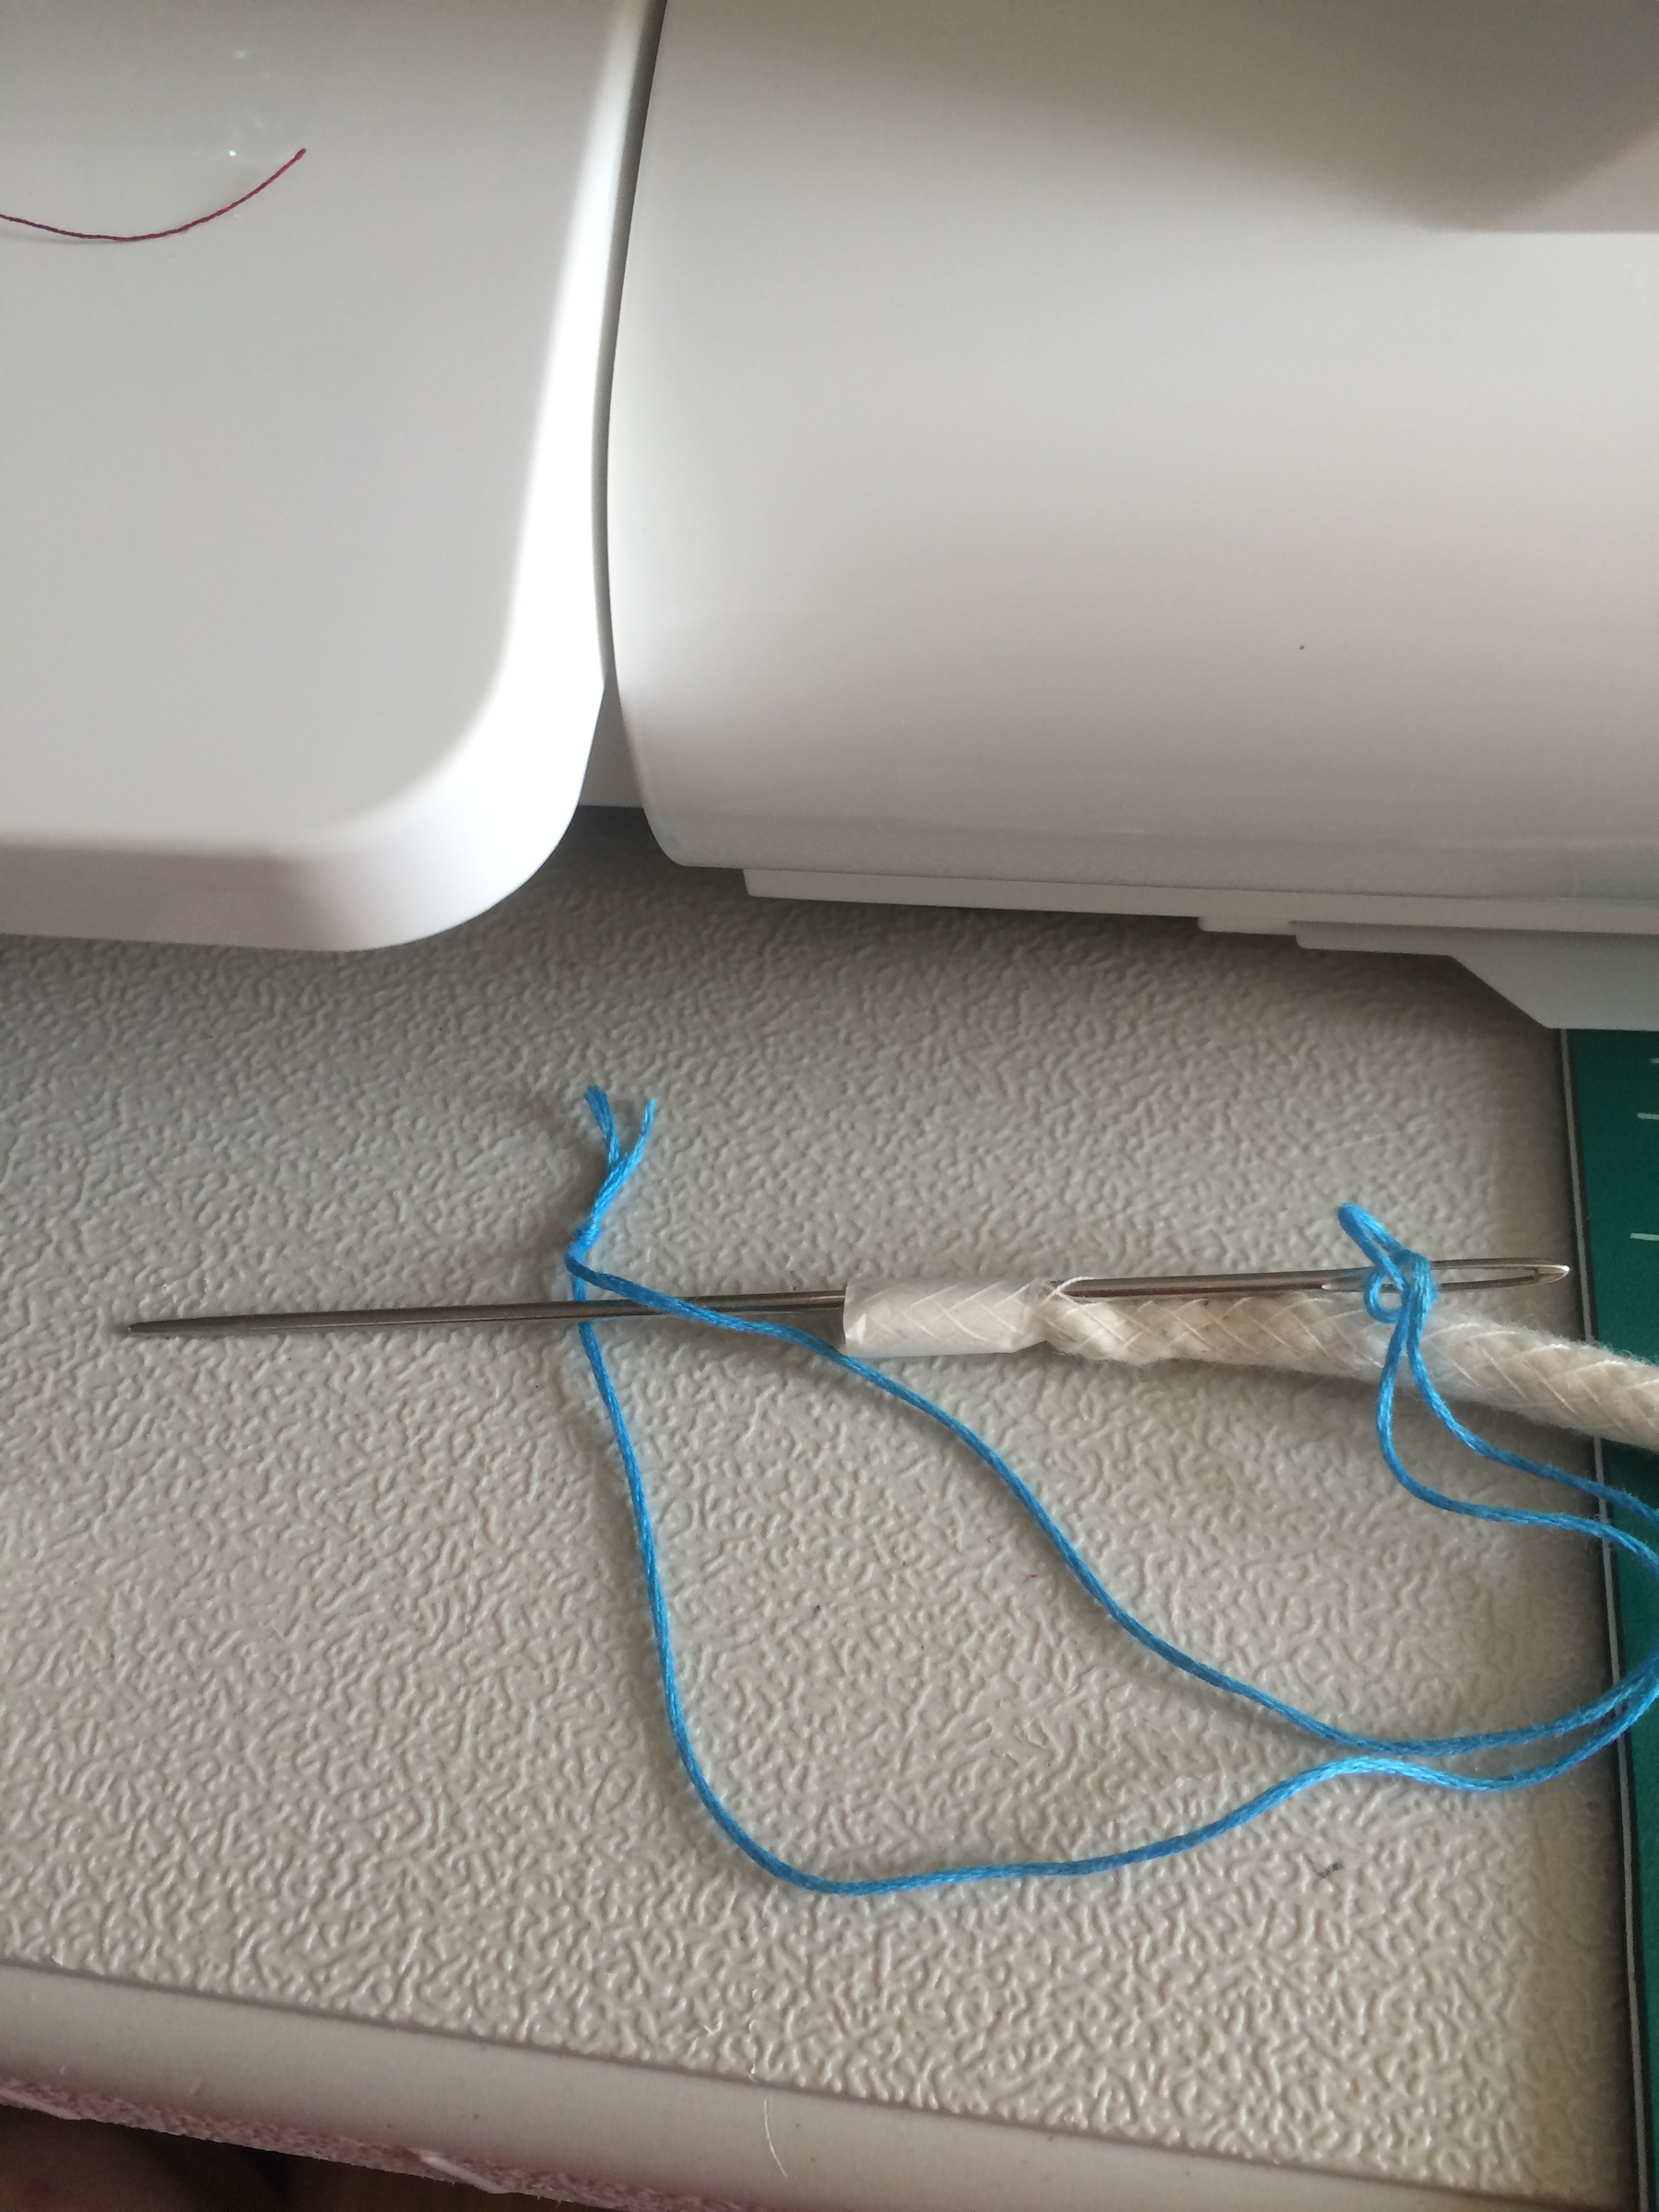
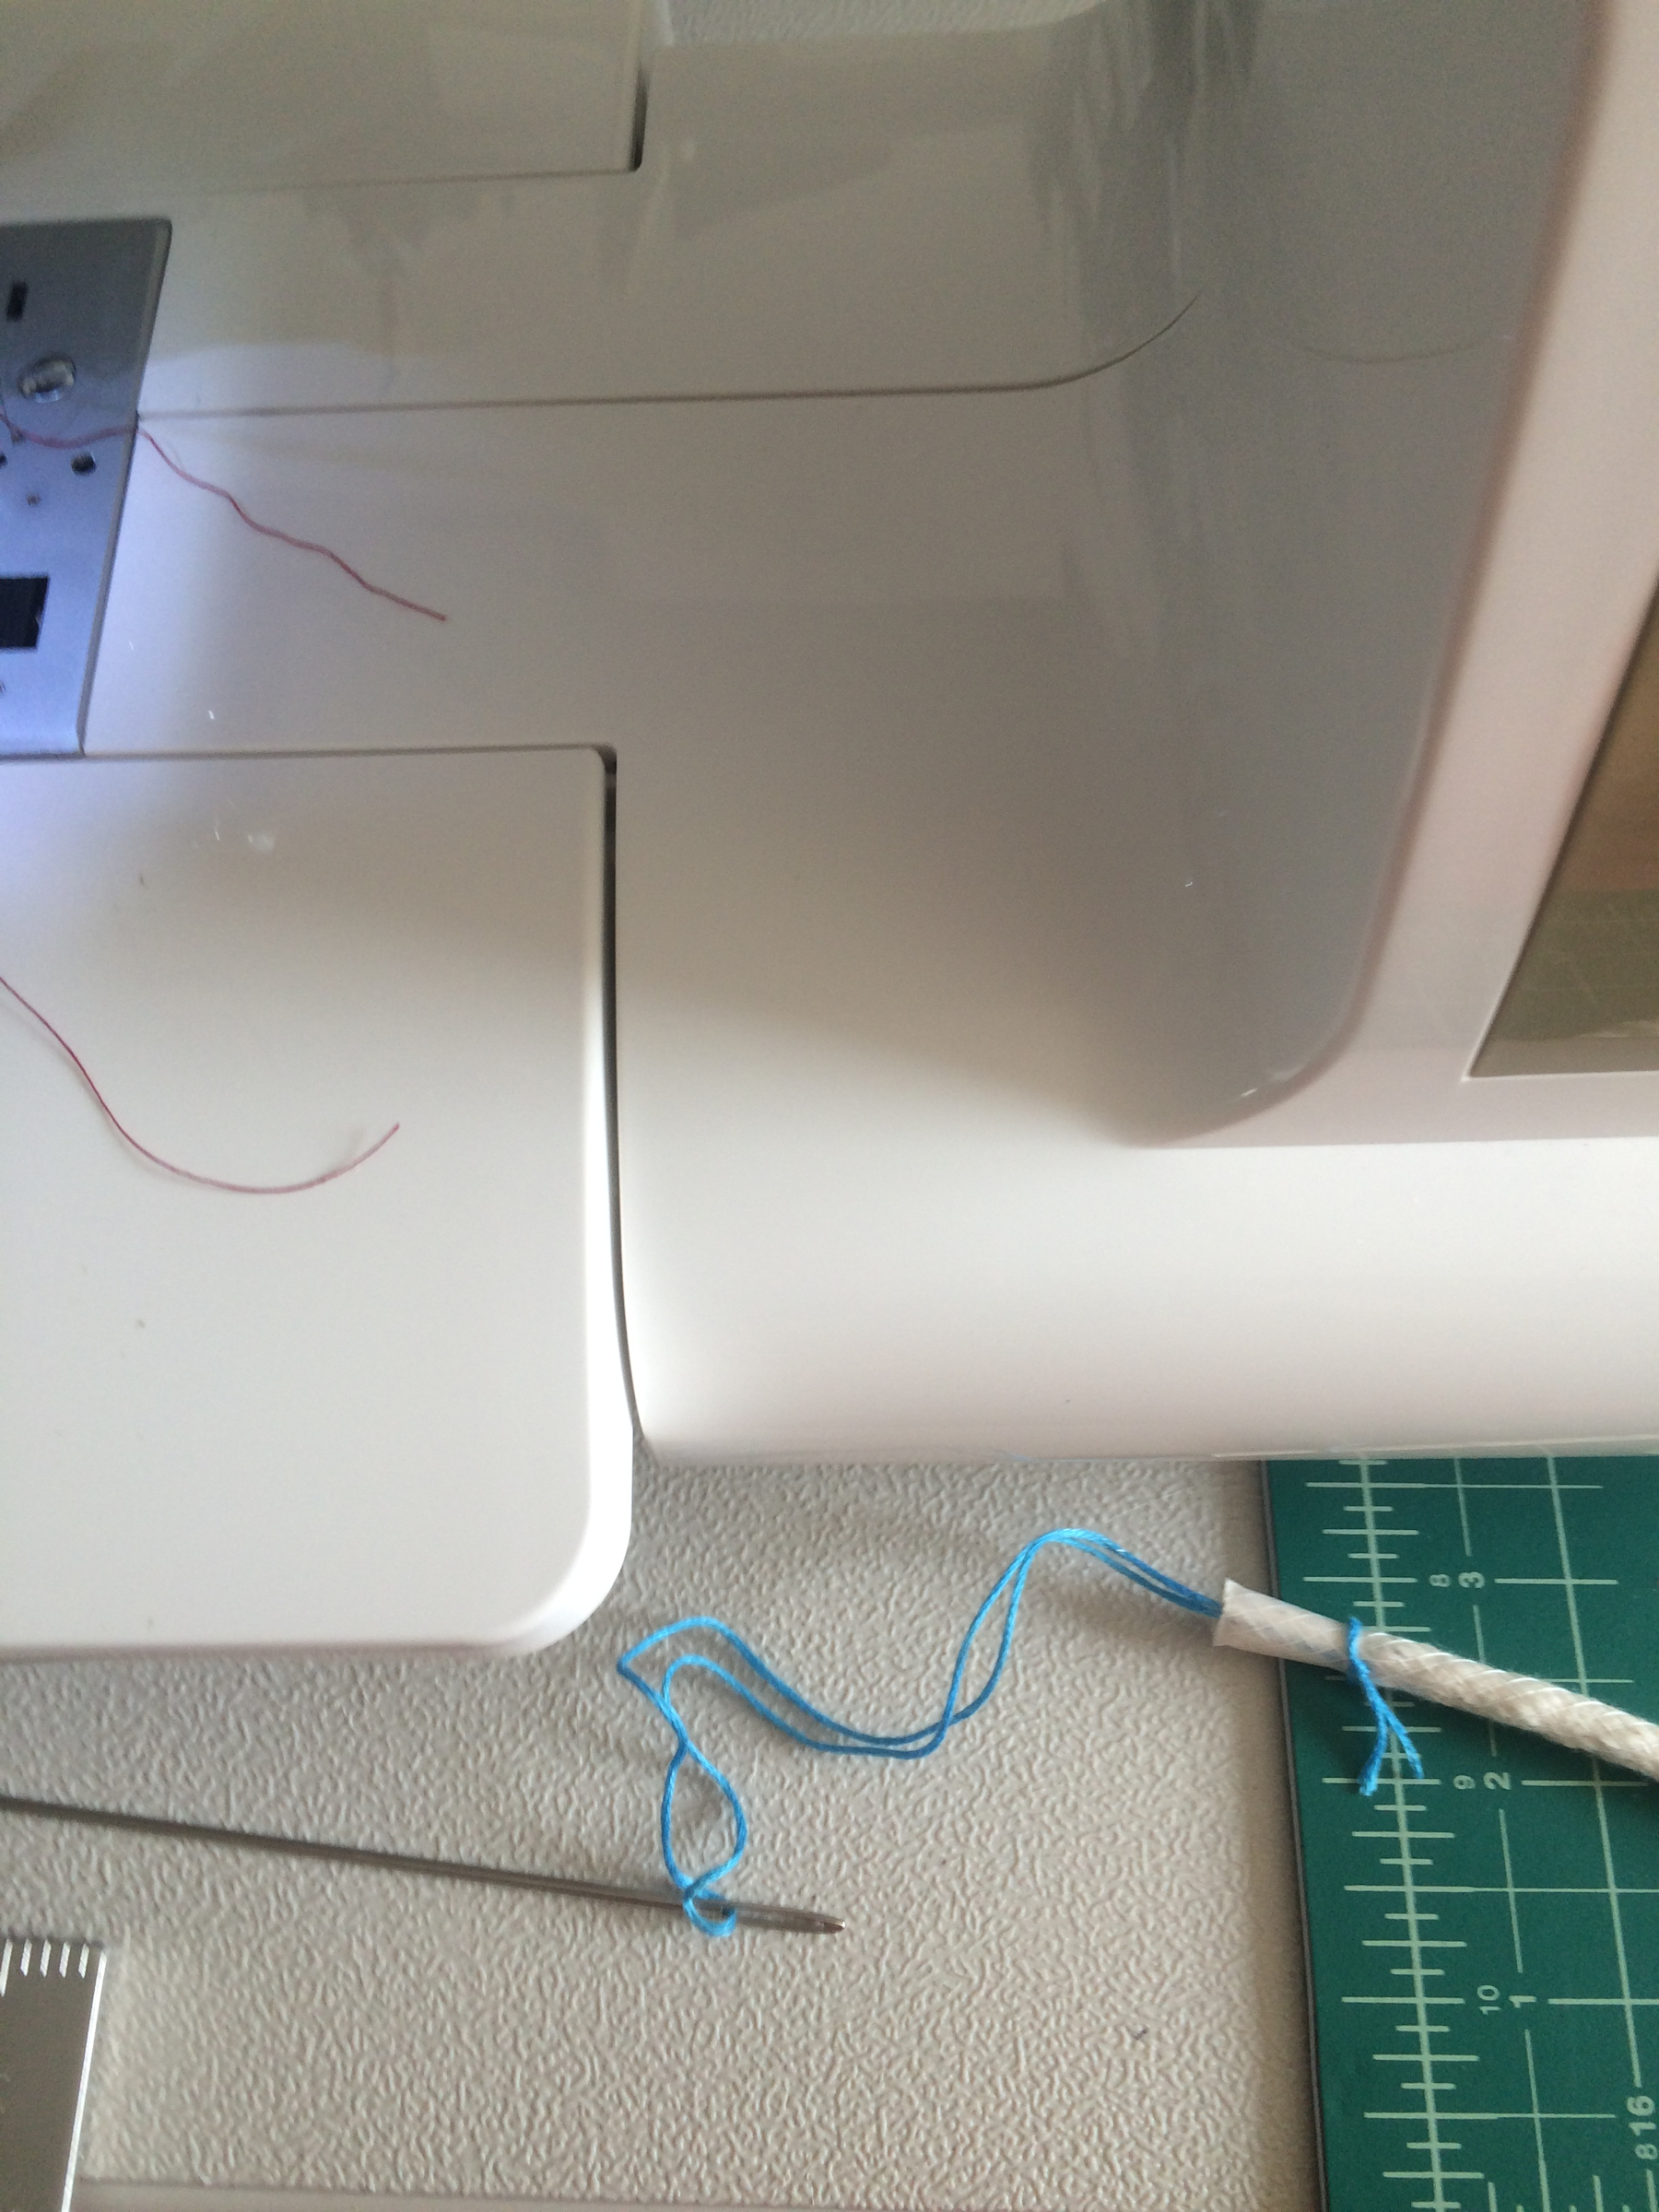 Pull the darner needle through and snug the cotton floss near the taped end of the piping cord.Next sew your fabric for the piping sleeve. |
 Some general thoughts:
|
Creating the Sleeve for the Piping: I measure the width of the strip needed for the piping, snipped the edge of the fabric at that width. Since this is a 100% cotton fabric I can then stripped (a quick ripping motion) that width of fabric off and finished by ironing the stripped piece to calm the edge curling that occurs from ripping the fabric. The Fall leaf pillow and the Entwined Pomegranates pillow each needed a long length of fabric for the piping. I stripped two pieces then sewed them together to make a long enough length. When I created the piping for the Waves of Early Fall pillow I only needed 45 inches of fabric so I just had enough for that with one width of the fabric. |
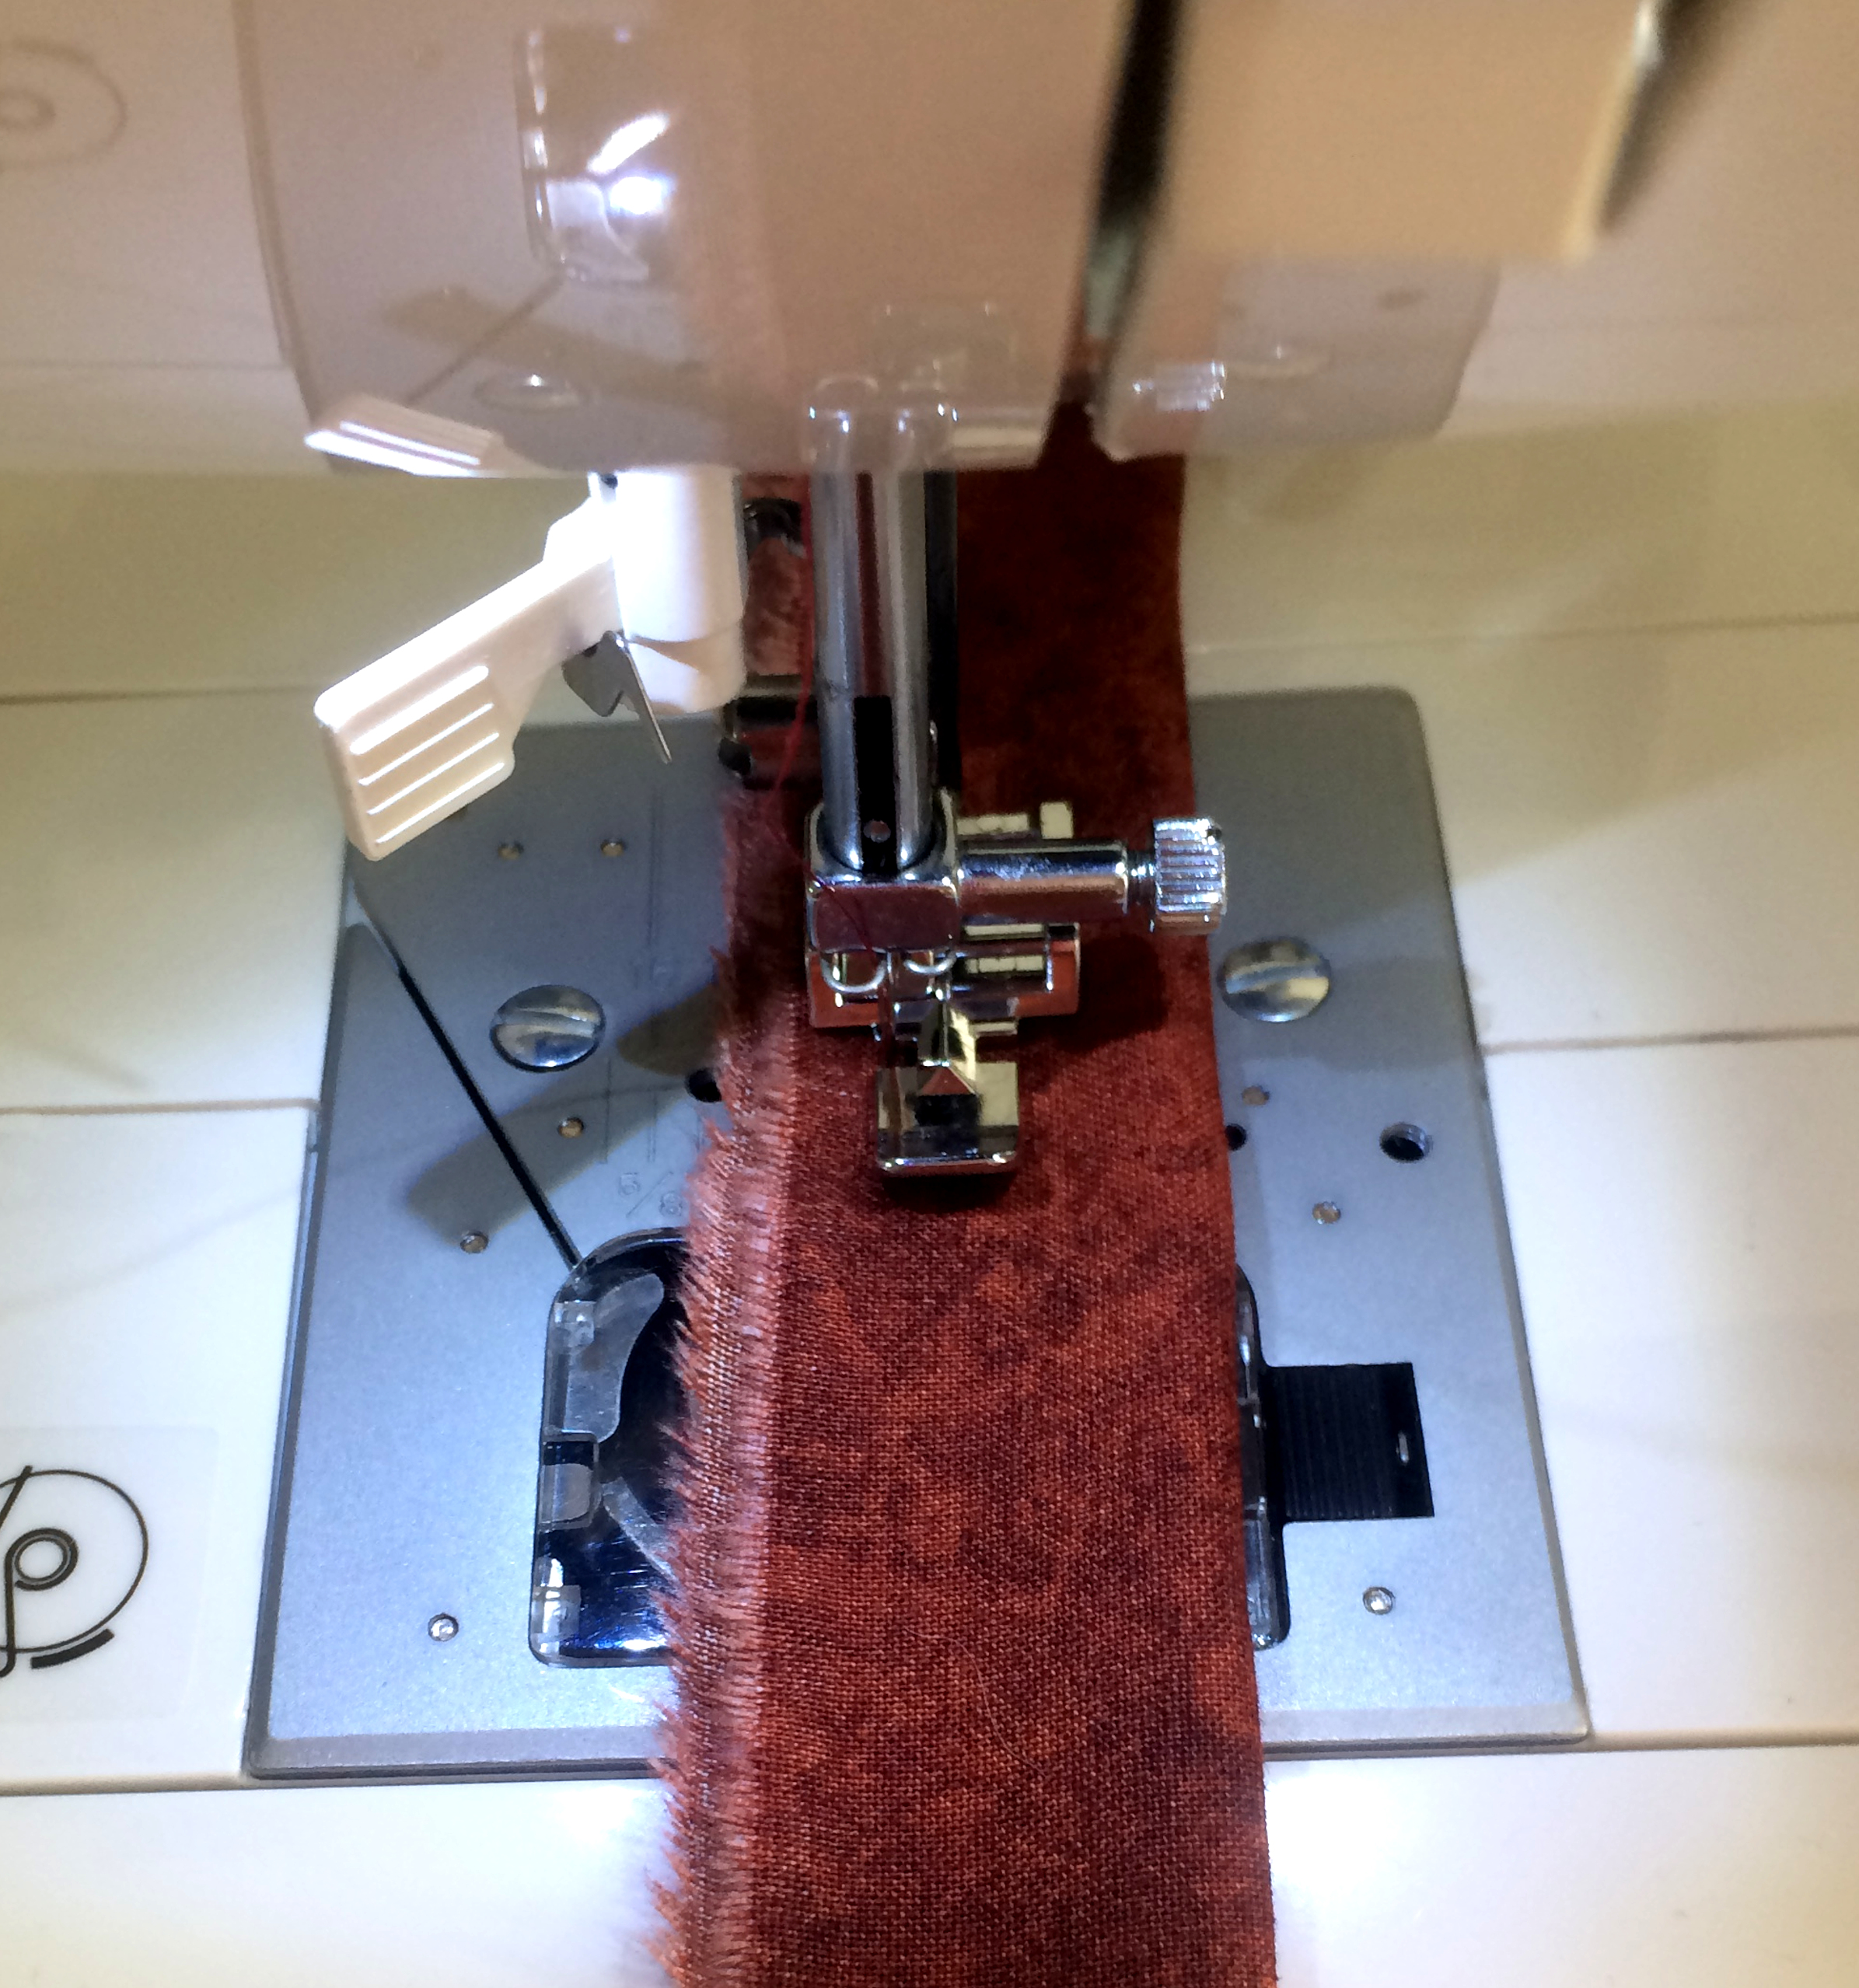 Once I had my length of fabric for the piping sleeve I ironed the fabric flat then hand folded this length of fabric lengthwise. I did not iron the folded fabric because I did not want a cease at the folded edge.With my sewing machine set at the longest stitch length I stitched such that the sewing foot was well away from the folded edge of this fabric. In that I want to make sure I have lots of room for working the darning needle with its pulled along cording through the sewn piping sleeve. |
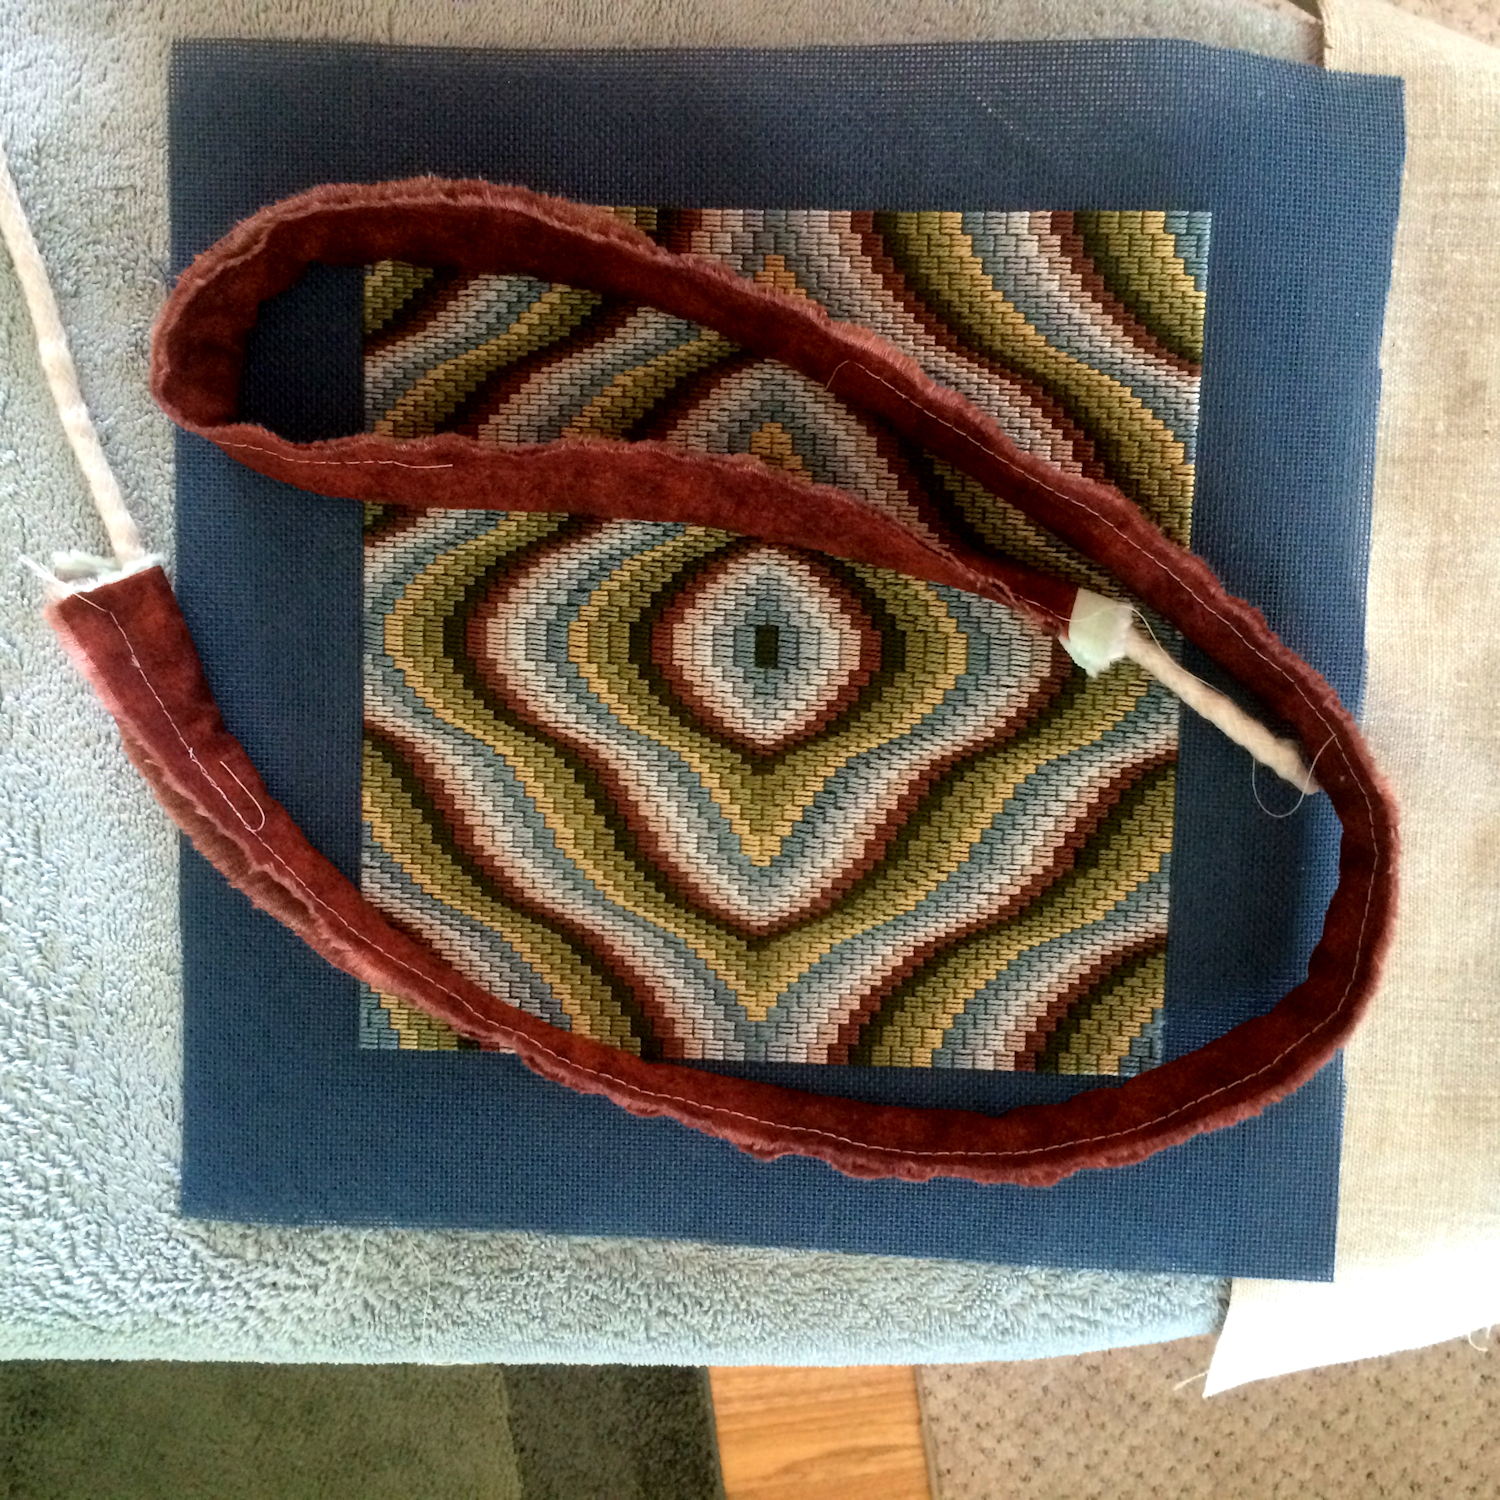 In this photo I have pulled the darner needle and cord through the piping sleeve. Though it bunches the piping sleeve up, I like to get the darning needle all the way through the piping sleeve before I pull the cord on through. This way my finger grip is only on the darning needle as I pulled the cord through. Once you have the cord all the way through make sure to have several inches of the cord coming out both ends of the sleeve. When done the fabric of the piping sleeve is rumpled, I just hand smoothed it. Personal choice whether to iron the piping sleeve or not. I decided not to iron the rumpled fabric and found that this particular fabric became non-rumpled looking when I completed the pillow. |
 The length of piping fabric for the Fall leaf pillow and the Entwined Pomegranates pillow were both created from two strips of fabric width meaning I had to sew them together, forming a center seam (which I ironed open) before doing the lengthwise fold.When I worked the darning needle through the sewn piping sleeve for the Fall leaf pillow the darning needle went right through the center seam area with no problem. |
 With the Entwined Pomegranates pillow I couldn’t get the darning needle through that center sewn area of the piping sleeve and had to snip several of the machine sewn stitches to allow my fingers to get in there and guided the darning needle pass that center sewn seam of the piping sleeve. Knowing that my sewing the piping sleeve onto the front piece would close this snipped open access area, I didn’t have to do any hand sewing to close the snipped open area. |
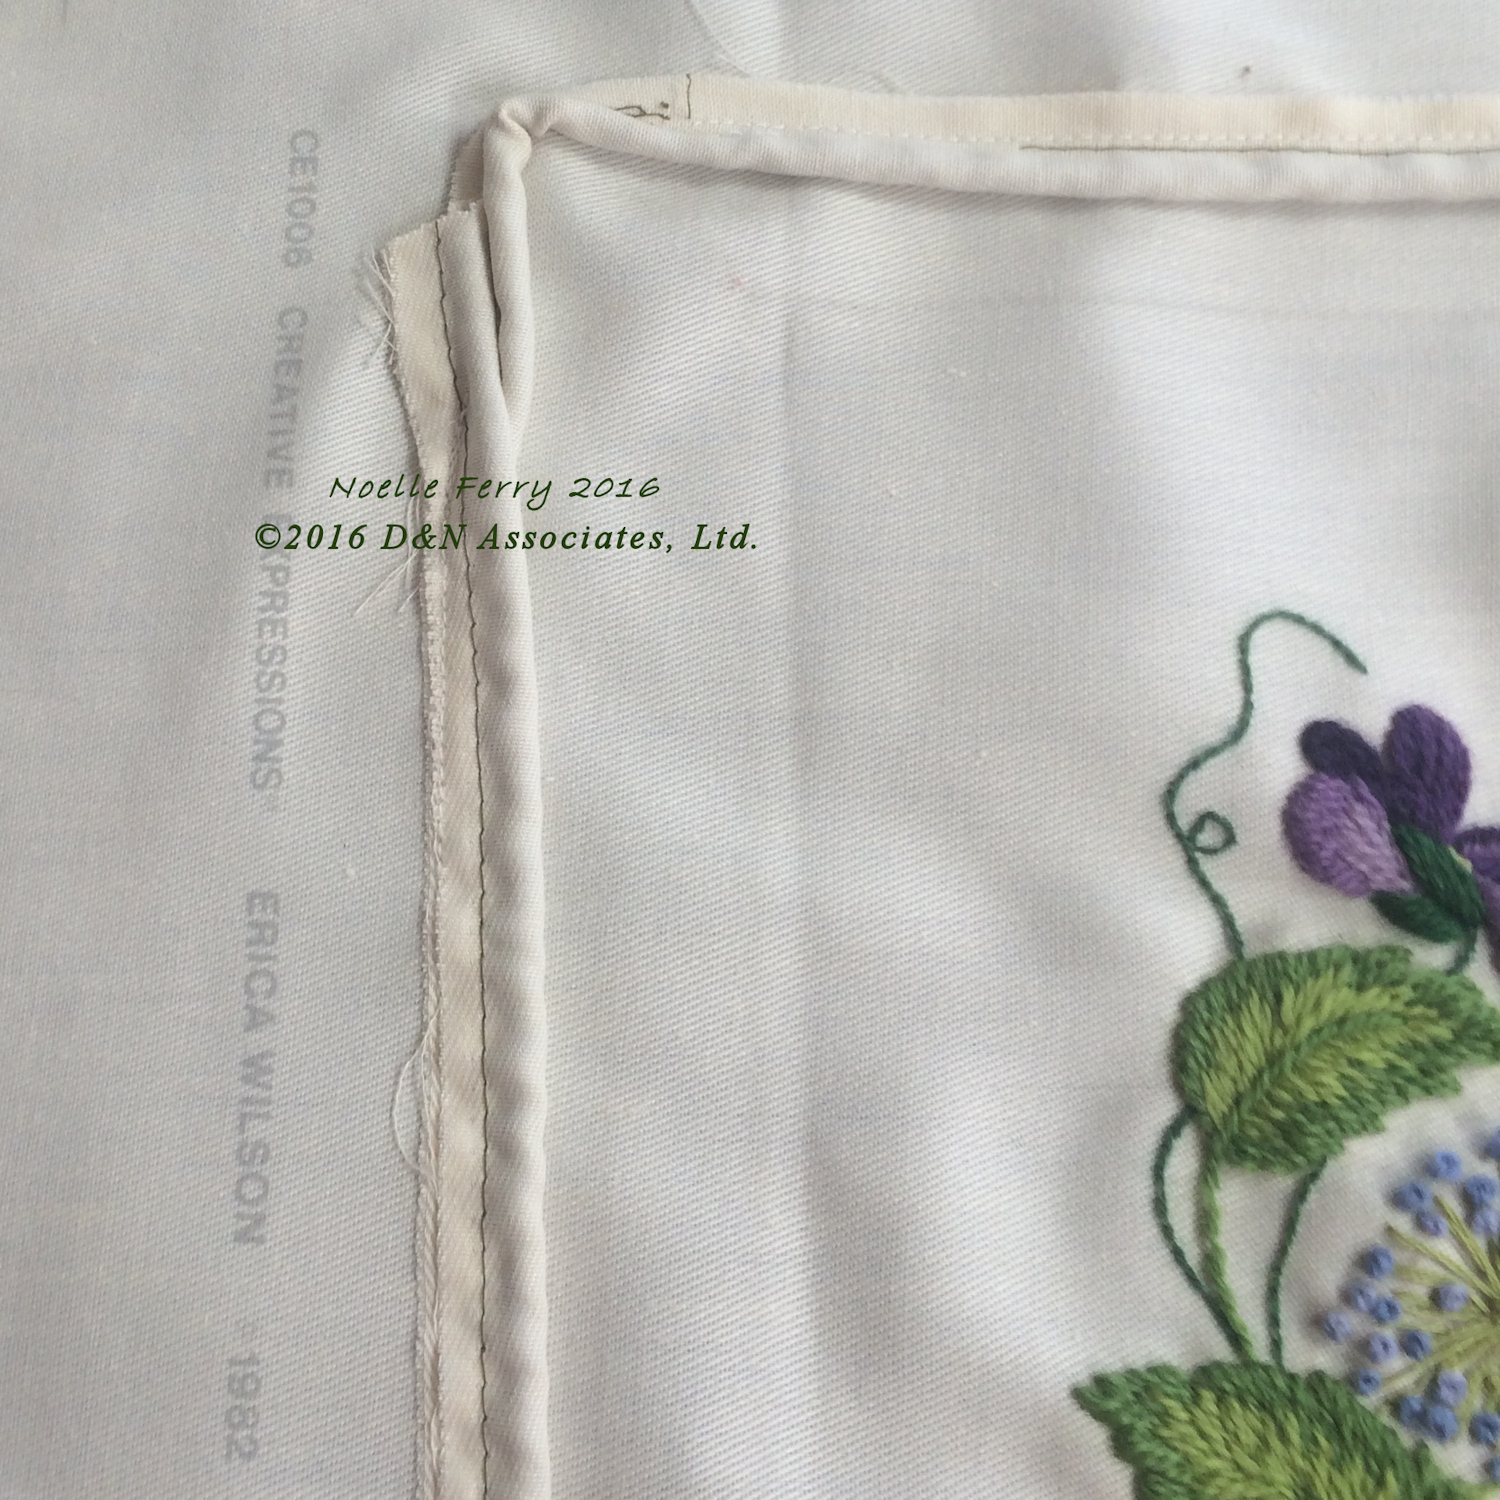
Getting ready to sew the piping onto the front piece: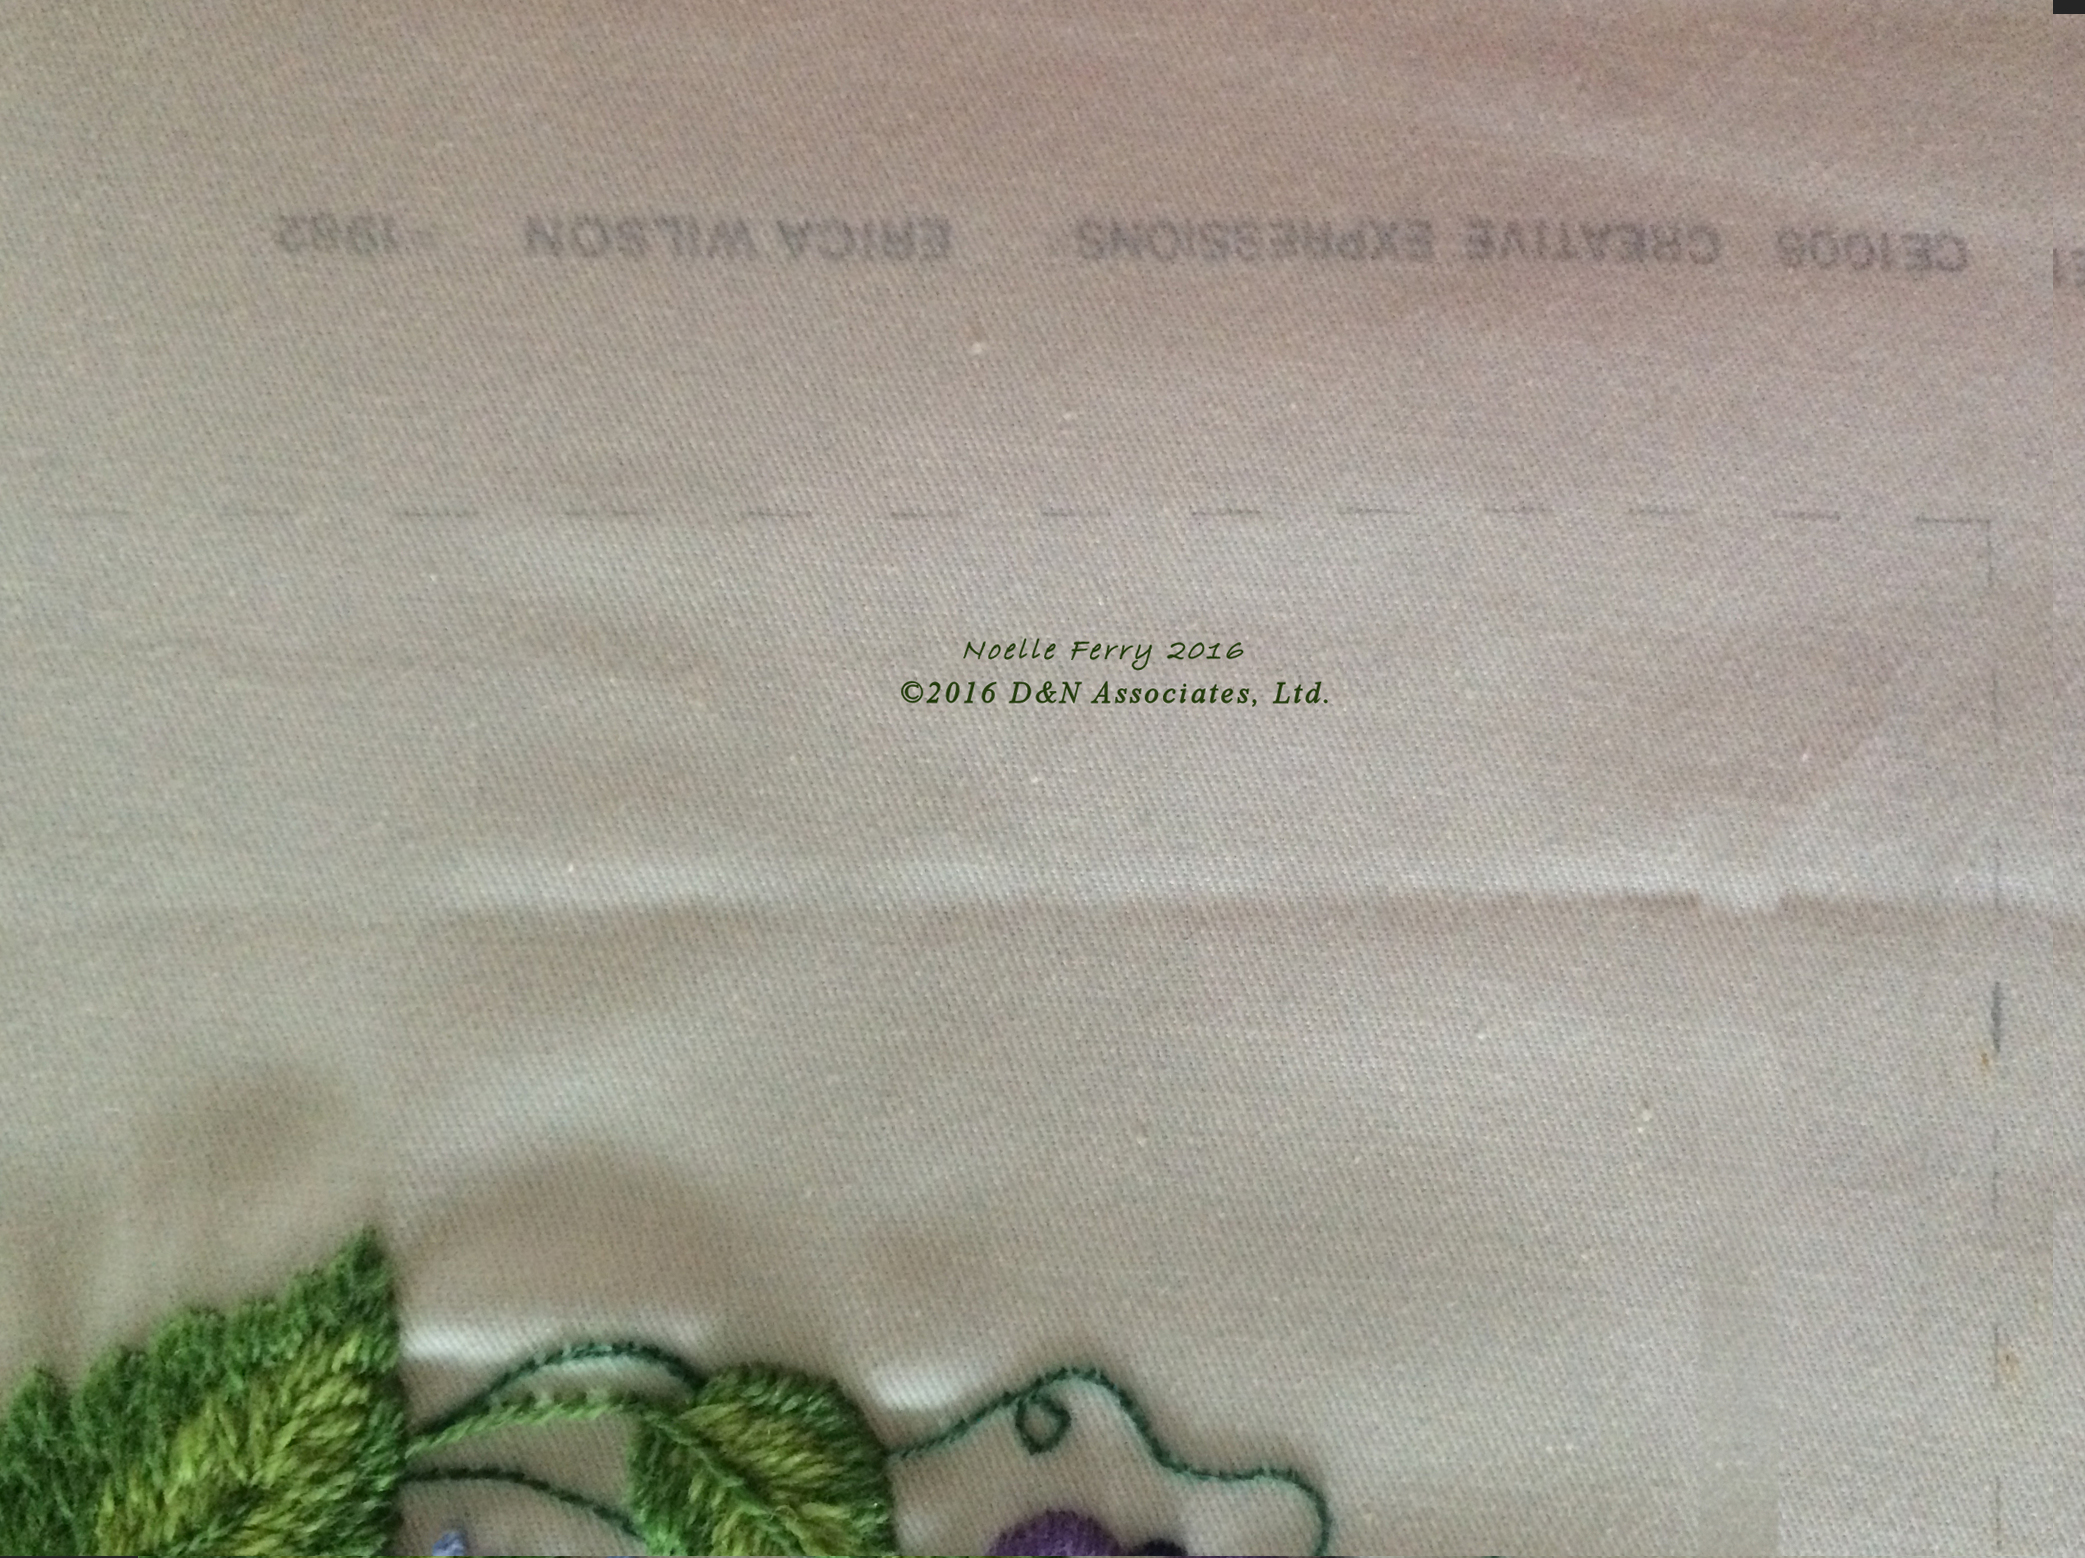 Next stage is to stitch the piping onto the front piece and you need to know where to stitch. WIP photo to the left shows the printed front fabric that came in the kit for my Nantucket crewel pillow. Notice the dashed lines that indicate where to sew to create the outer edge of the pillow. It was nice that the printed fabric came this way.For the Fall leaf crewel piece I used a pen (disappearing ink) to drawn my own stitch guidelines. You want to stitch the piping on that guideline (of the front piece). This, of course, means that the piping hides the dash guidelines on the front fabric. While sewing I lift the piping up now and then so that I can see the printed guidelines and check that I am sewing the piping along the guidelines. I discussed below how I used the edge of the worked area as my stitch guide for the Entwined Pomegranates pillow and the Waves of Early Fall pillow. |
Sewing the piping onto the front fabricA few comments:
 This WIP photo of my Nantucket crewel pillow shows:
|
 You want your machine stitching to be as close as possible to the cord of the piping without the needle going into the cotton of the cord.The cord piping is stitched right along what you have decided to be the outer edge of the pillow’s shape. |
Creating the Sleeve for the Piping: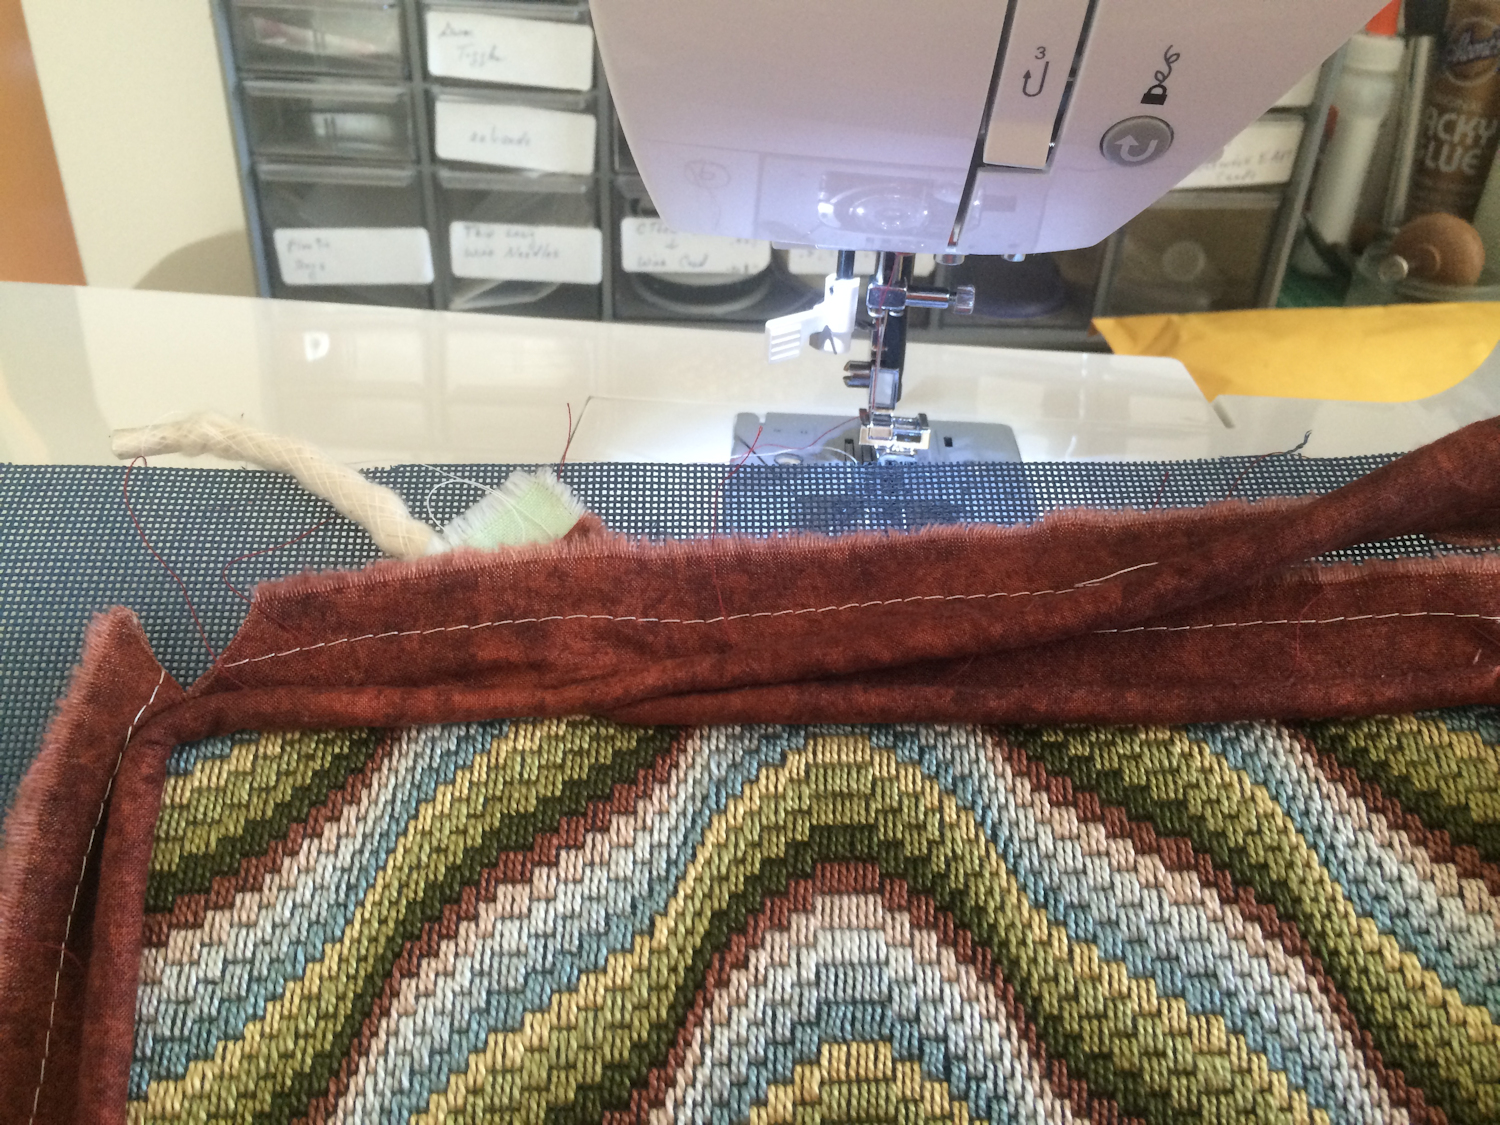 I am jumping ahead a little discussing securing the ends of the piping but here go’s …. This photo shows how I cross the ends of the piping and then sew them. Go slowly, you don’t want to break your sewing machine needle as you go through the thickness of the cord. |
 WIP of when I have finished the pillow and pulled it to be outside out. The neon green arrow points to where I had secured both raw ends of the piping with slanting it. |
 Left photo shows securing the starting end of the piping. After my third pillow I decided it was easier on me and the sewing machine to go backwards when first going over the slanted piping. |
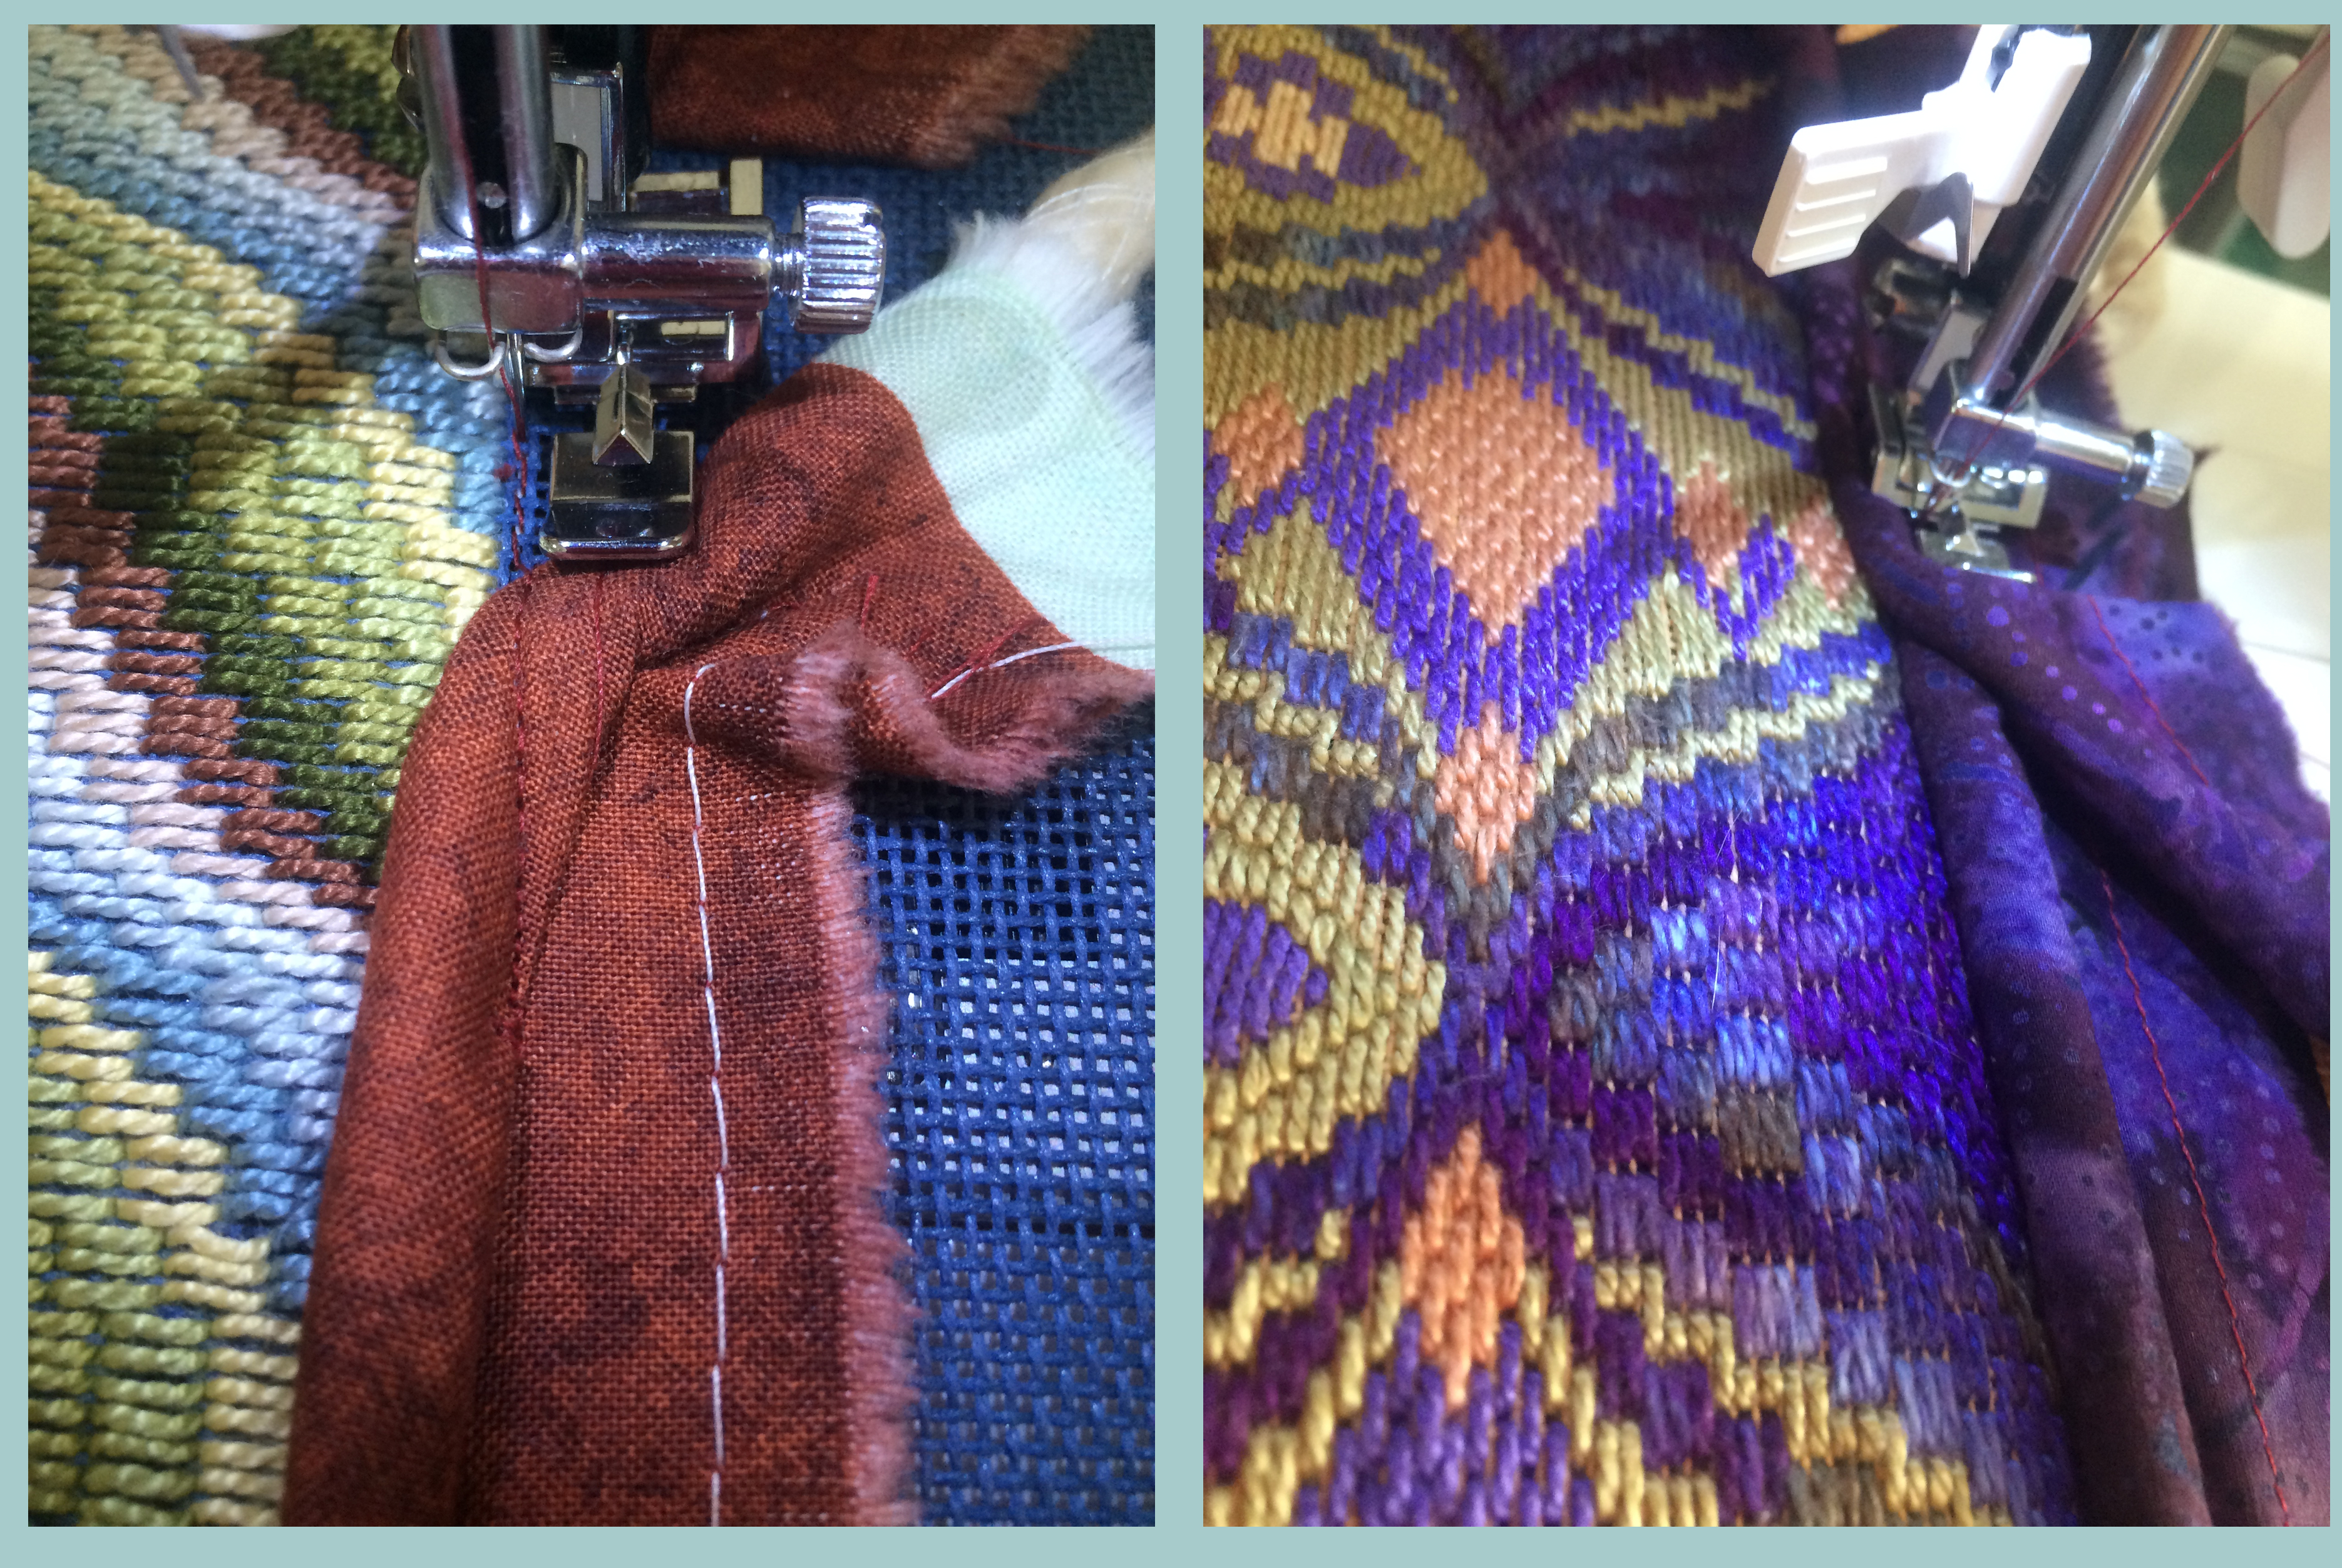
Securing the piping to front fabric: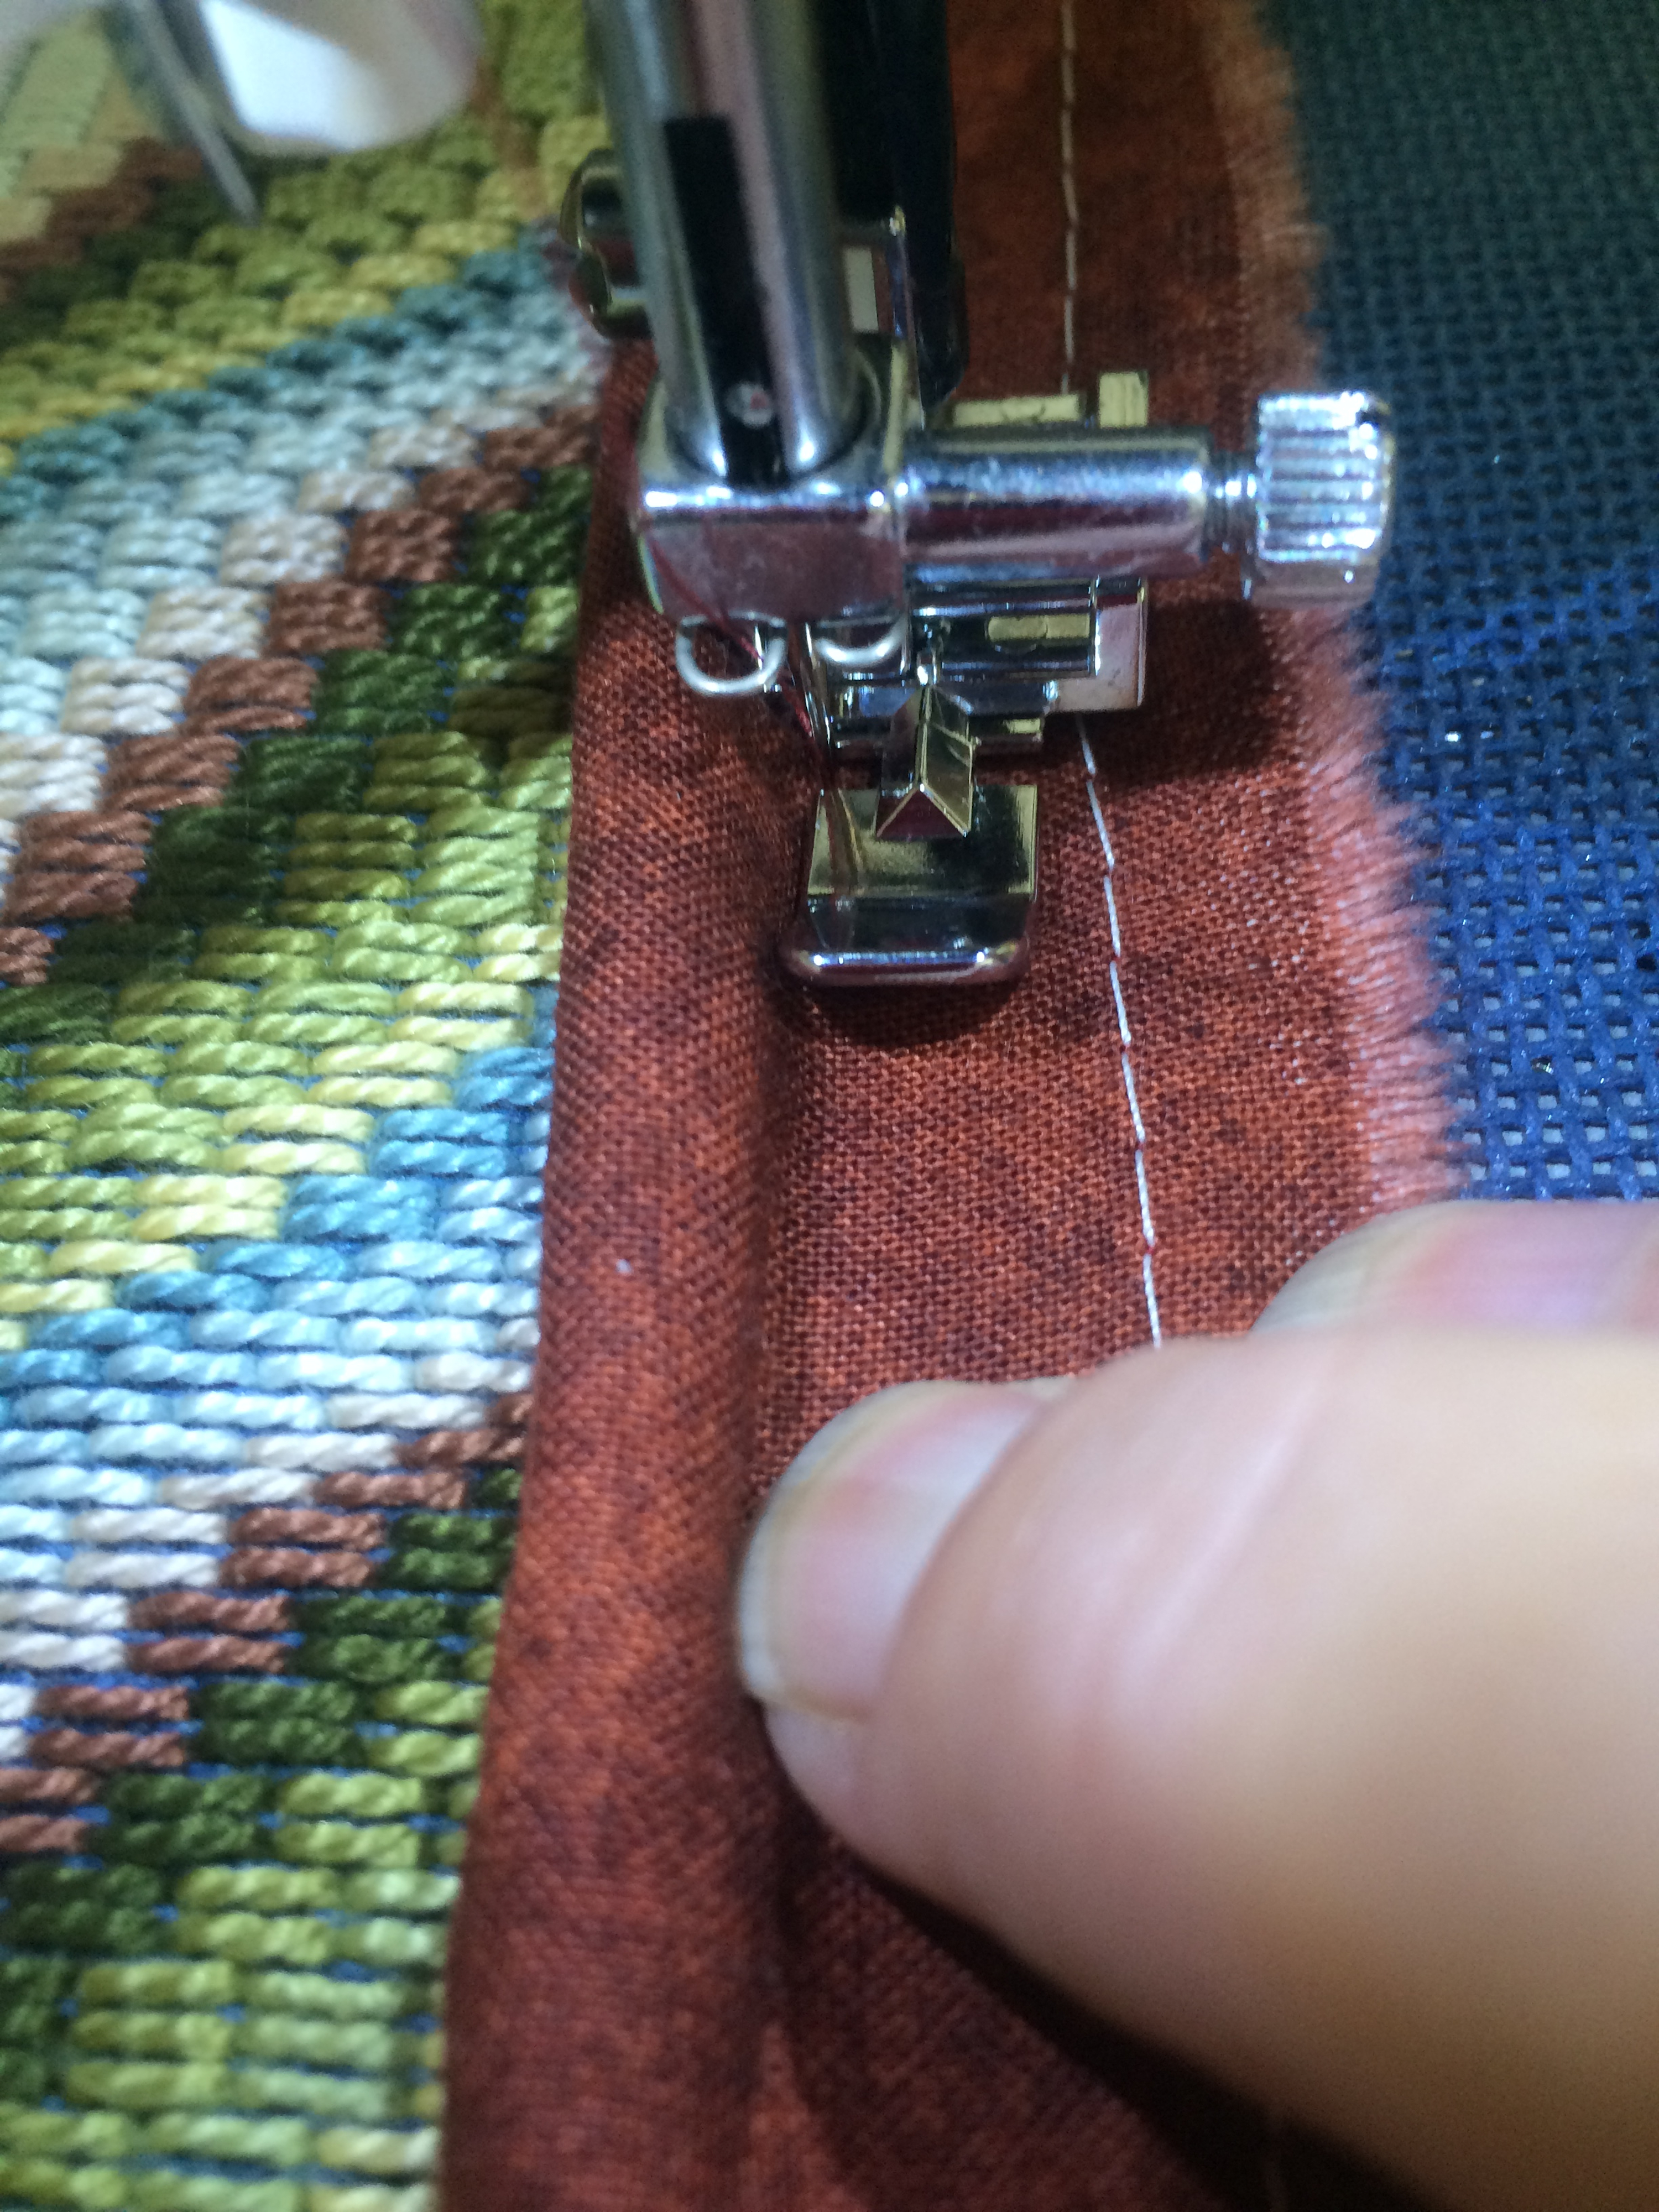 In this photo you can see how I used my finger tip to (1) snug the piping to be right against the underneath worked area and (2) used my finger tip to ensure that the cord inside the piping was pushed to be right against the fold of the piping sleeve. |
 For me, I found it best to do some angle snipping of the piping sleeve fabric so that it did not bunch as I sewed the corners.You can also see in this photo and the previous photo that the long stitched machine basing that I did to create the piping sleeve is far away (half inch or more) from the stitched sewing of securing the piping to the front piece. This long stitch basing for the piping sleeve will be gone when I trim excess fabric away before turning the pillow outside out. |
 I did squared corners for my first three pillows. For my fourth pillow I decided to do slanted corners. It was easier to machine sew the slanted corners, less fighting the piping sleeve fabric (to keep it from bunching over). Viewing the finished pillows at the bottom of this page you can see the soft rounded corners I got on the Entwined Pomegranates pillow by sewing the corners with a slight slant (instead of square). |
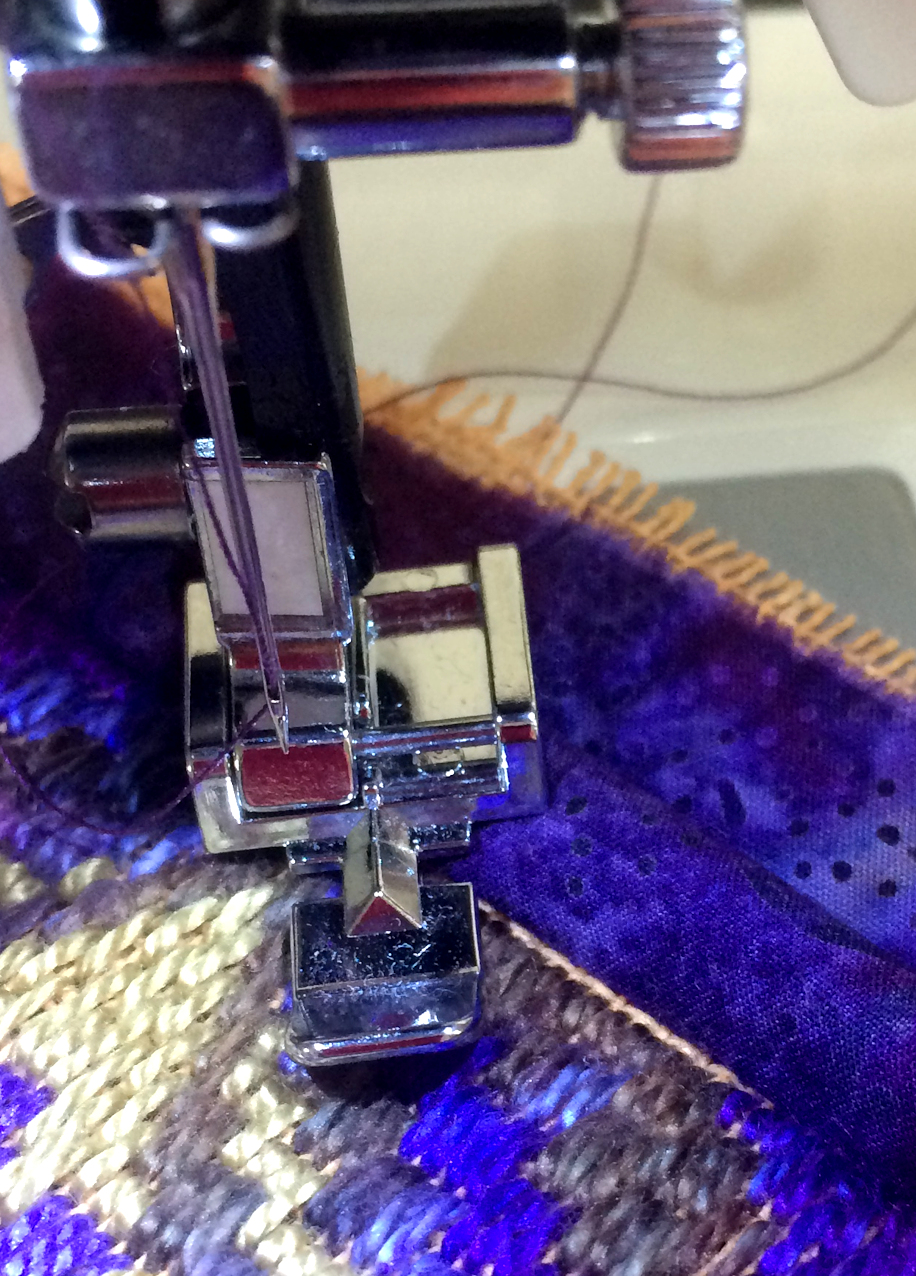 The piping is machine sewn all the way around onto the front fabric. Once done I then closely examine my work to ensure that I have stayed on the “line” that I want to define the shape of the pillow. Using my finger tips I push the piping back to see if I have machine sewn into the worked area on the front piece (if so remove the machine sewn thread and try again) and also I checked to ensure I haven’t move the sewing foot away from the guideline for the pillow shape.In this above photo I am using the pressure foot of the sewing machine to push the piping back so that I can take a photo and show you a place where I sewed away from the guideline and created a sliver where raw fabric of the front piece is peeking through. To correct this I just went back over that area, machine sewing as I fingertip pushed to get the pressure foot snugger against the piping and hence was able to sew along the guideline. |
|
You are now going to stitch the back fabric onto the layer of front fabric and piping. You place the back fabric to be wrong side up, in that (as you can see in the photo) the good side of your back fabric will be facing the good side of your work piece. Stitching the back fabric on is worked rather blindly. With the three layers (front, piping, back fabric) in place, I use my finger tips to feel the sew line of the piping to the front fabric and to push the piping slightly inward so the sewing machine’s needle did not snag it. The neon green arrows on the photo point to where you will be machine sewing. Remember, you want to be sewing quite snug against the piping.I worked (the machine sewing) slowly. Keeping a watch that the back fabric was not skewing and making sure that I was stitching close to but not into the bulge of the piping. Be sure along one side to leave several inches un-sewn in order to pull the pillow outside out and for stuffing the pillow. |
 I didn’t think to take a photo of this before pulling the pillow to be right side out. So that is why you are seeing the good side of the backing fabric. As you come around sewing the back fabric onto the front/piping layers you need to leave about five inches unstitched. This is in order to be able to slide you hand in, grab a corner and pull your pillow to be right side out.Recall the one side of the pillow has where you crossed over and sewed the piping ends. I suggest to do the open, unsewn area of the backing fabric’s seam on one of the other three sides of the pillow. |
 When finished machine sewing the pillow is inside out. This is my last chance to easily correct any problem so I once again did a careful check of the machine sewing to make sure that the stitched three layers lay nice and flat (in that nothing skewed or bunched as I did the machine stitching). Once Ok with my efforts I cut (the raw edges) away (about an inch) from this final stitch line except for the fabric near the open, unsewn area of the seam. I like to leave the fabric in that area to be about two inches in width.I next folded the back fabric at the unsewn side and ironed a sharp crease along this unstitched part of the back fabric. This (the sharp crease) will help me when I do the hand stitching after stuffing the pillow. |
 It is through this open area that I stick my hand in, grab a corner and begin to pull the pillow to be right side out.Take your time pulling the pillow to be right side out and then when the pillow is all the way turned out do a check of your corners and other machine sewn areas. |
 I like to use loose filling, which I rip/pull into 2-3 inch fully balls and push them into the pillow’s inside.Adding the filling I first push filling into the corners, then along the sides and finally into the center. Hand sewing closes up this access opening along the seam. |
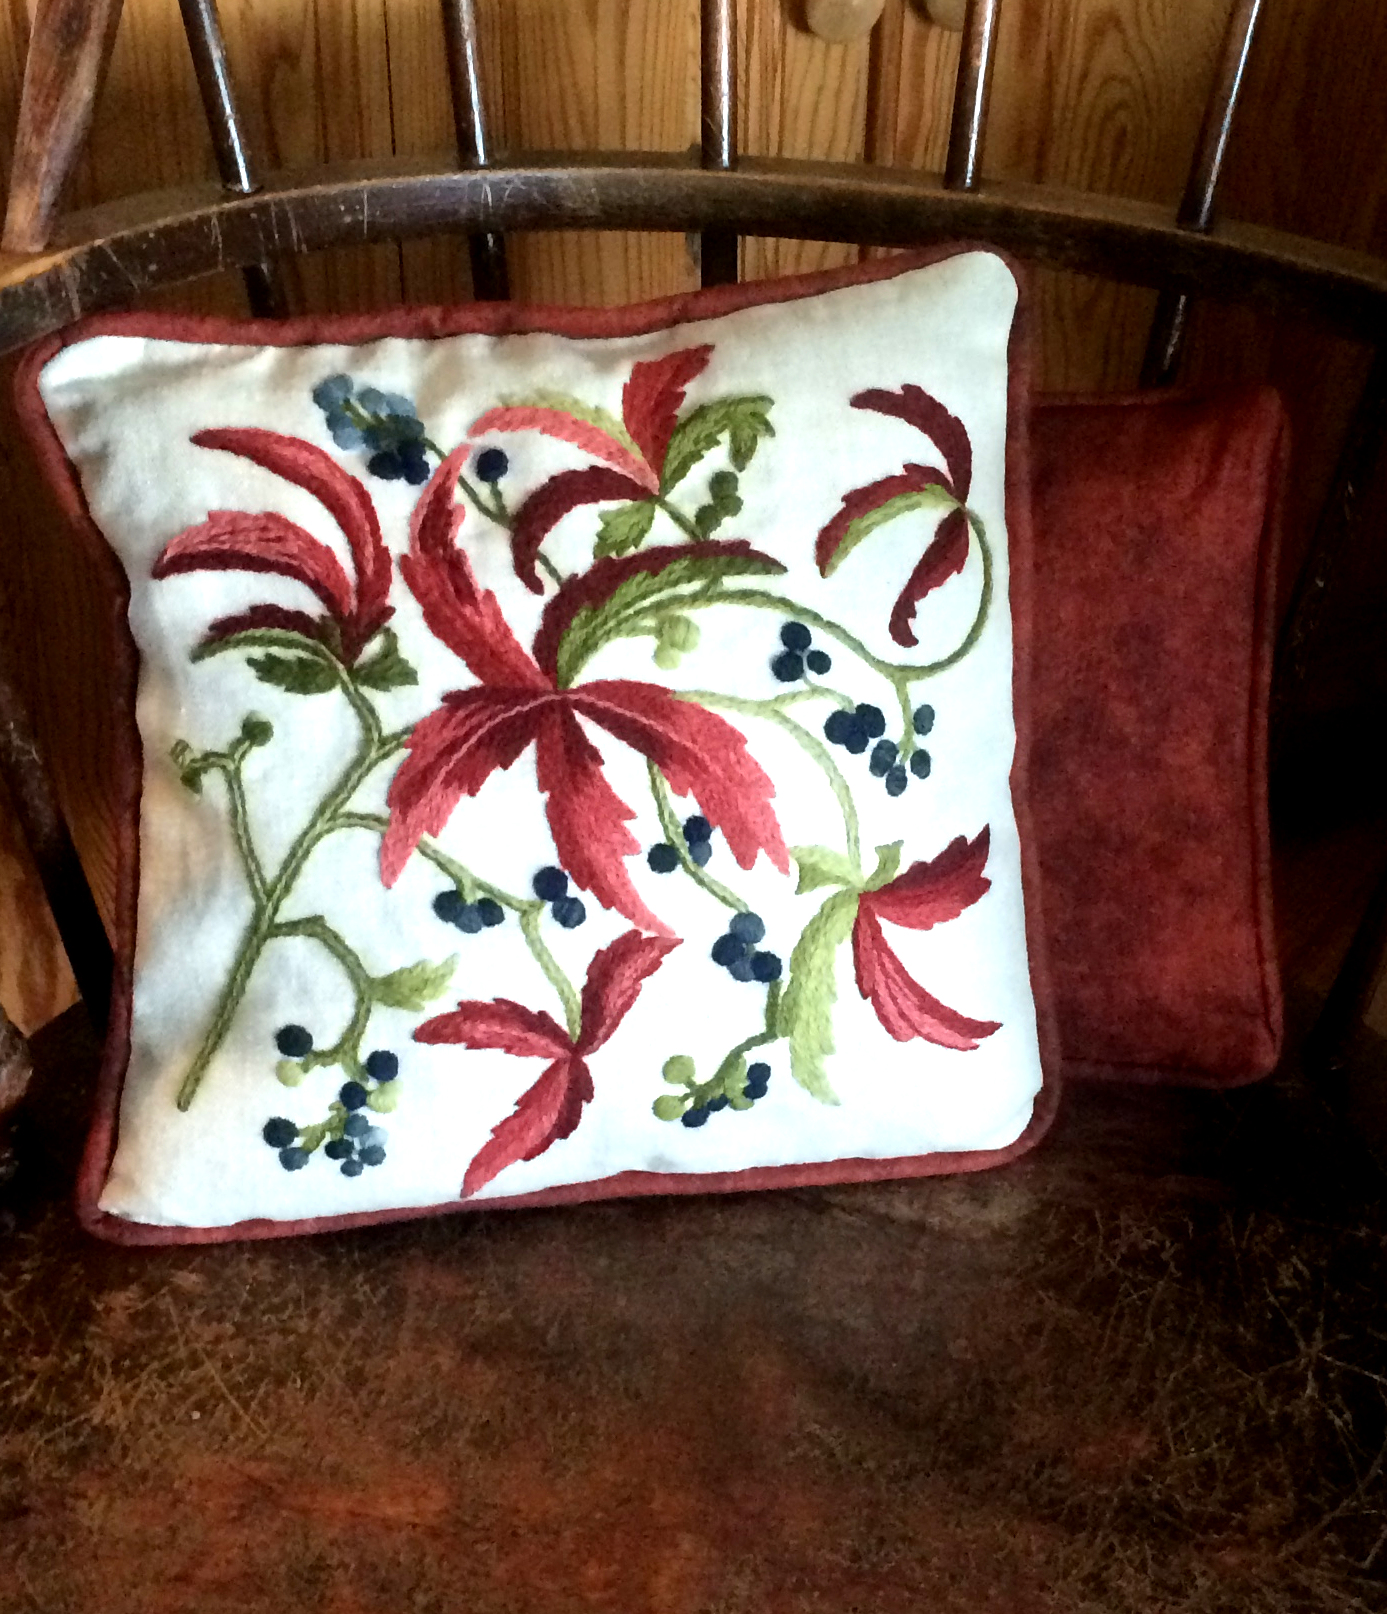 Designer for the Fall Leaf pillow is Elsa Williams. This kit was produced in the 1980’s and is one of my eBay finds. 10 x 13 design printed on Belgium linen which I stitched then finished as a 12-inch square pillow. Behind pillow is the backing fabric for Waves of Early Fall pillow. |
|
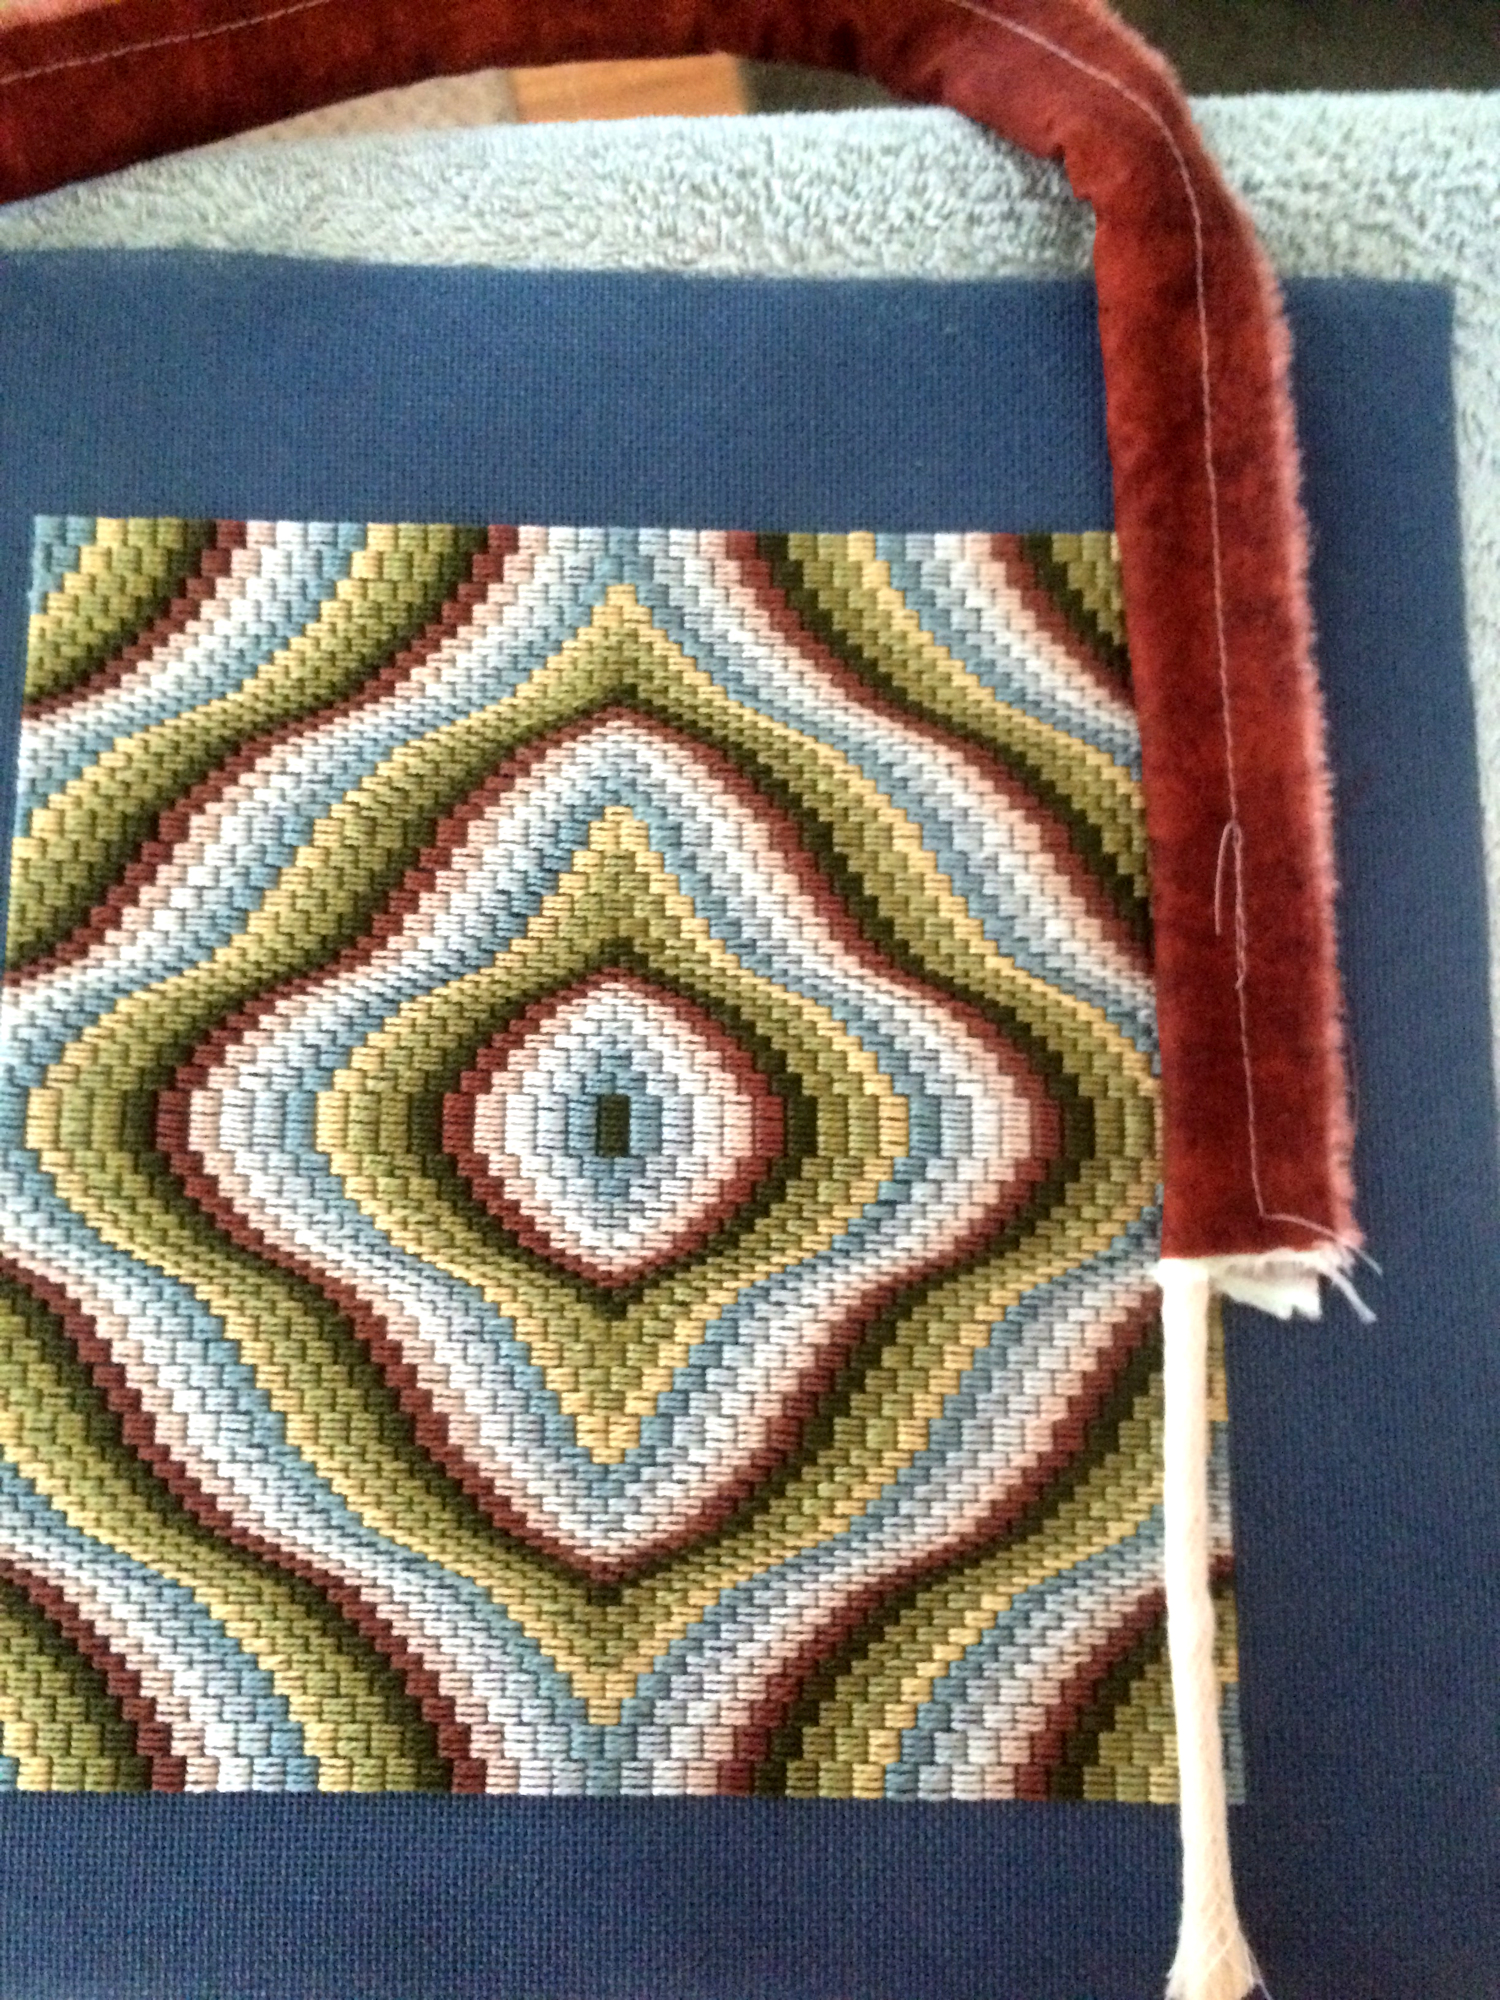
Waves of Early Fall is a Bargello counted needlework embroidery that I design. Pillow size is 9-inch by 9.5-inch square. My booklet Waves of Early Fall, 40-plus pages in length, is offered in e-booklet format and printed as a 8 by 10 inch paper bound booklet. Click here for purchasing information. Behind pillow is the backing fabric for Fall leaf crewel pillow. |
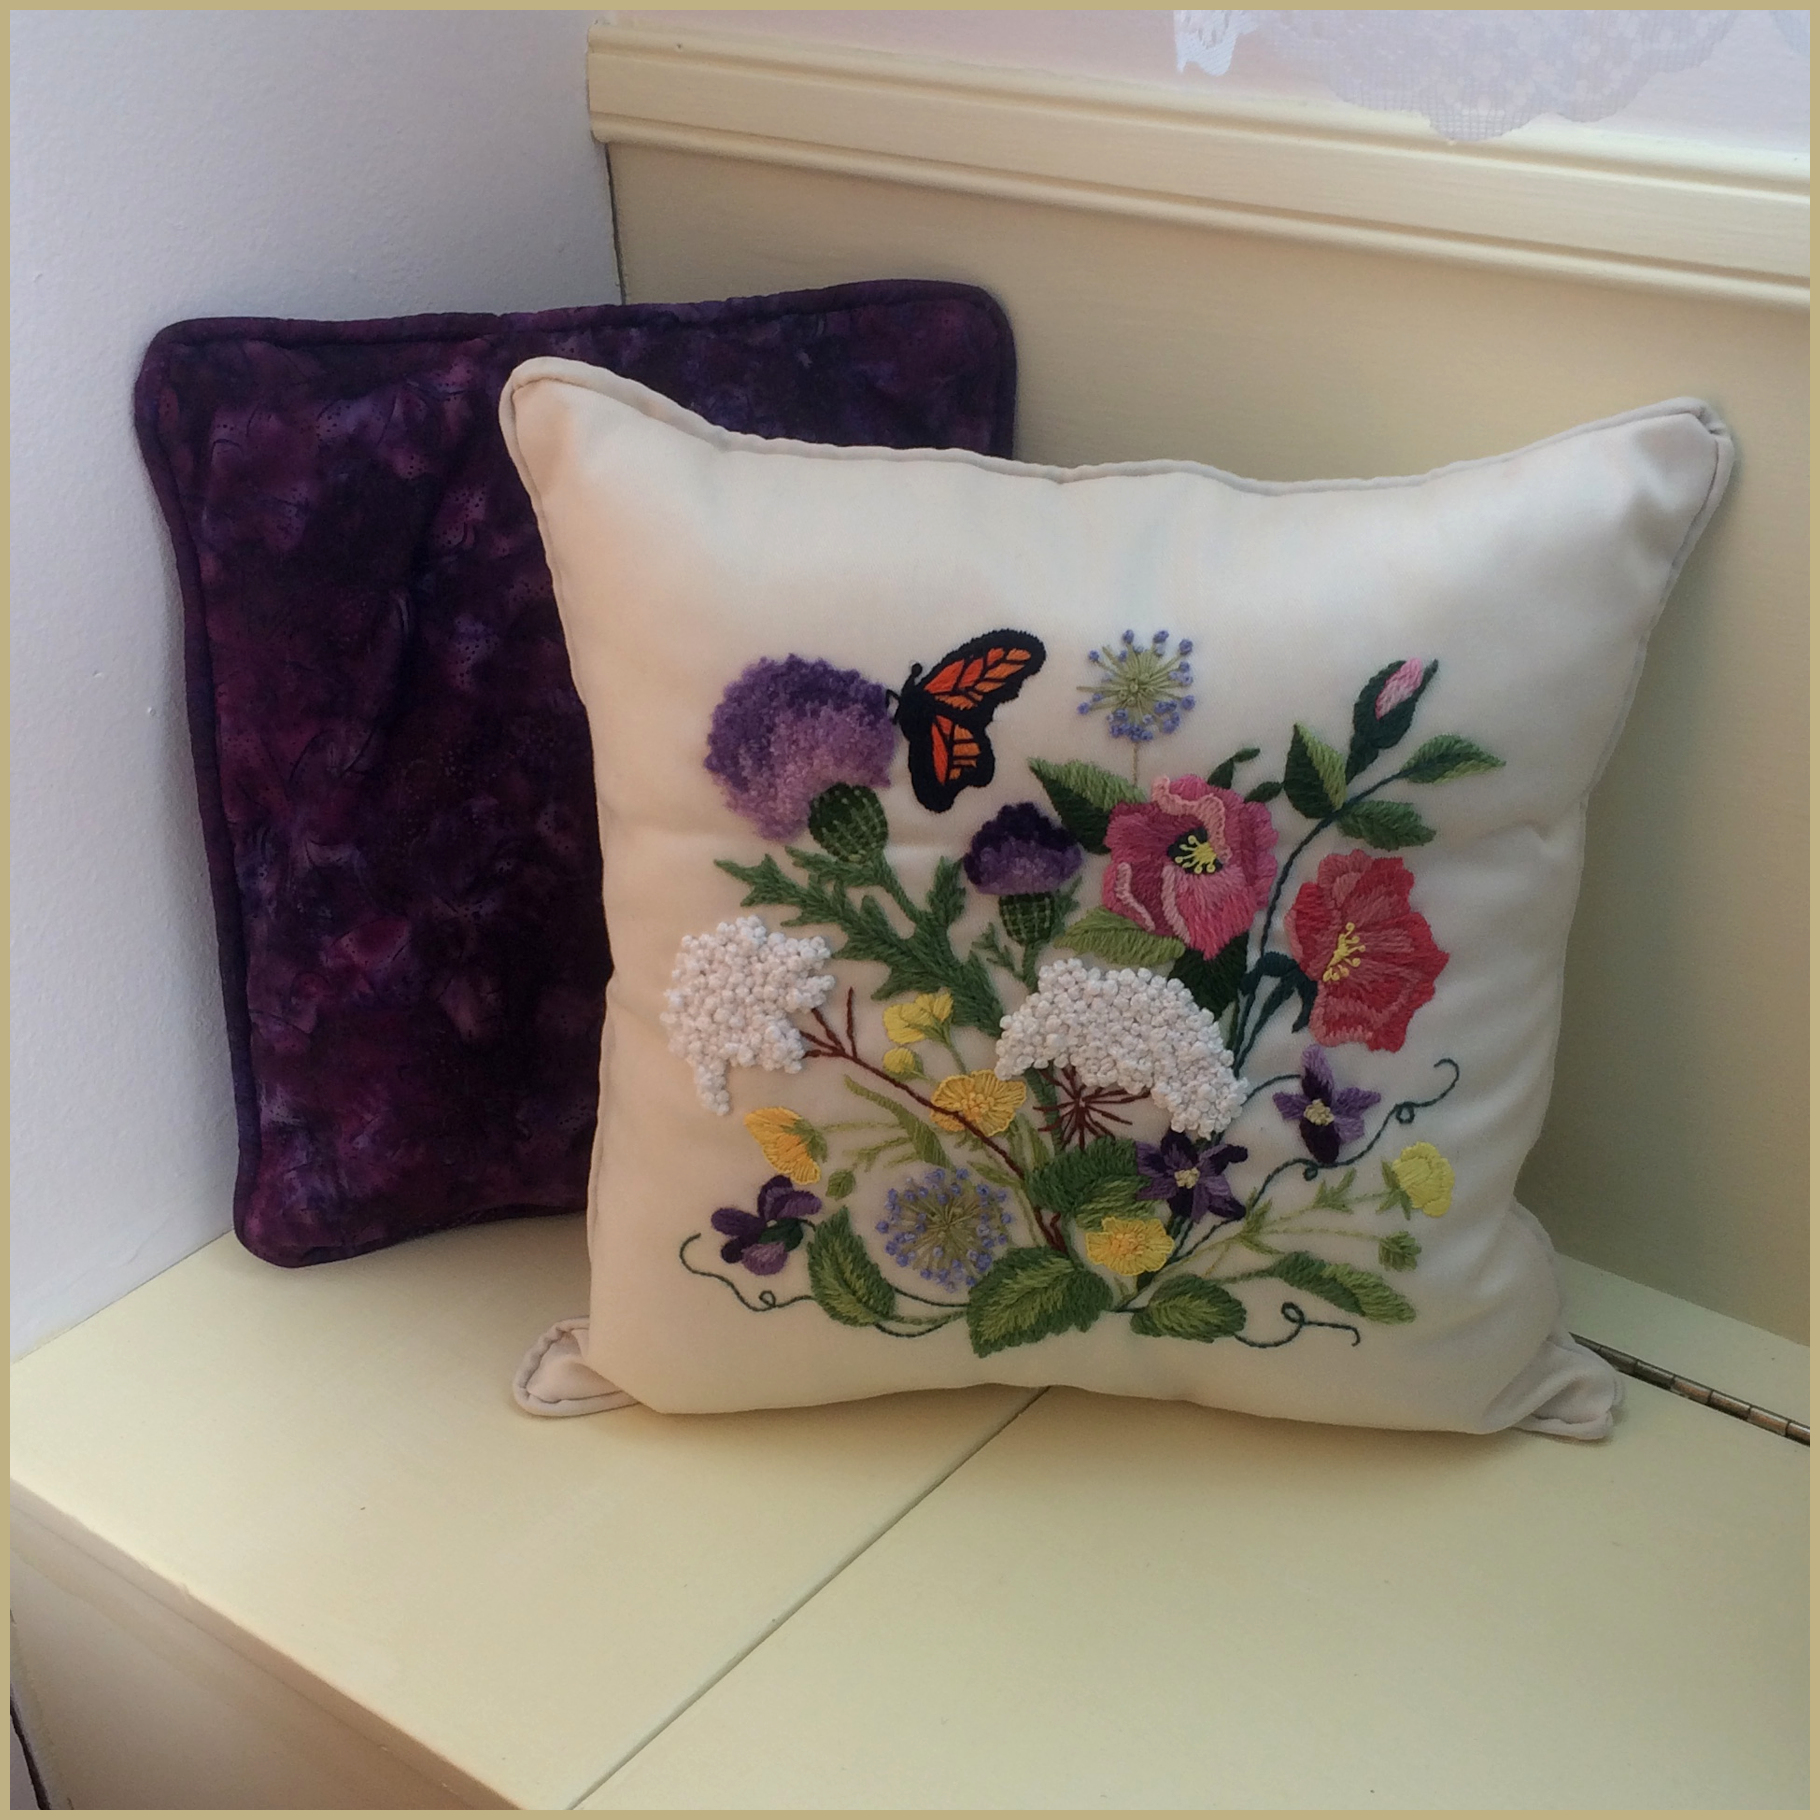 Designer for Nantucket Wildflowers is Erica Wilson. This kit was produced in 1982. Purchased 2014 on eBay as a full kit (minus the pillow fill). Design worked area is 10 x 10 inch, pillow size approximately 13-inch square. Behind pillow is the backing fabric for Entwined Pomegranates Pillow. |
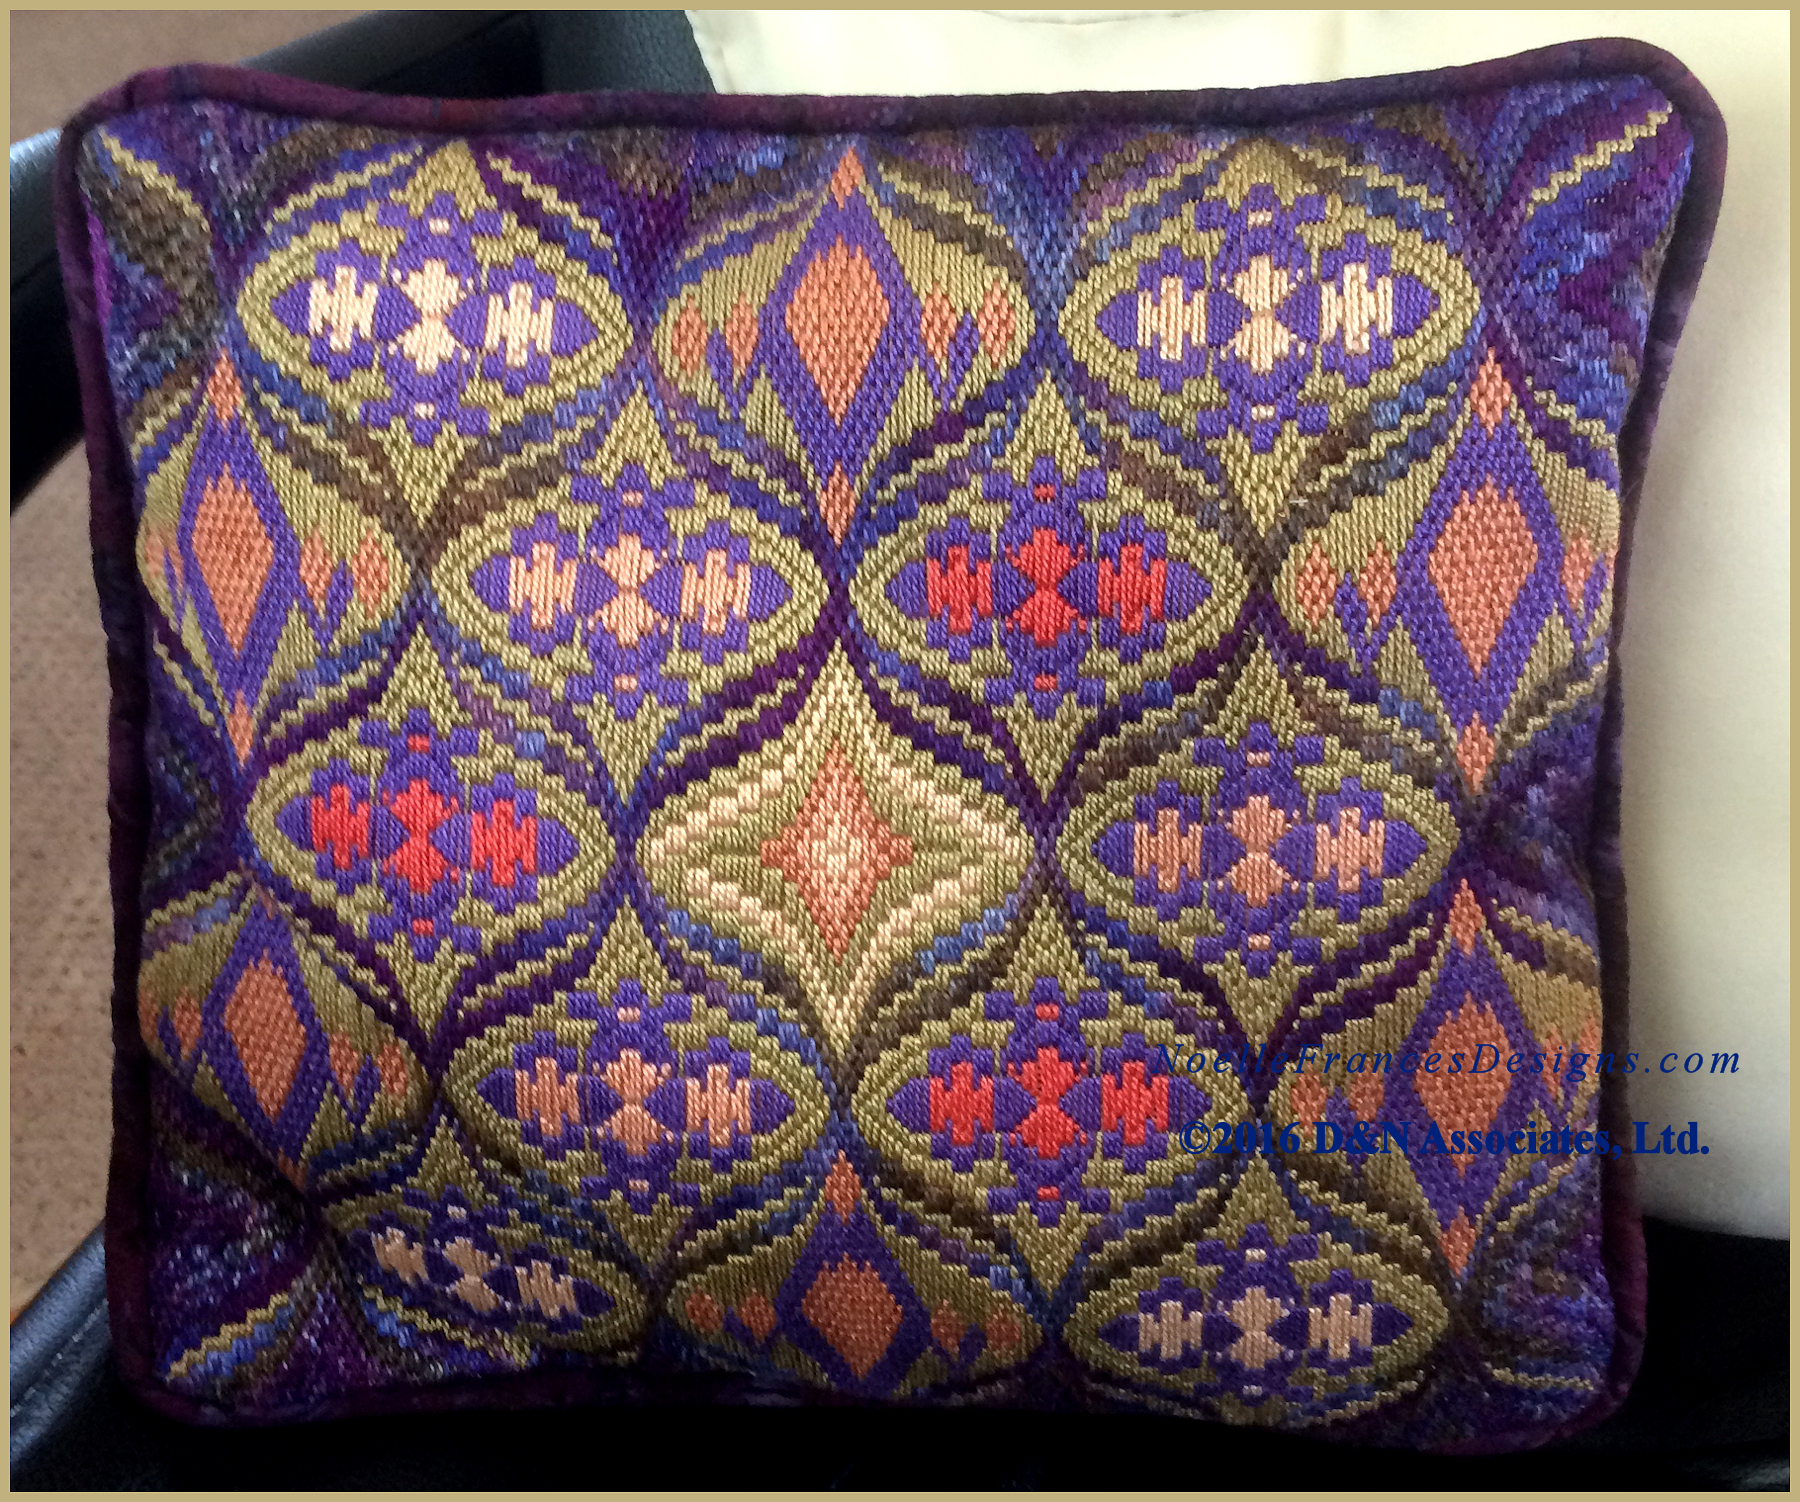 Entwined Pomegranates is a Bargello counted needlework embroidery that I design. Worked area is 13 by 11.75 inch. Pillow size is 13 by 11.75 inch when worked on 18-count. My booklet Entwined Pomegranates, 40-plus pages in length, is offered in e-booklet format and printed as a 8 by 10 inch paper bound booklet. Click this link for more information of the Entwined Pomegranates design. Behind pillow is the backing fabric for Nantucket Wildflowers pillow. |
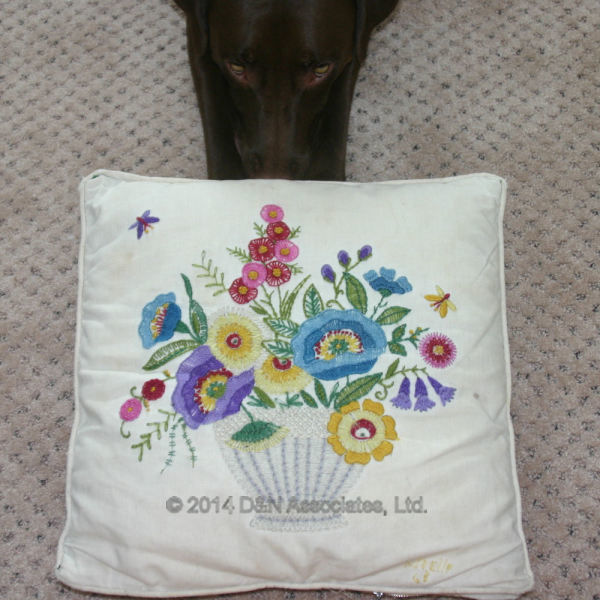
Below is my first pillow. Stitched 1968 (I stitched the date at a corner). I wonder if this was an early Elsa Williams kit? The kit came with everything, including the piping.
Our chocolate lab-weimaraner mix, Charlie (see at top of this photo) was slowing moving his front paws and nose under this pillow as I photoed. He actually helped me take a better photo of this pillow as he lifted the pillow up for a better photo angle then the pillow being flat on the floor!
Below is box form pillow (approx. 12 inch square) finished June 2017. Design is called Mayflower and is a crewel design worked on 100% linen using Paternayan wool yarn. Elsa Williams collection, designer Michael LeClair.
