
 |
 |
 |
 |
|
|
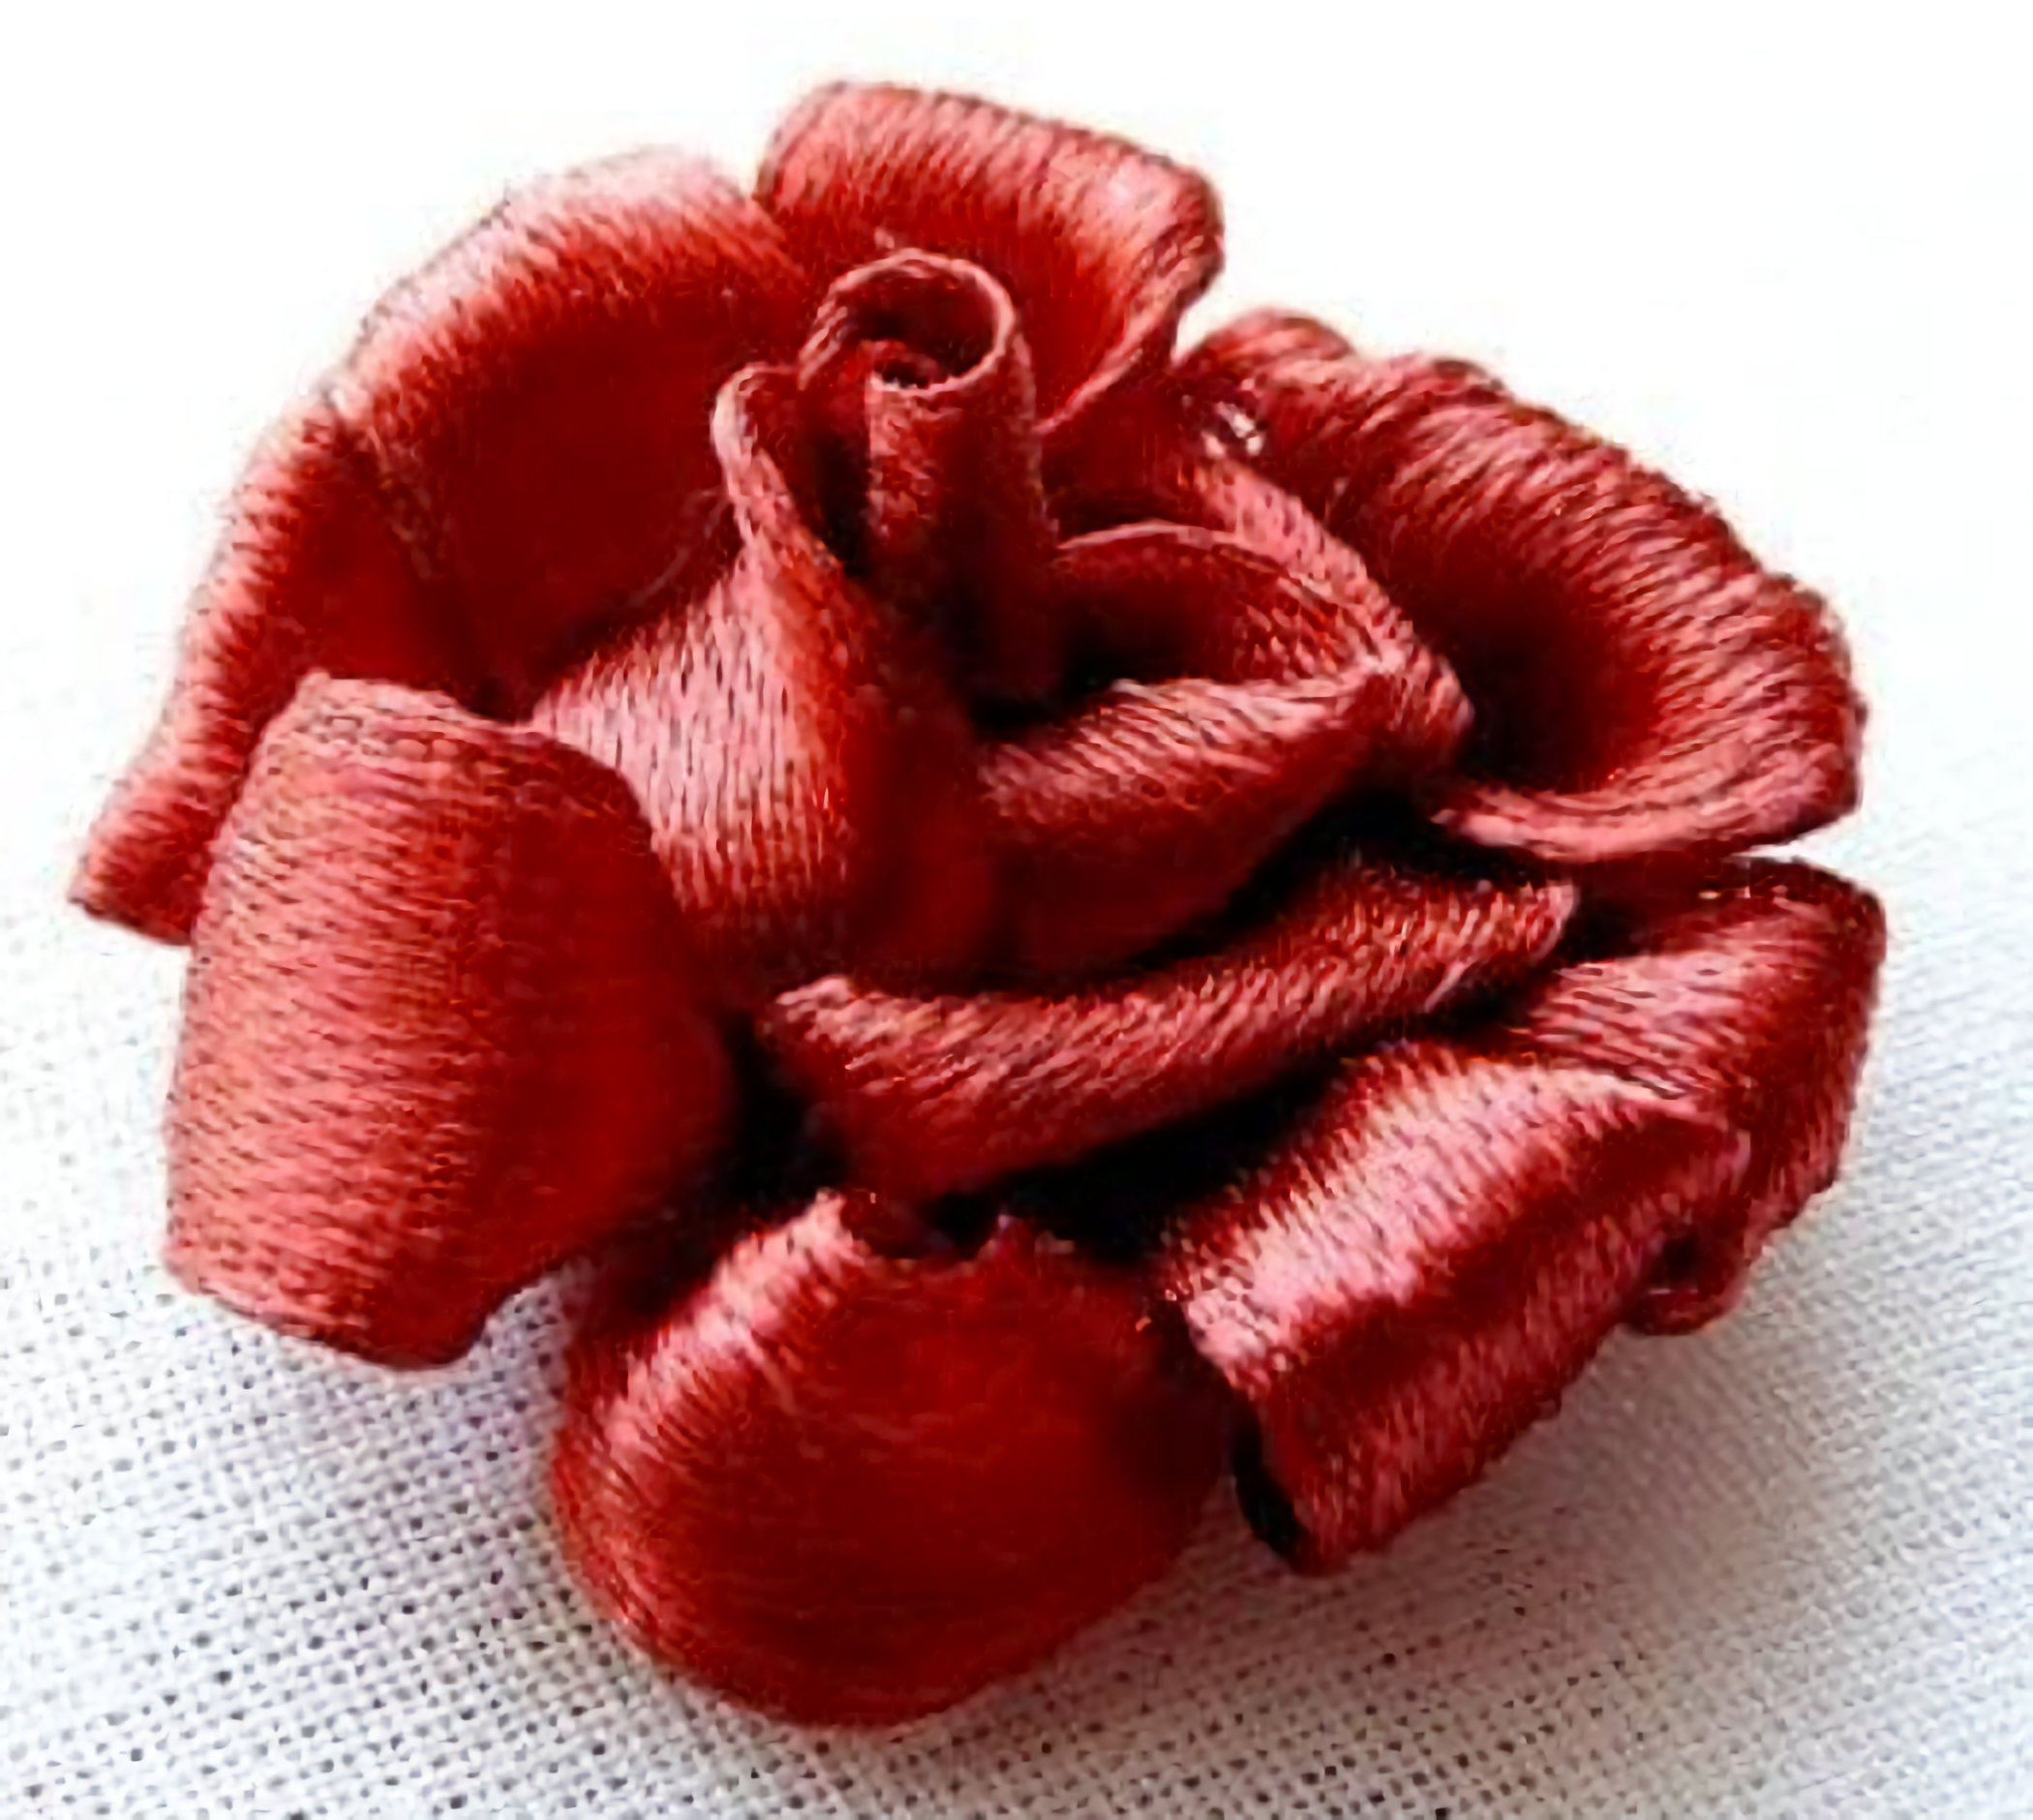
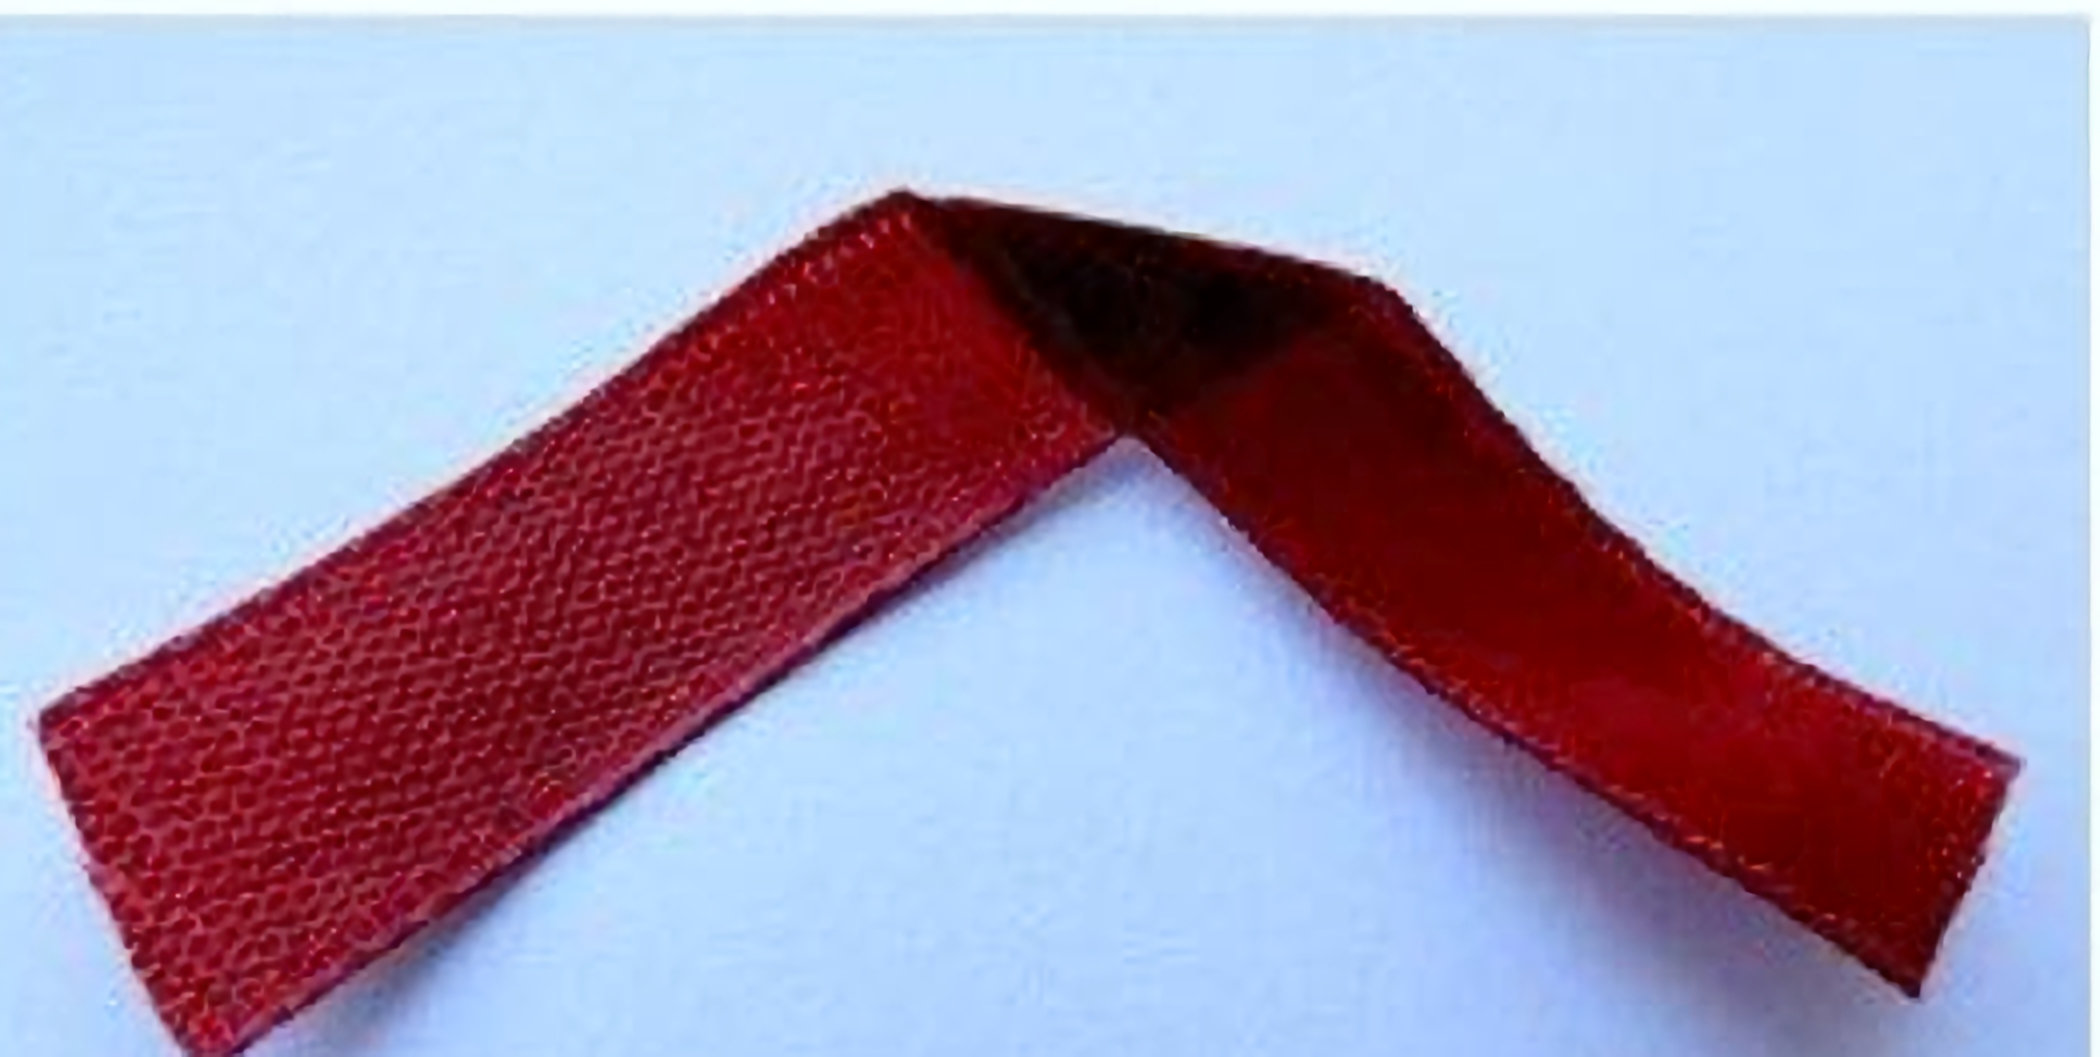
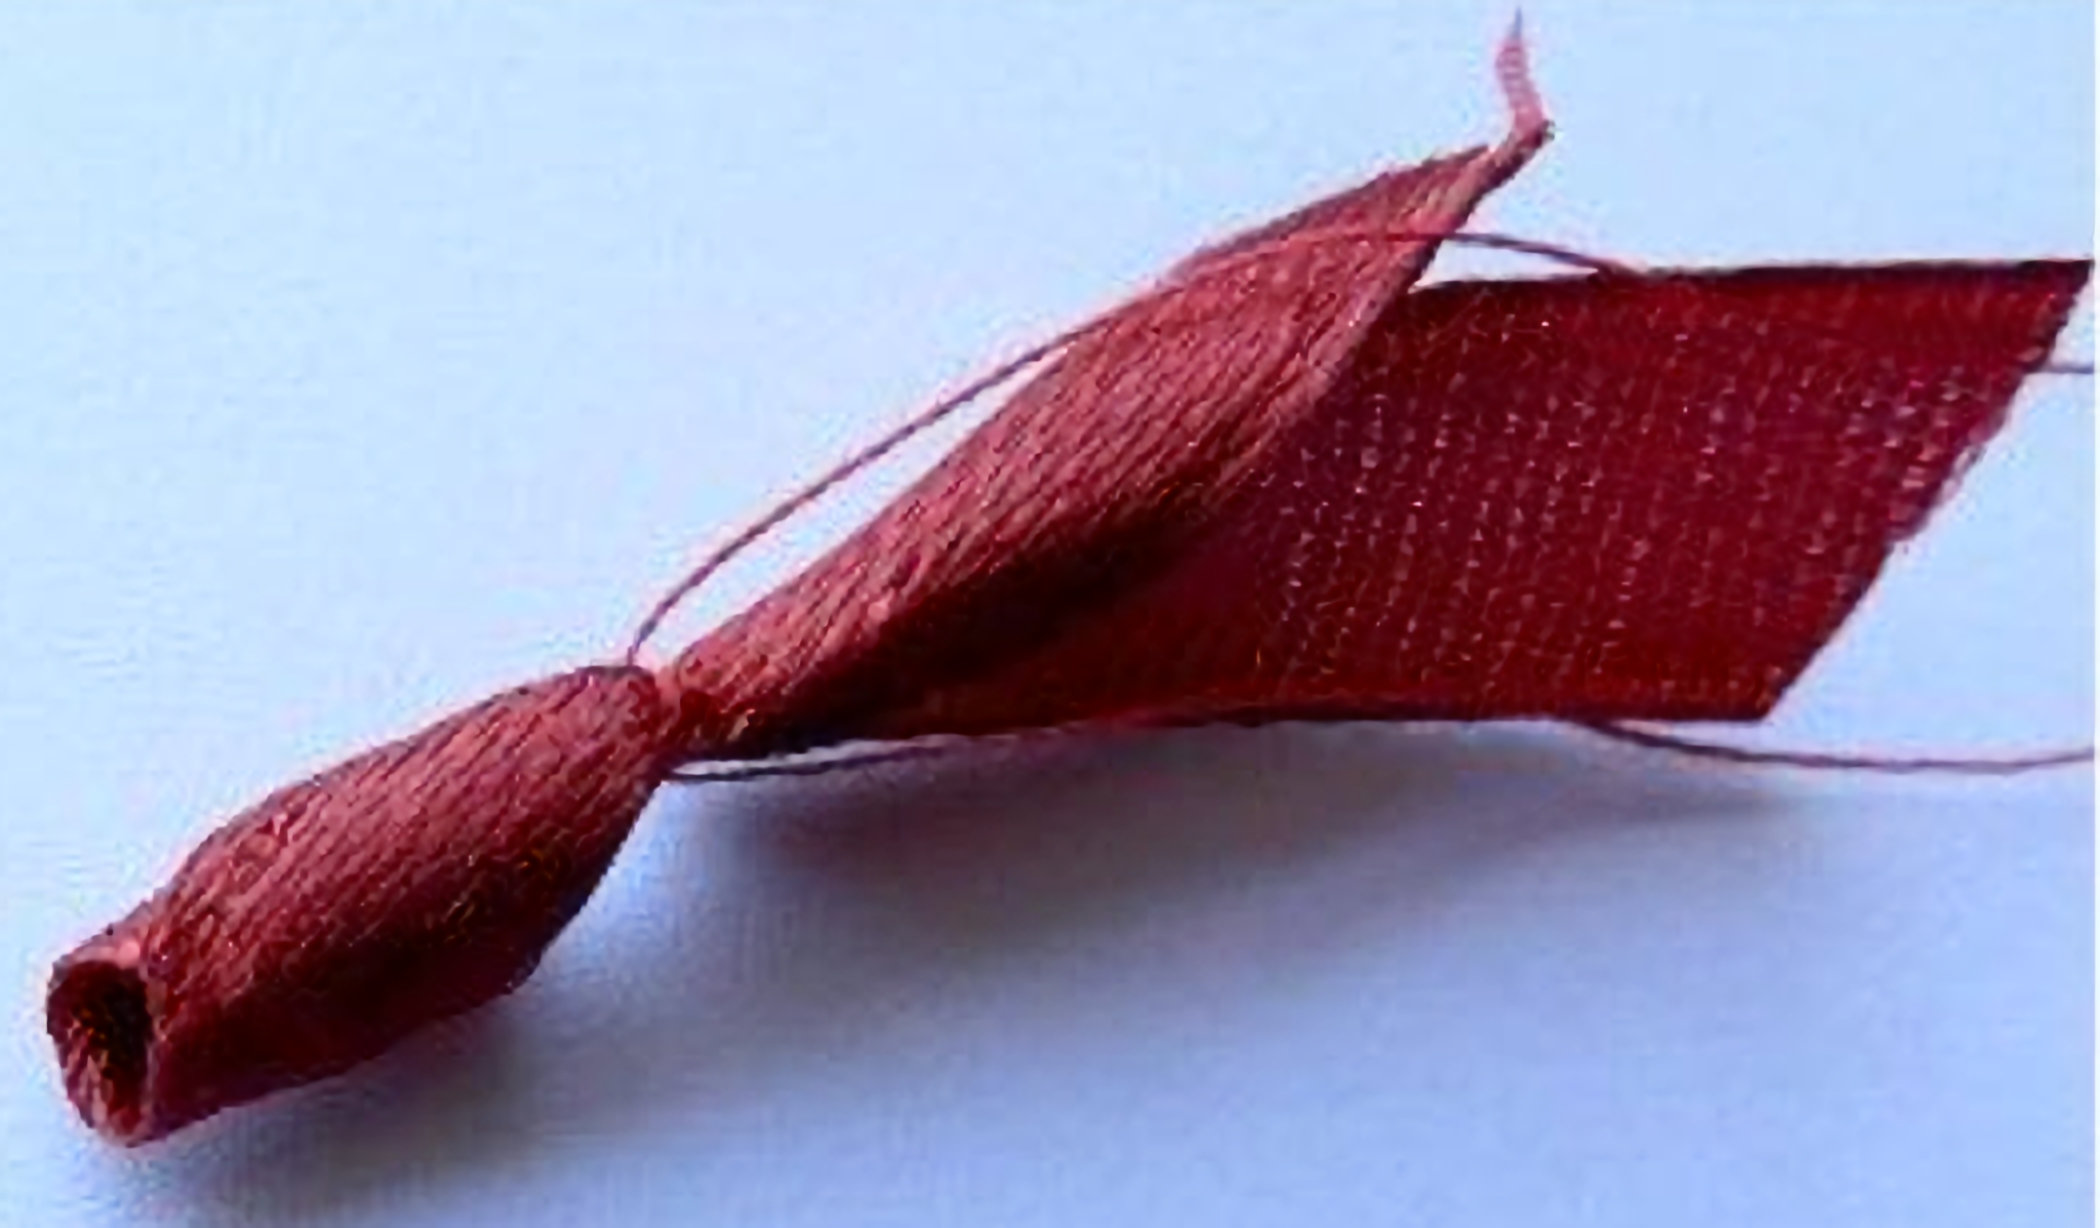
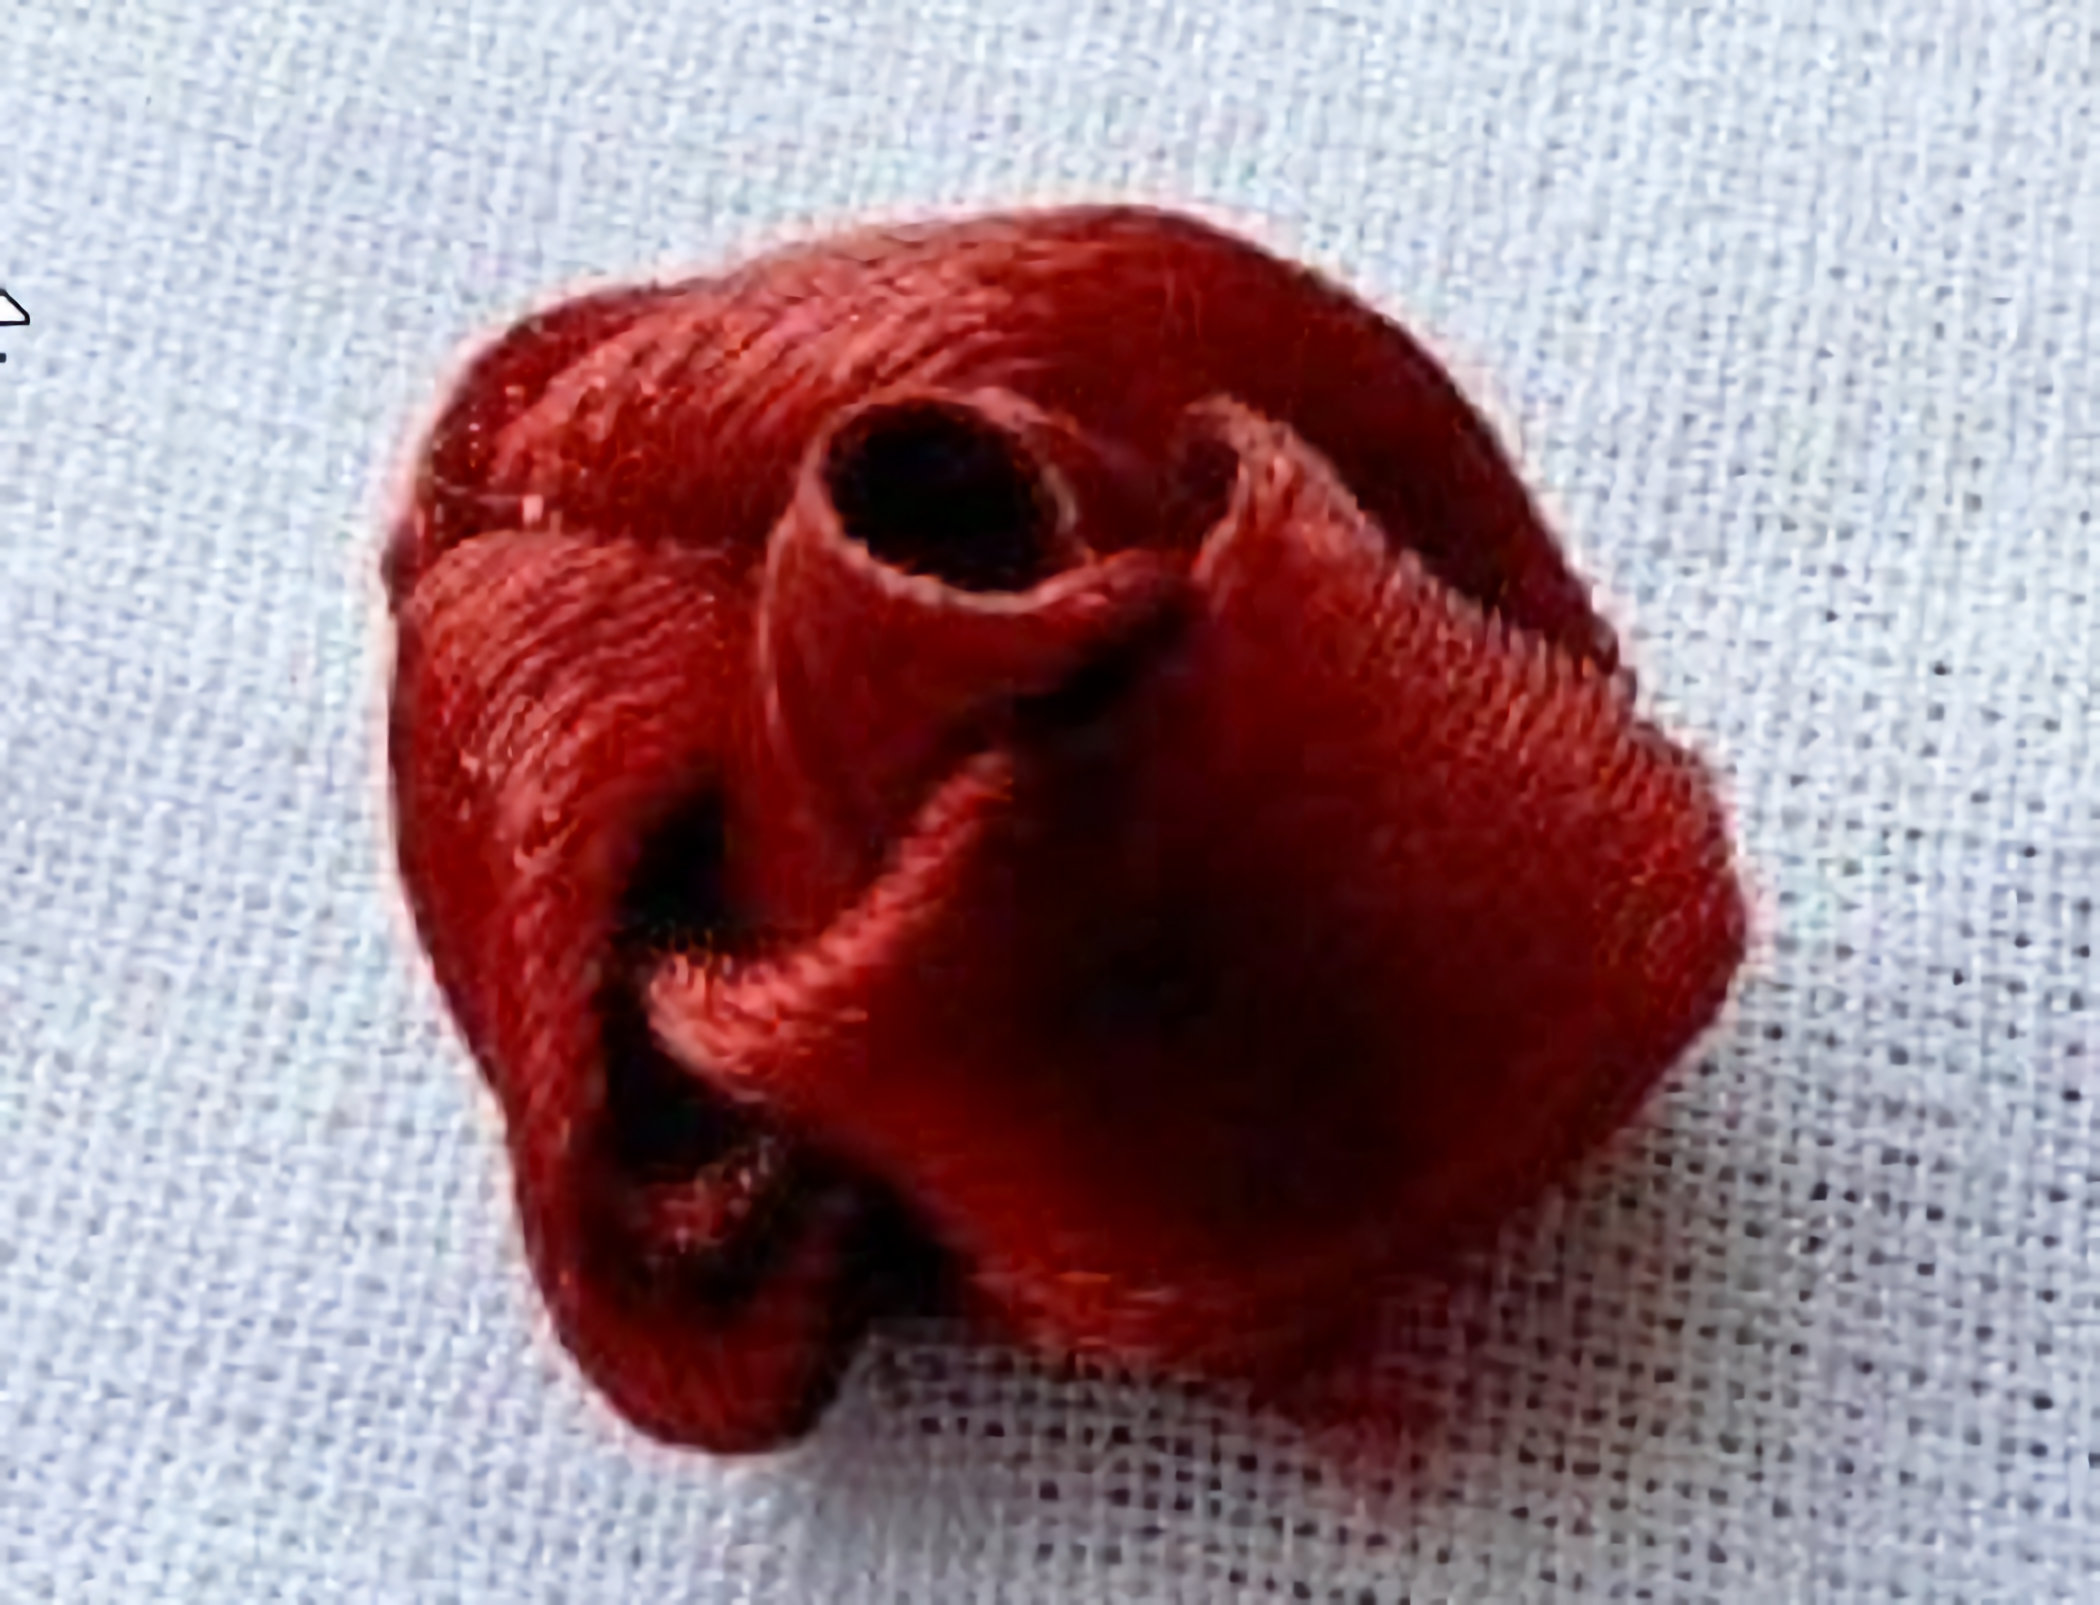
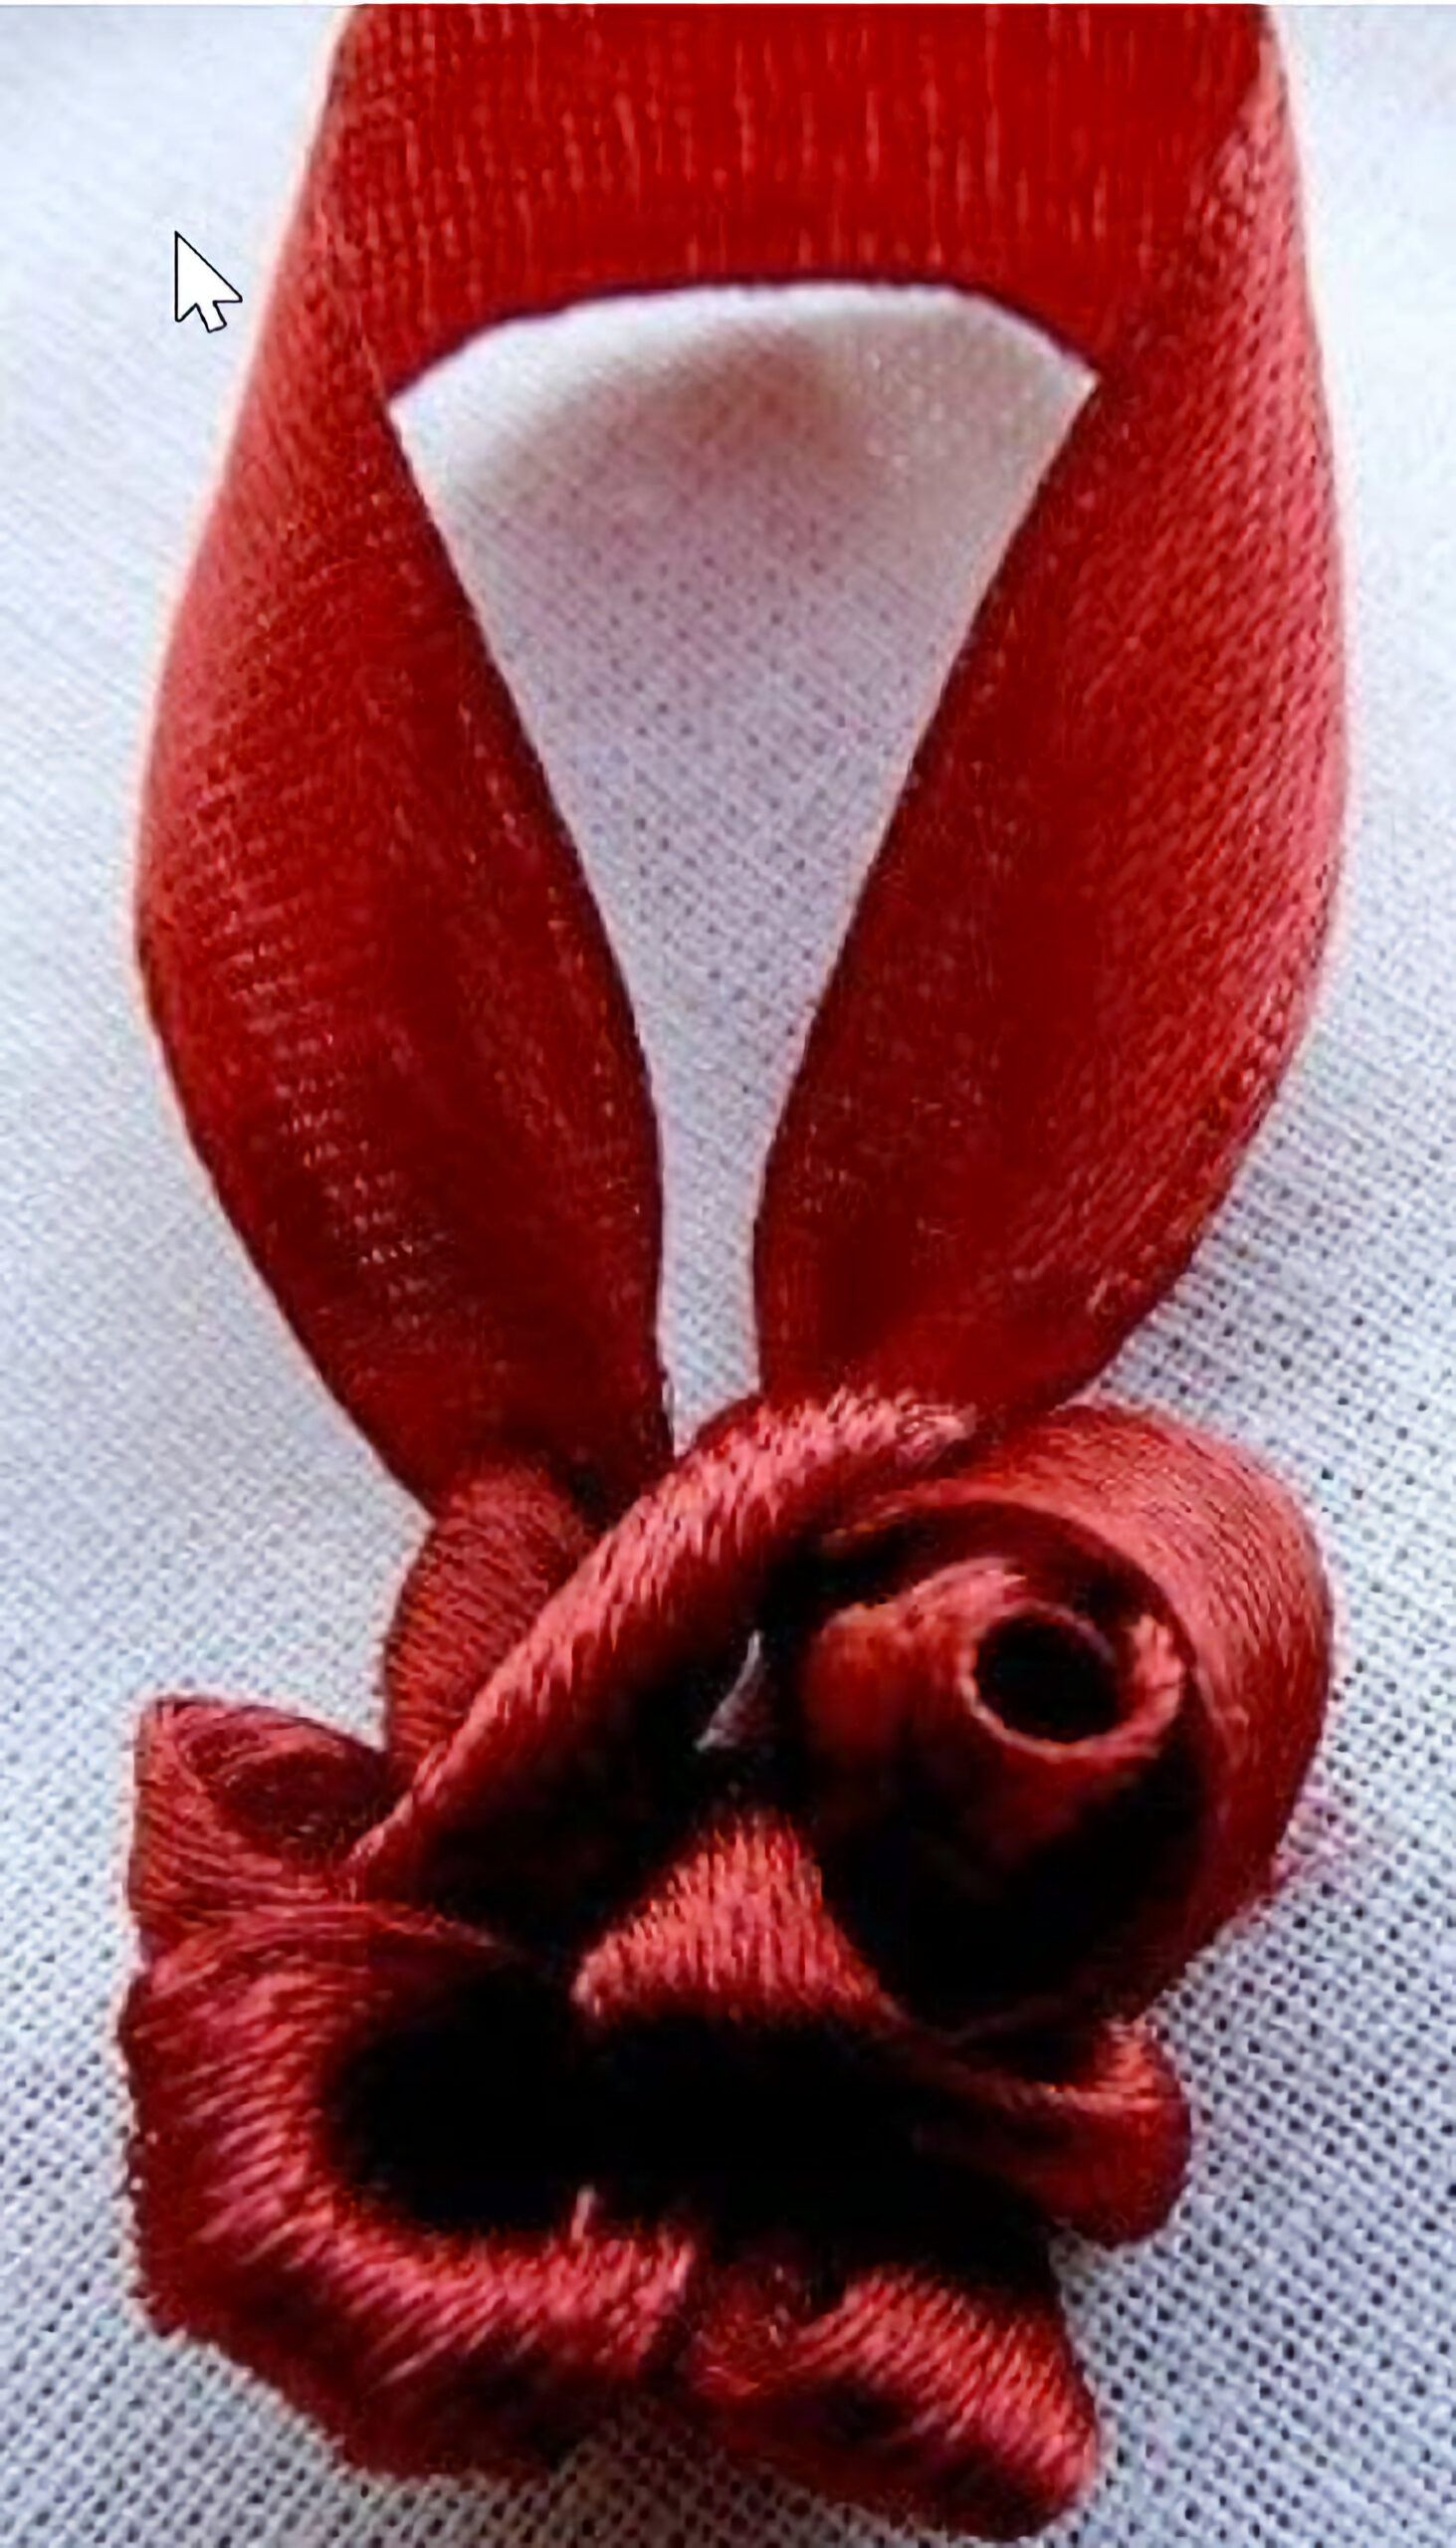
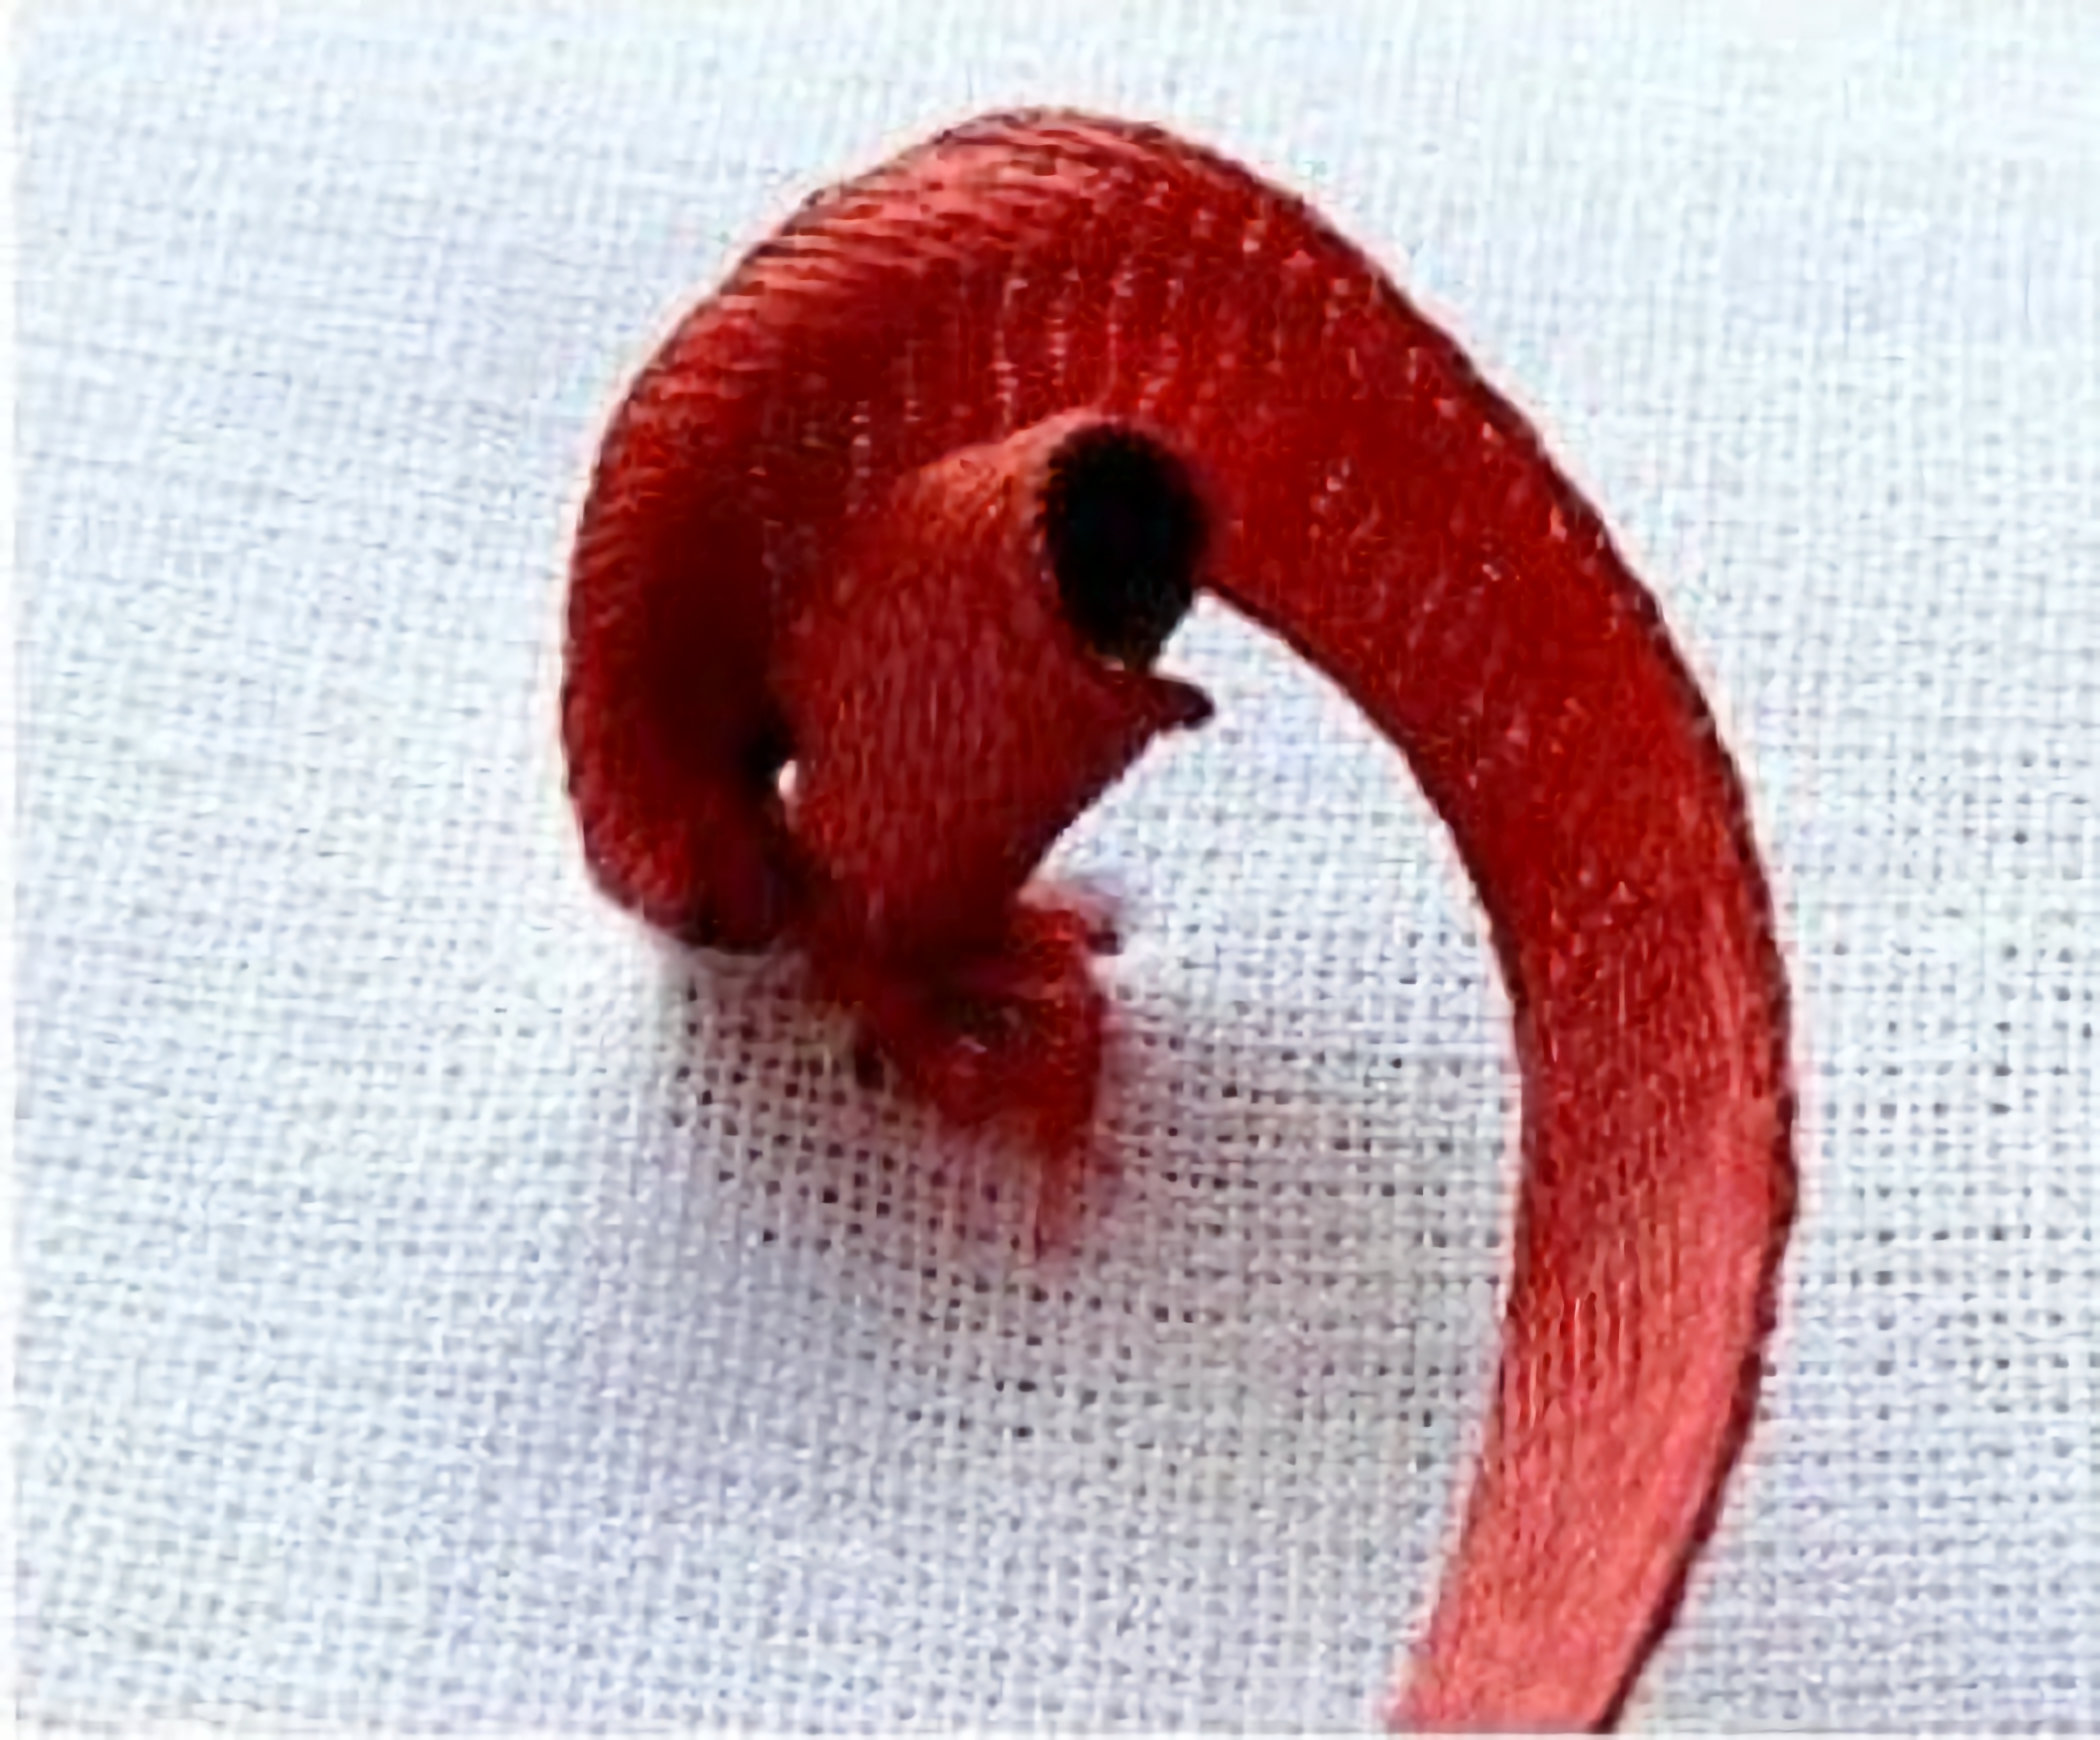
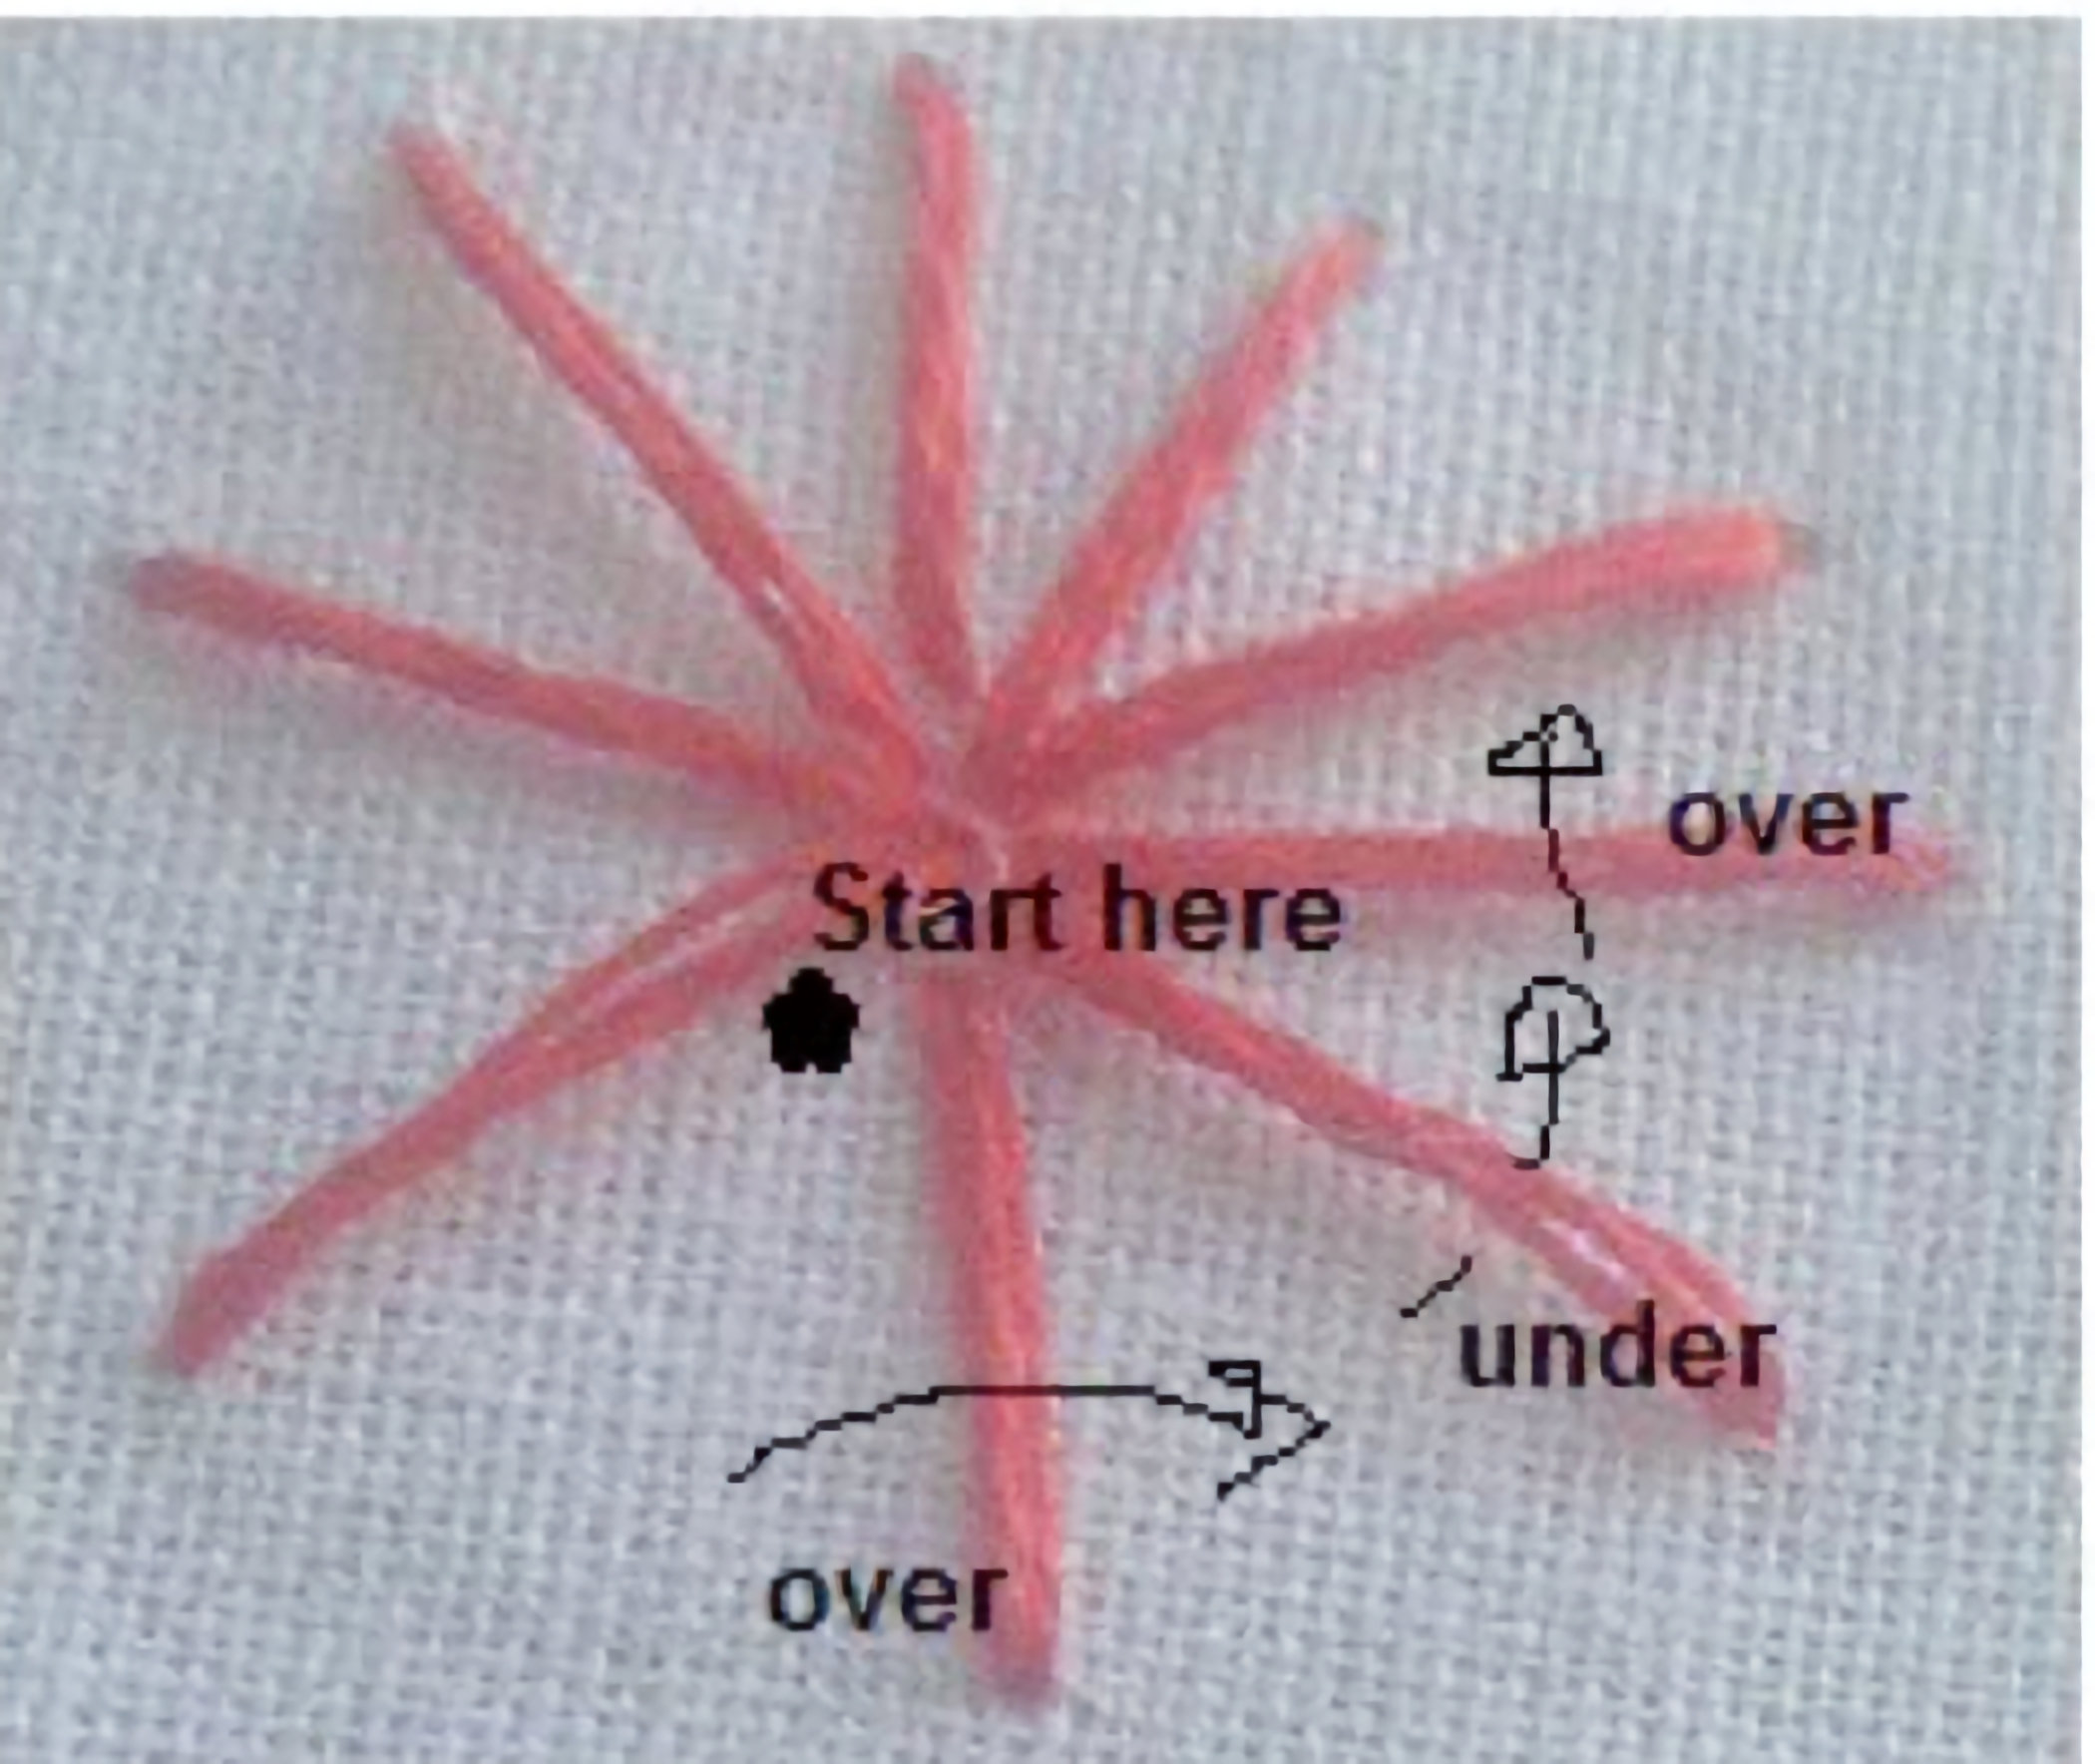
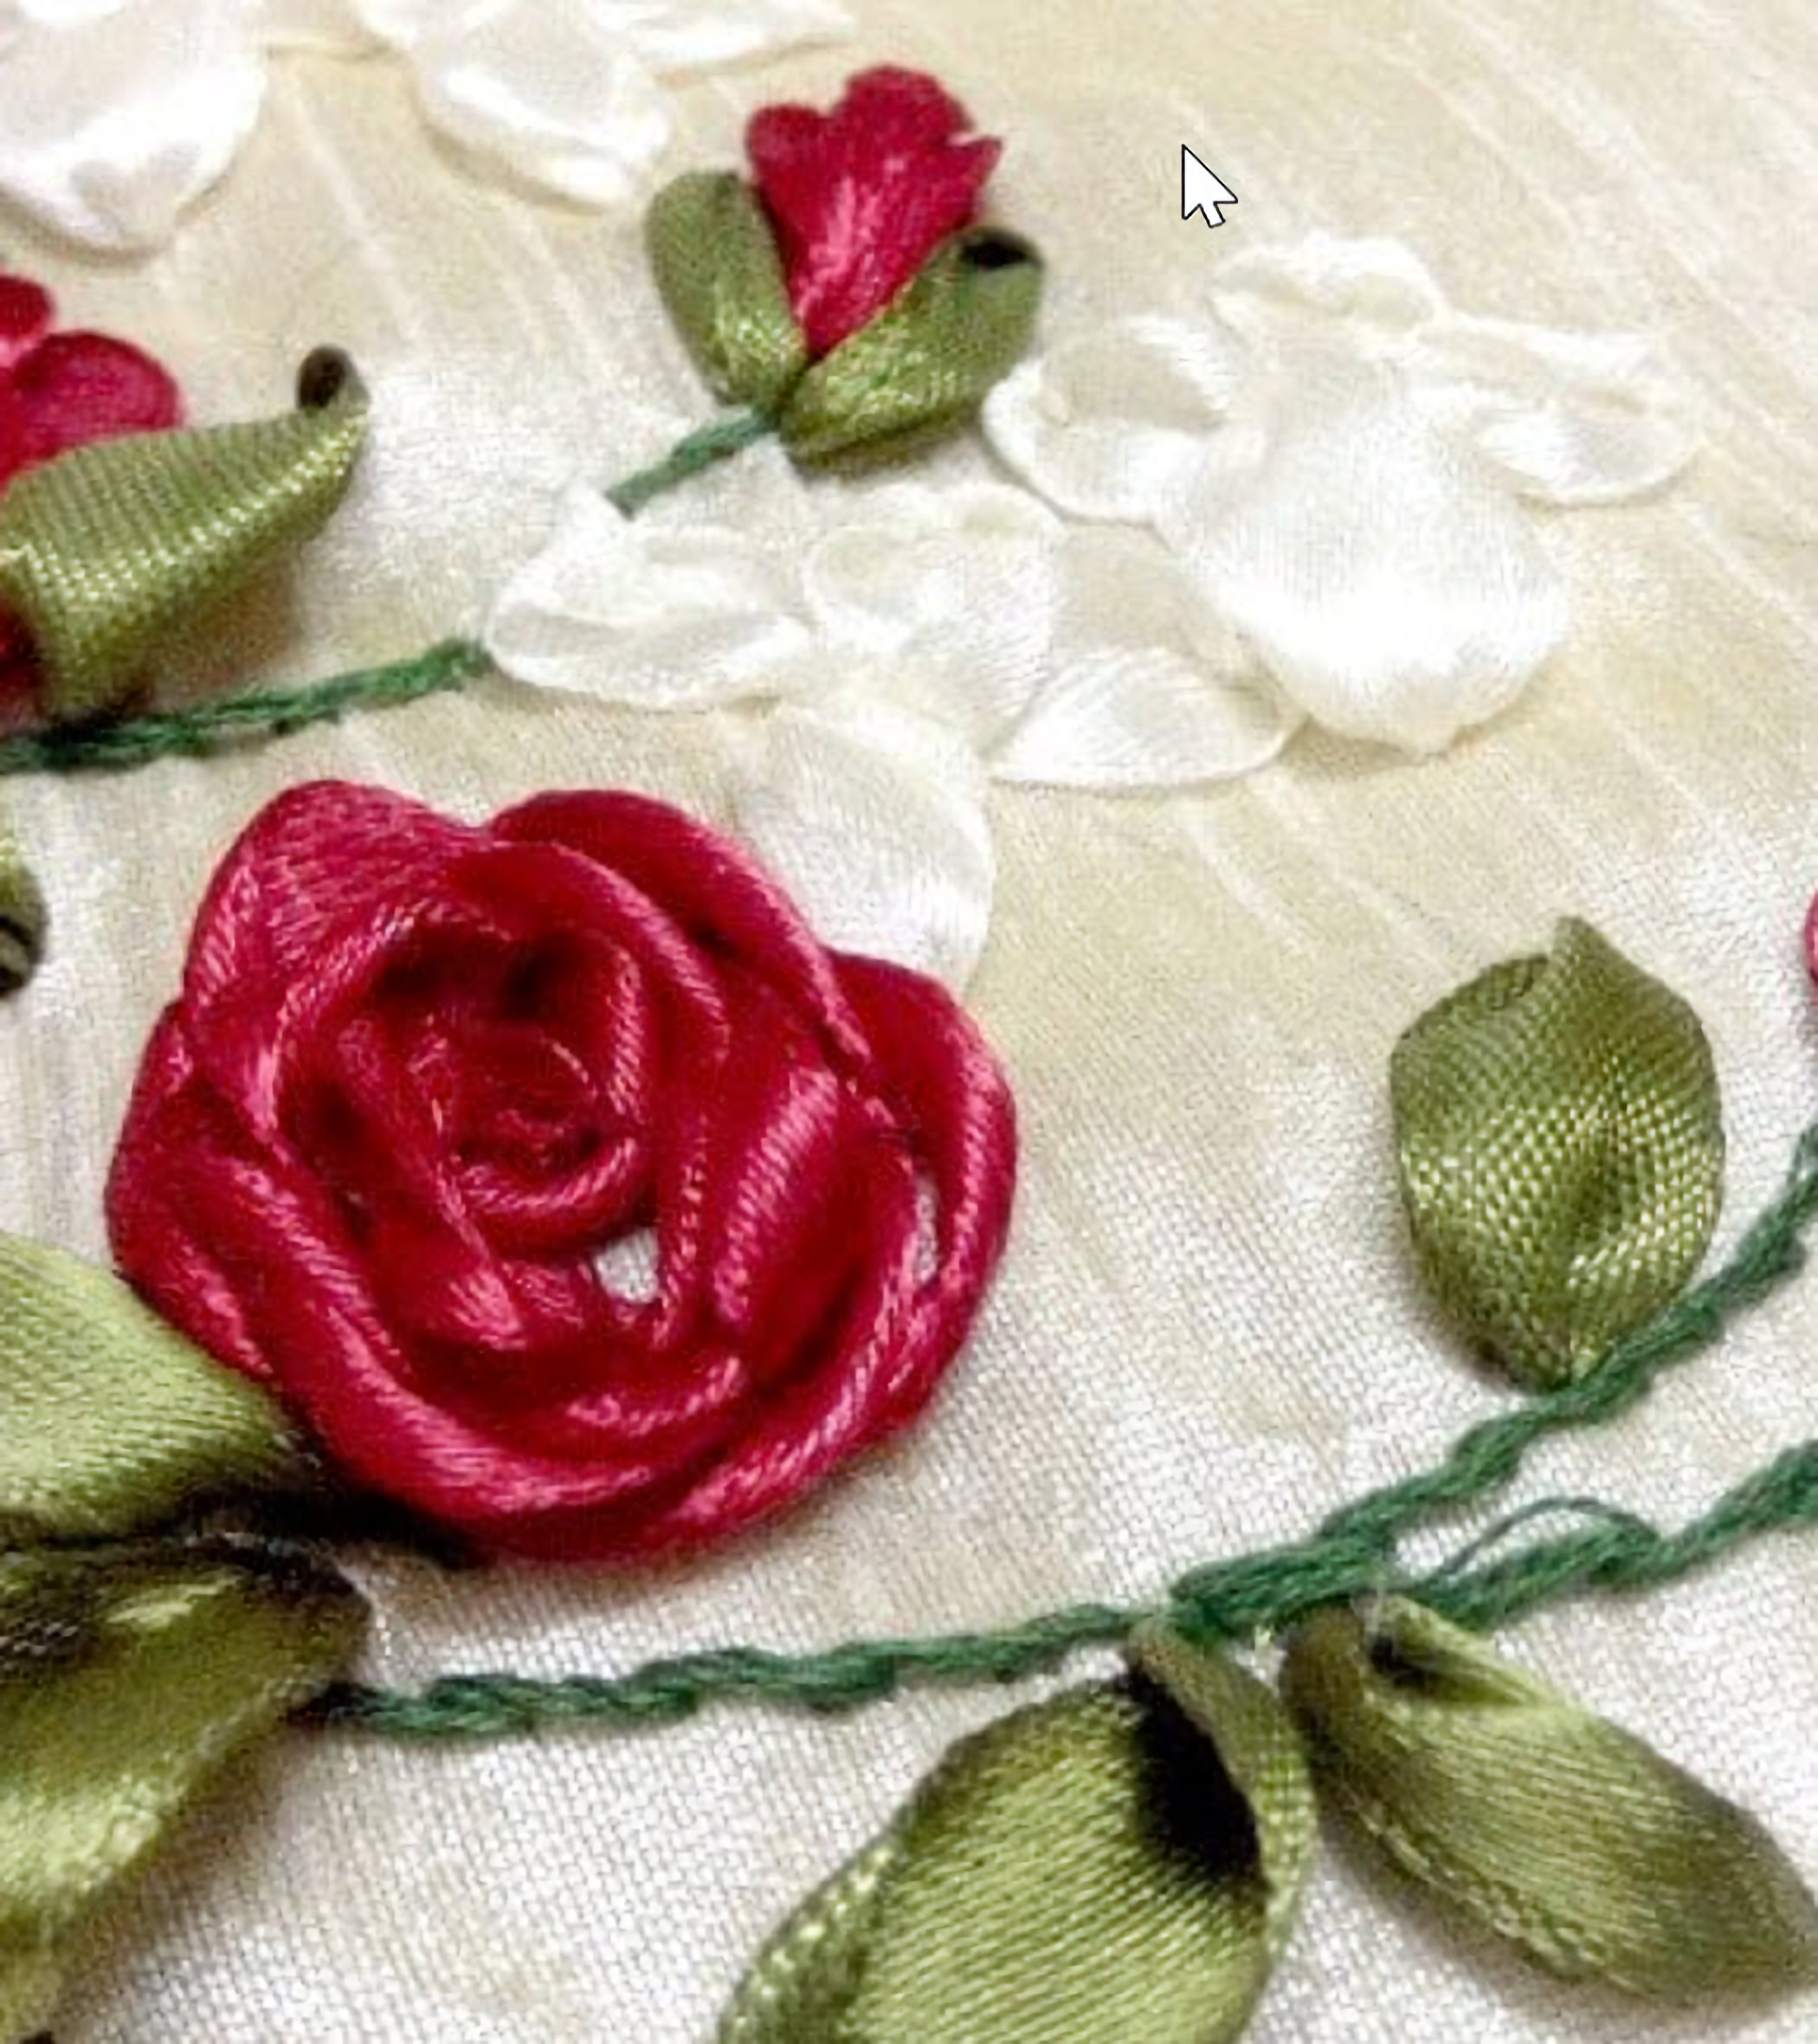
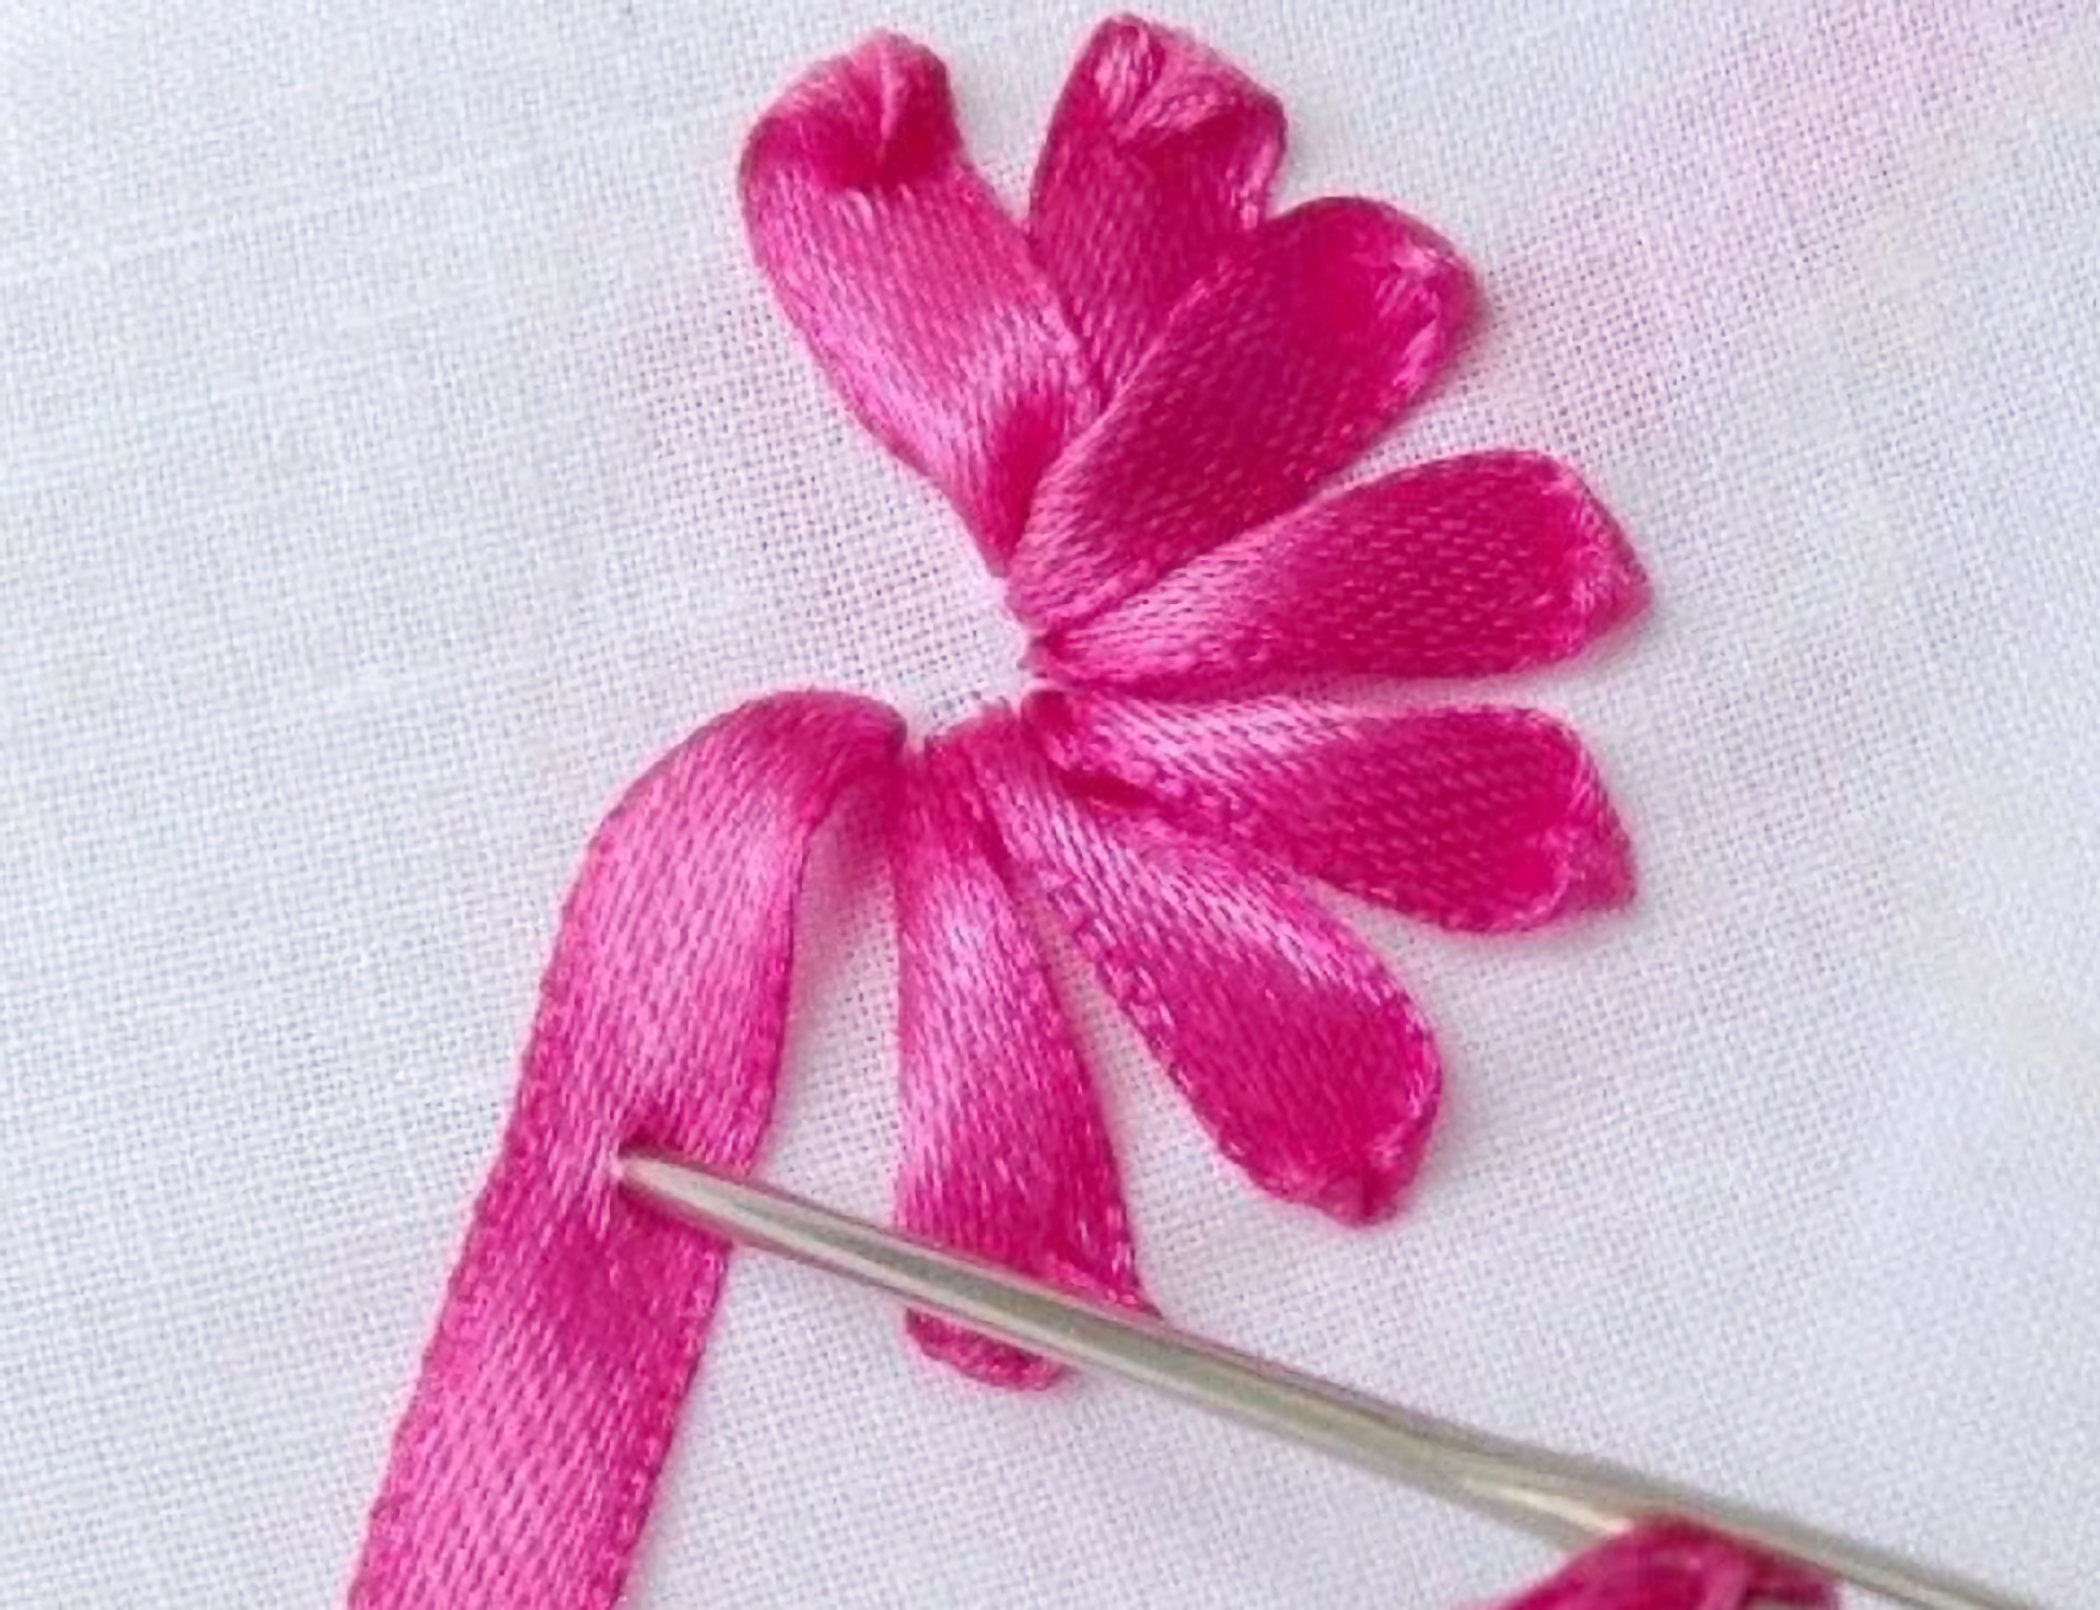
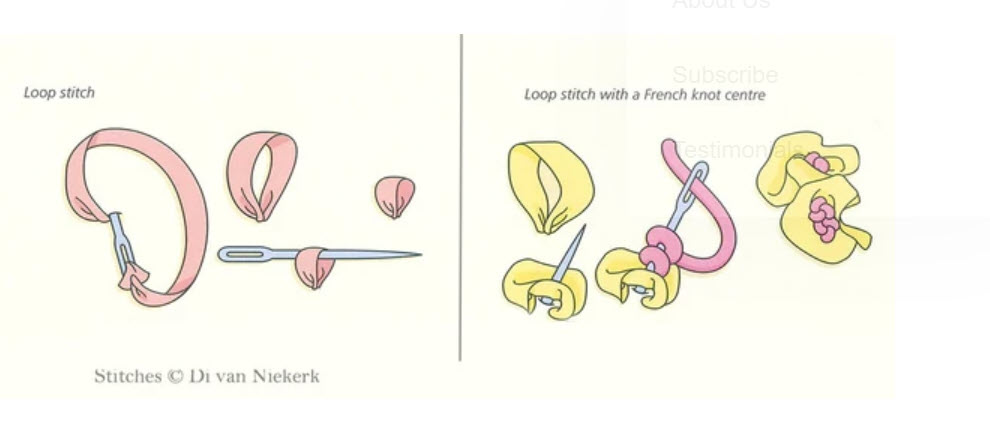
| Take a 3 inch piece of ribbon and fold it to make the small bud shape. Tie thread on the base to make the bud shape. Trim extra bottom ribbon, use the tying thread to fix bud onto the fabric.Bring up needle with ribbon and curl the ribbon around the bud. Now start making small loops around the curls and buds. These will form the petals.
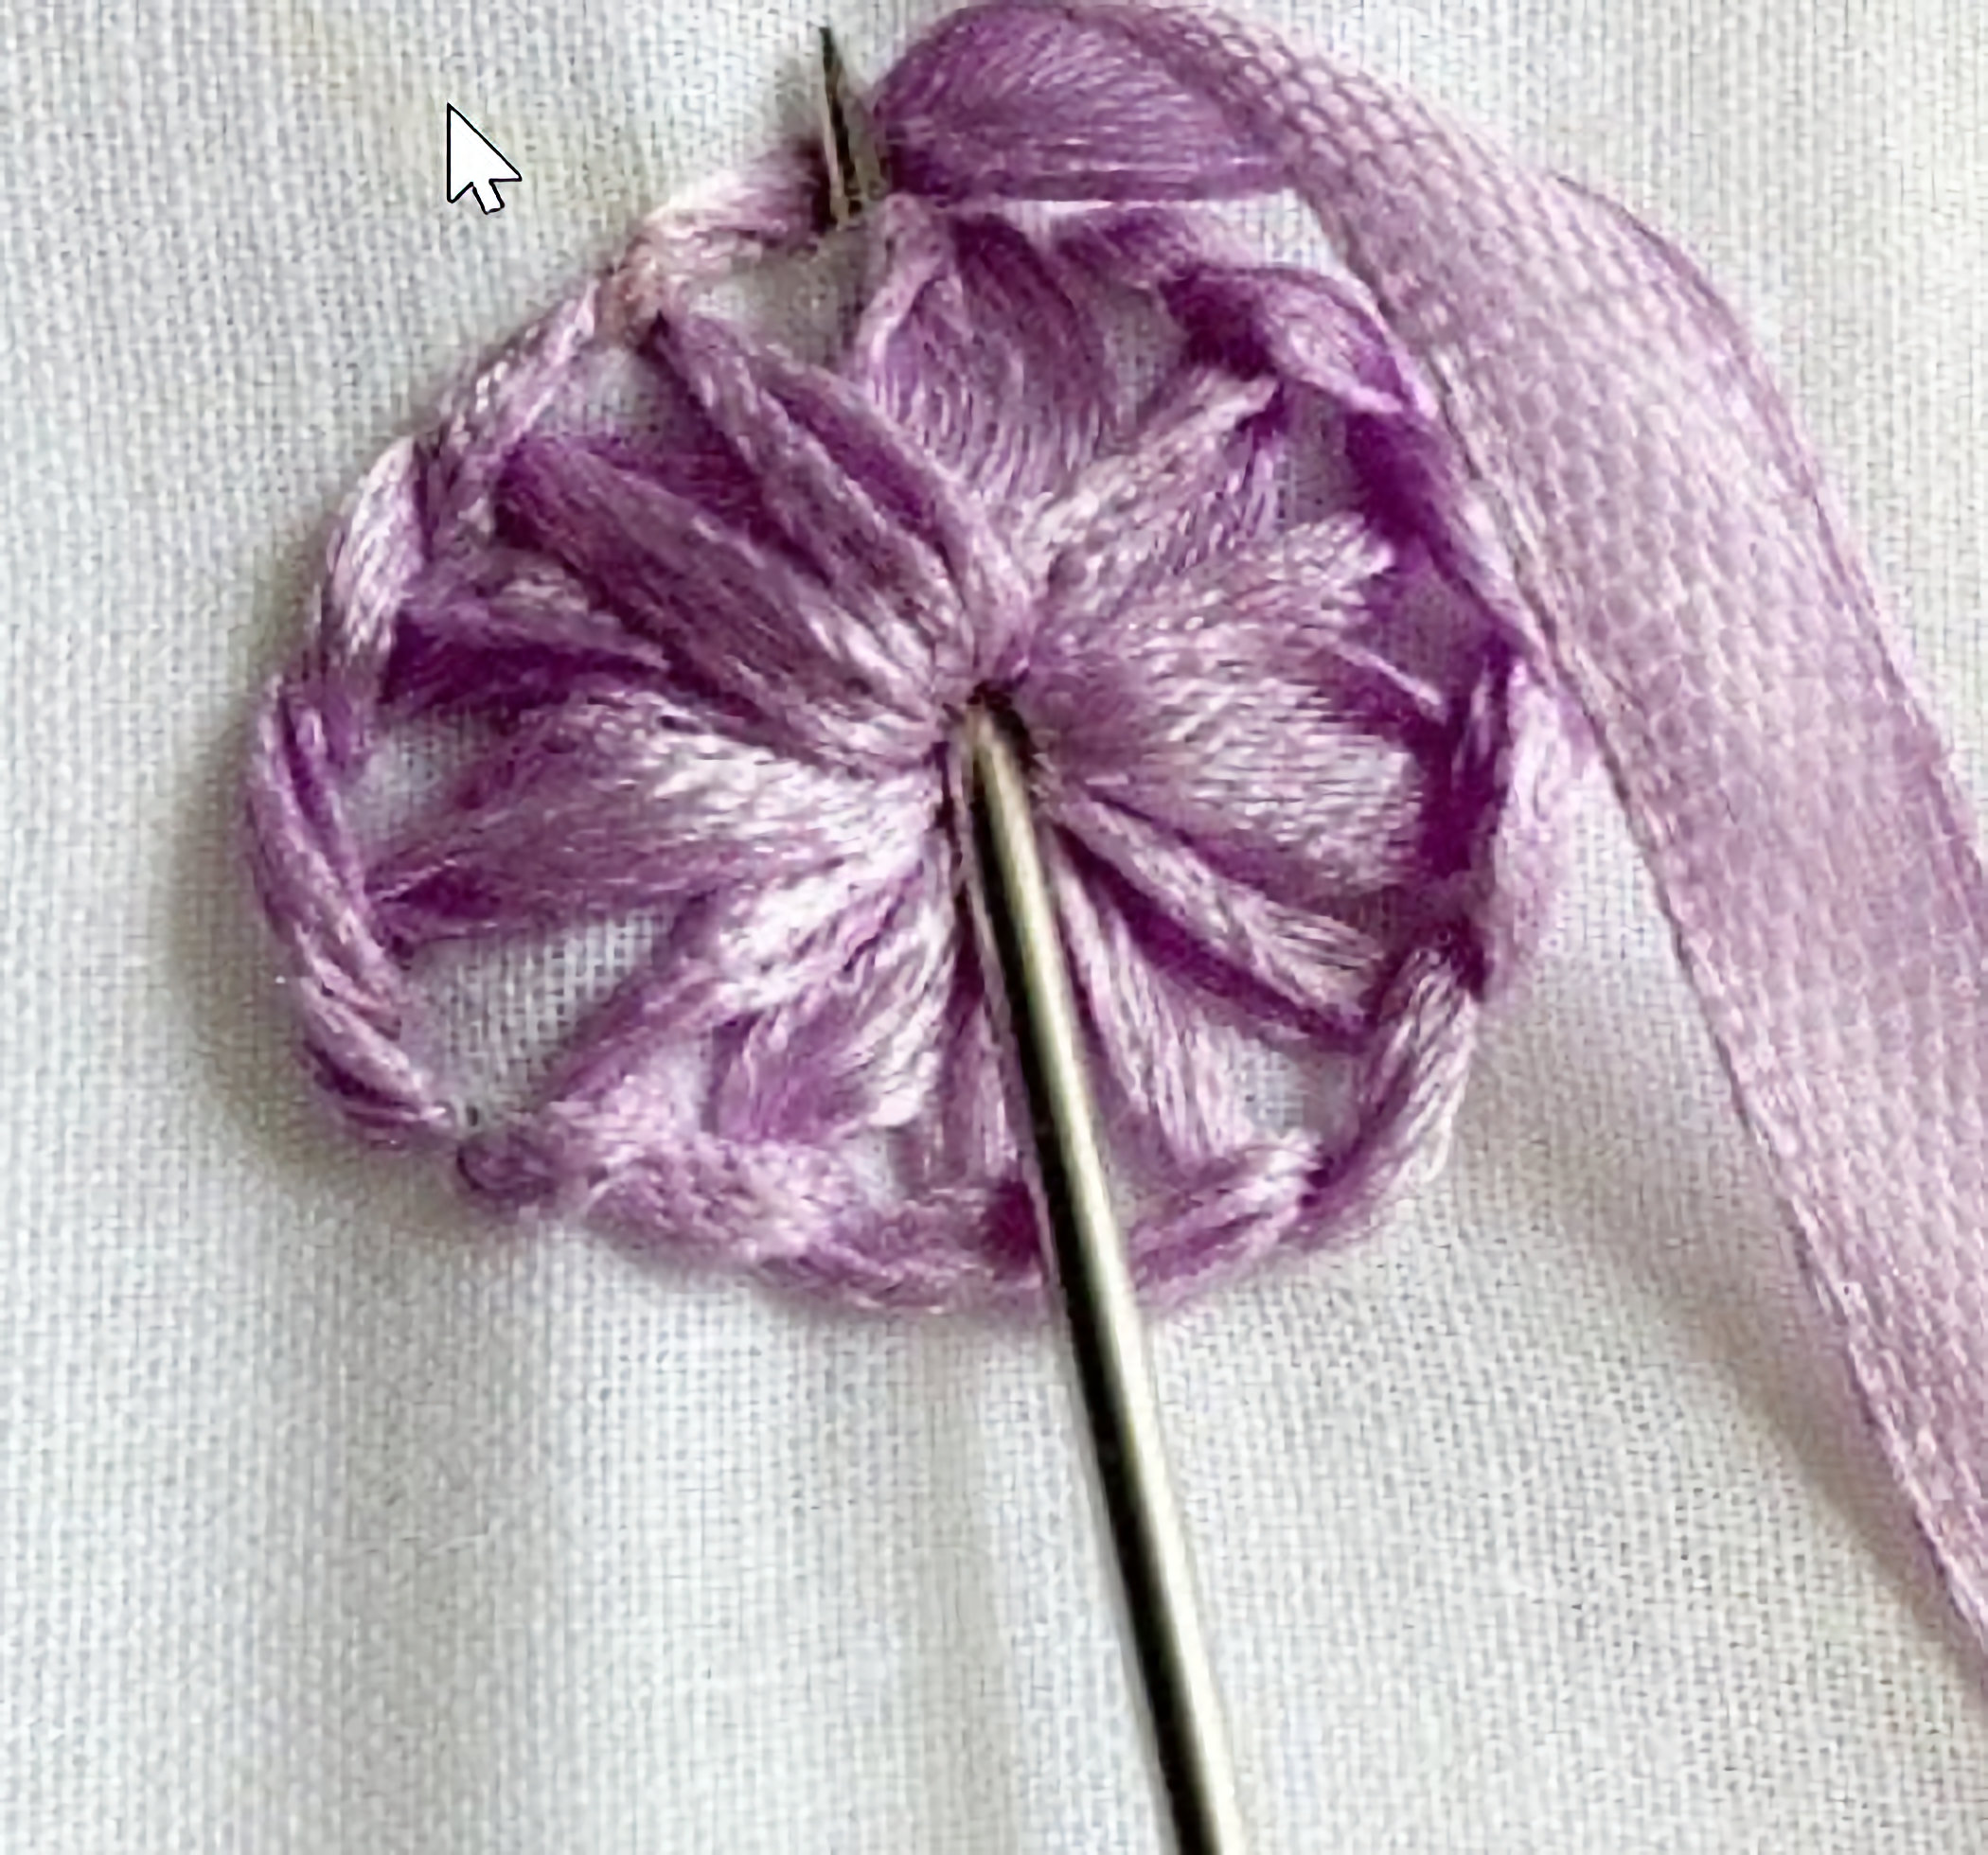
How to make thick, rounded stems for Roses and other flowers. Using thread: Make a foundation row of back stitches. Wrap the back stitches with a different thread. Using ribbon: Make a foundation row of back stitches with 4mm silk ribbon, stitches should be about 5mm (3/16 inch) in length to accommodate the ribbon in the next step. Wrap the ribbon around each stitch, inserting the needle under and over without going back into the fabric. Each stitch should be wrapped two or three times for a neatly raised stem. |
||
|
|
|
|
|
|
|
|
|
|
|
|
|
|
|
|
|
|
|
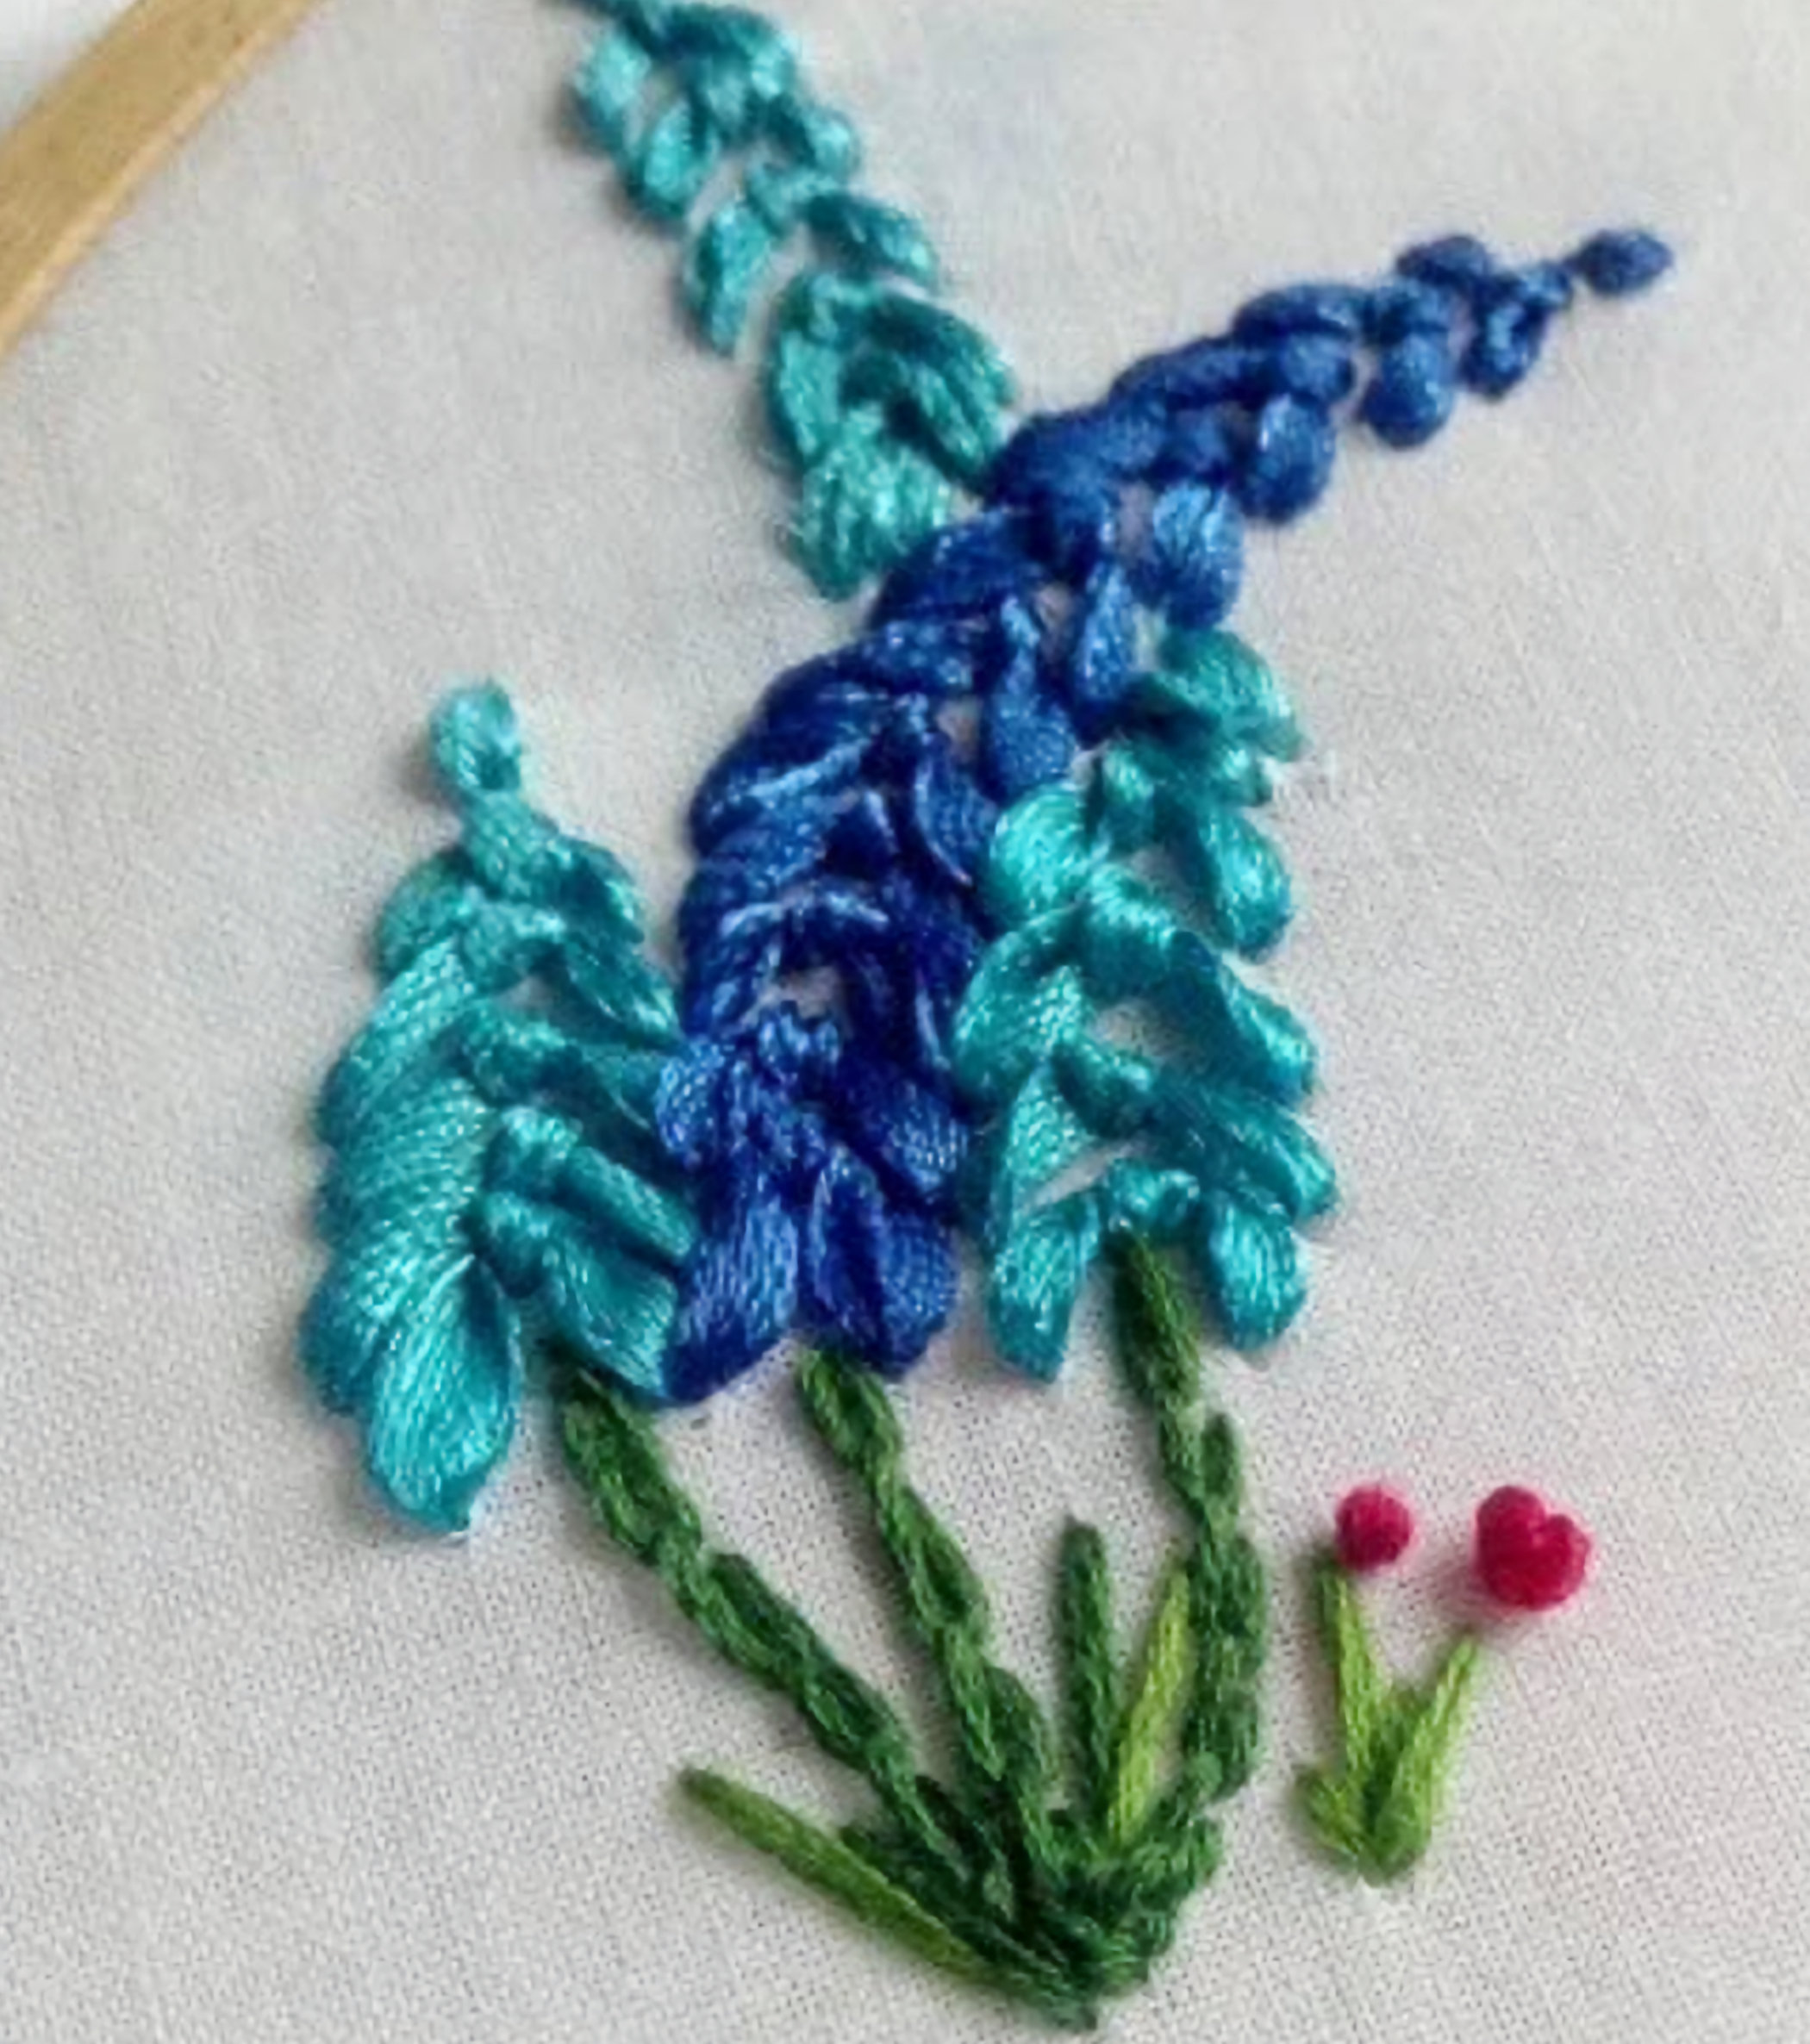
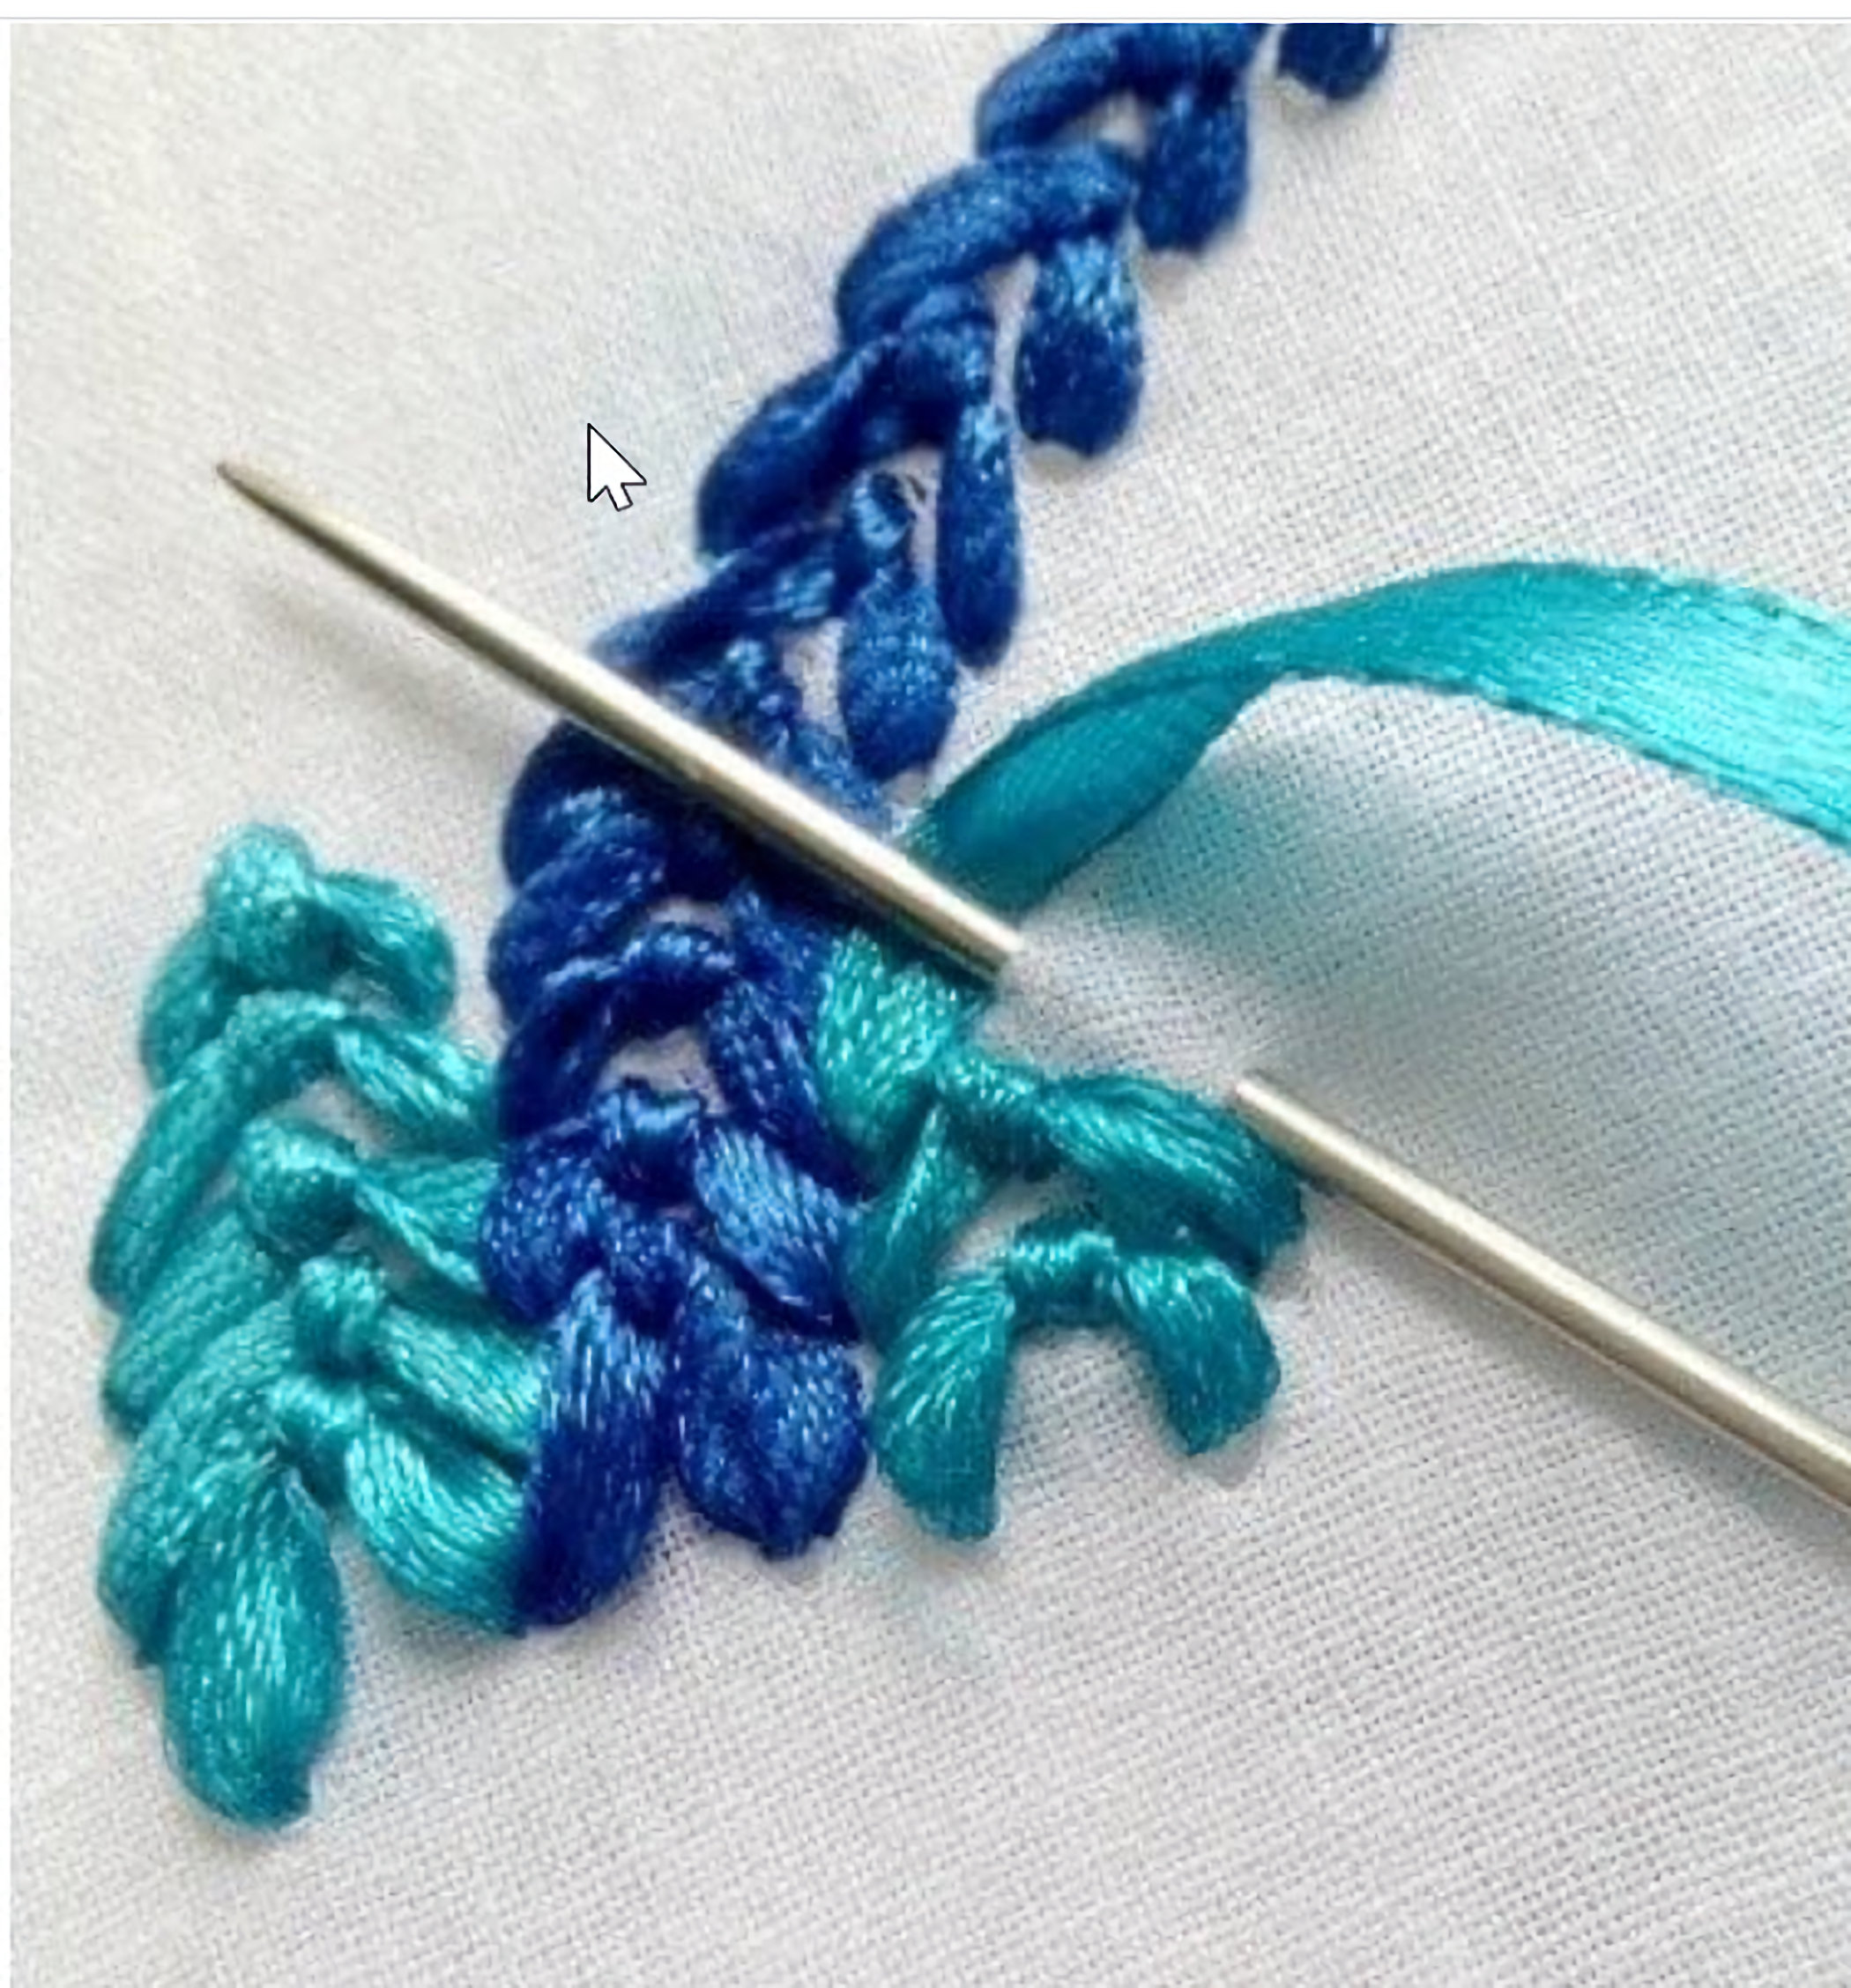
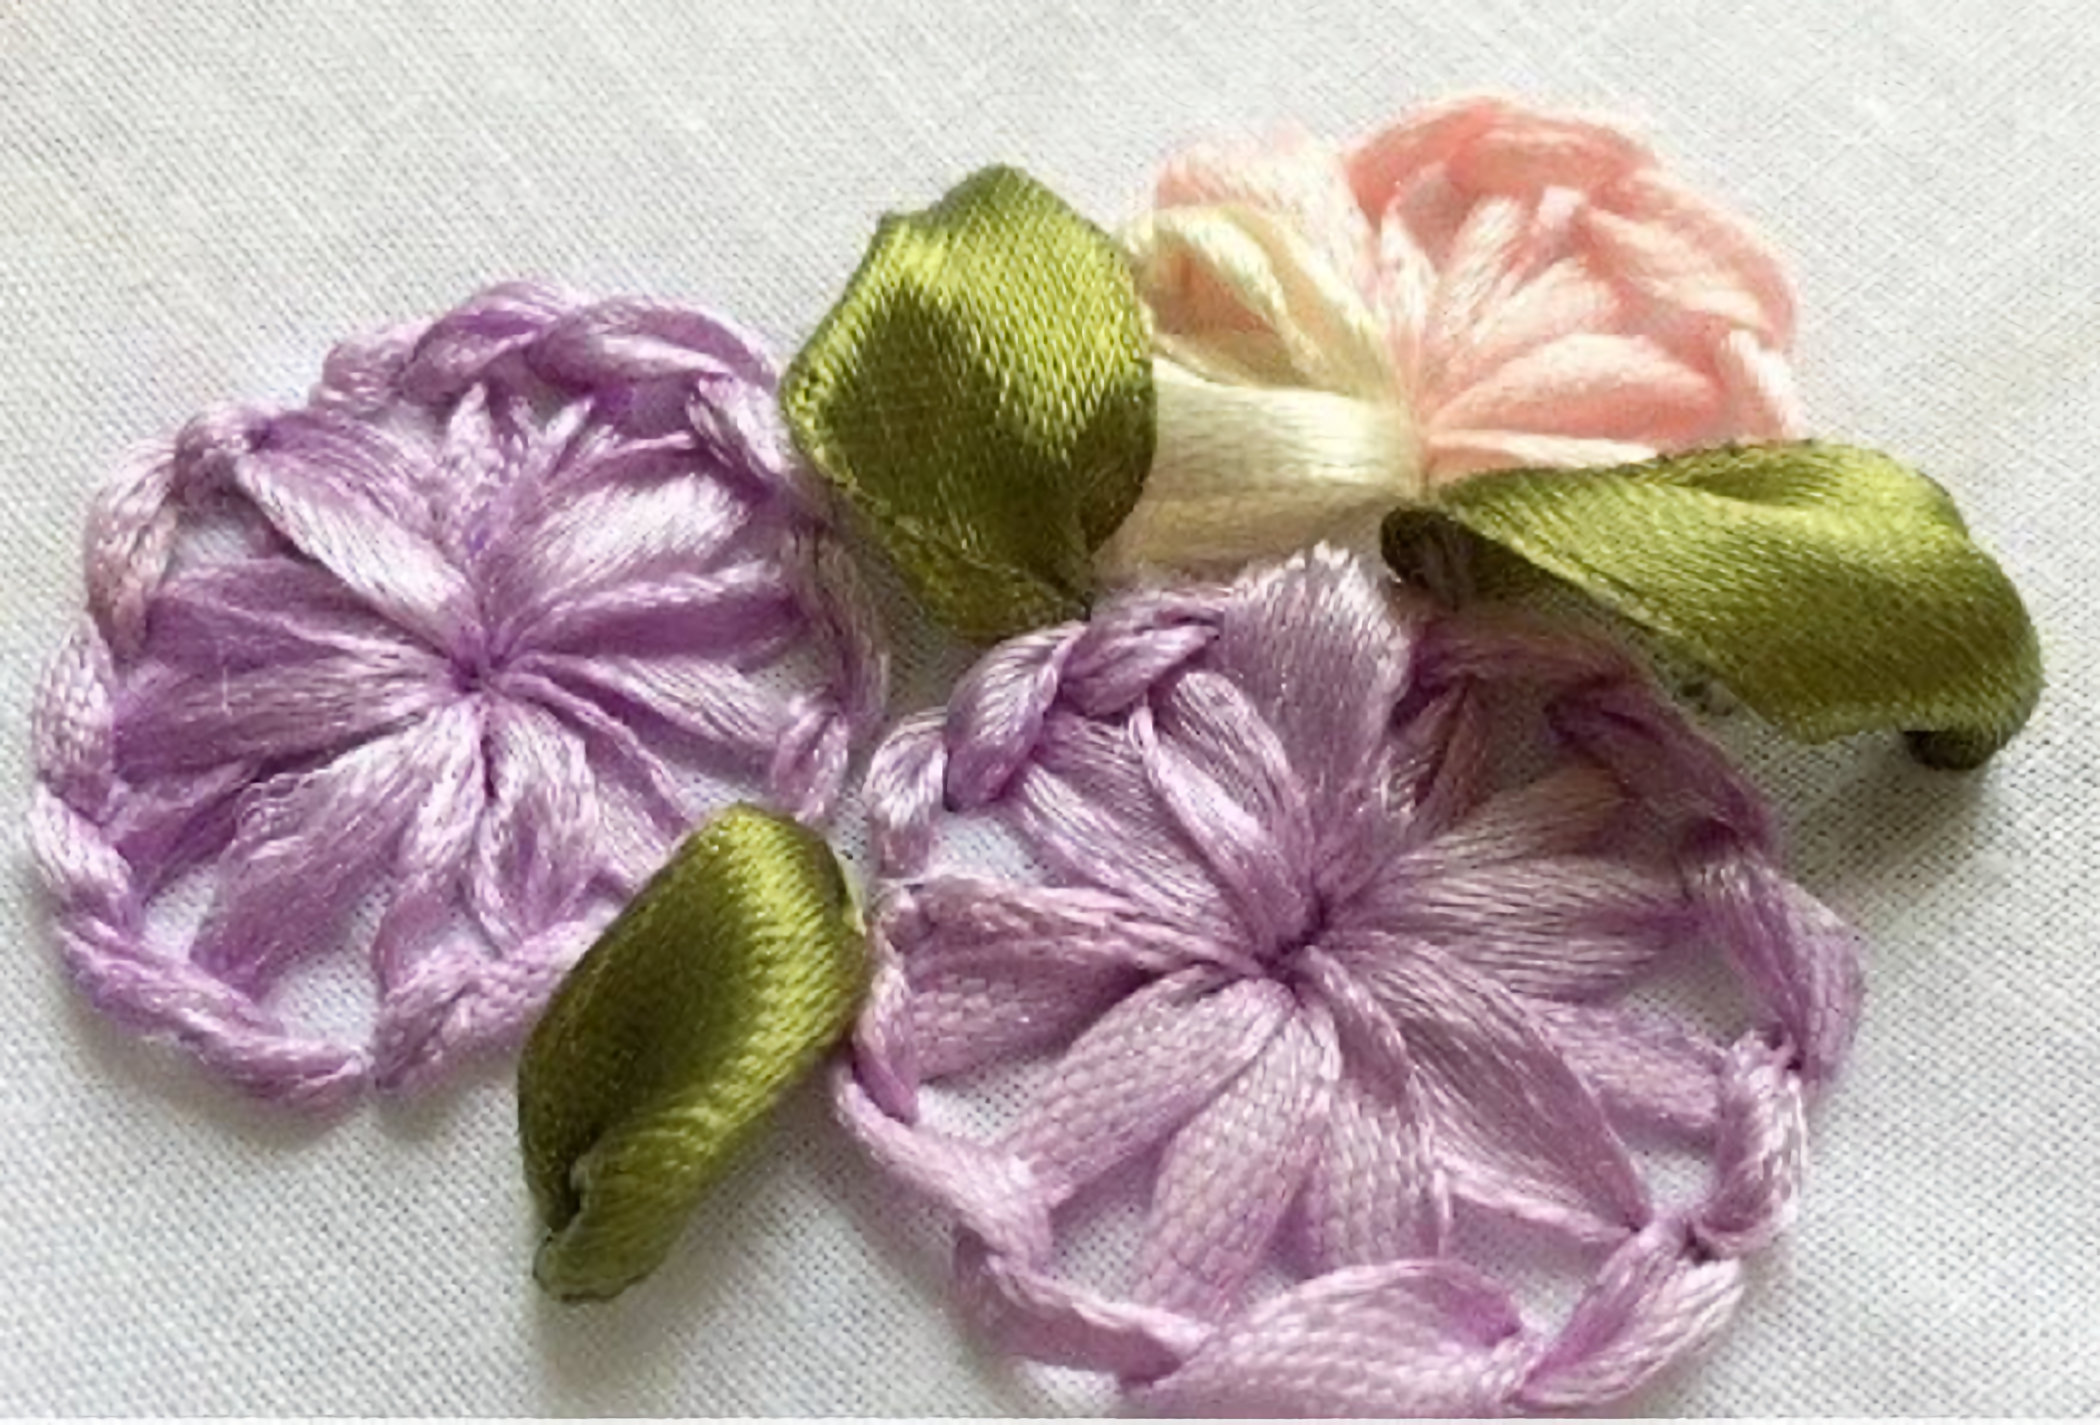
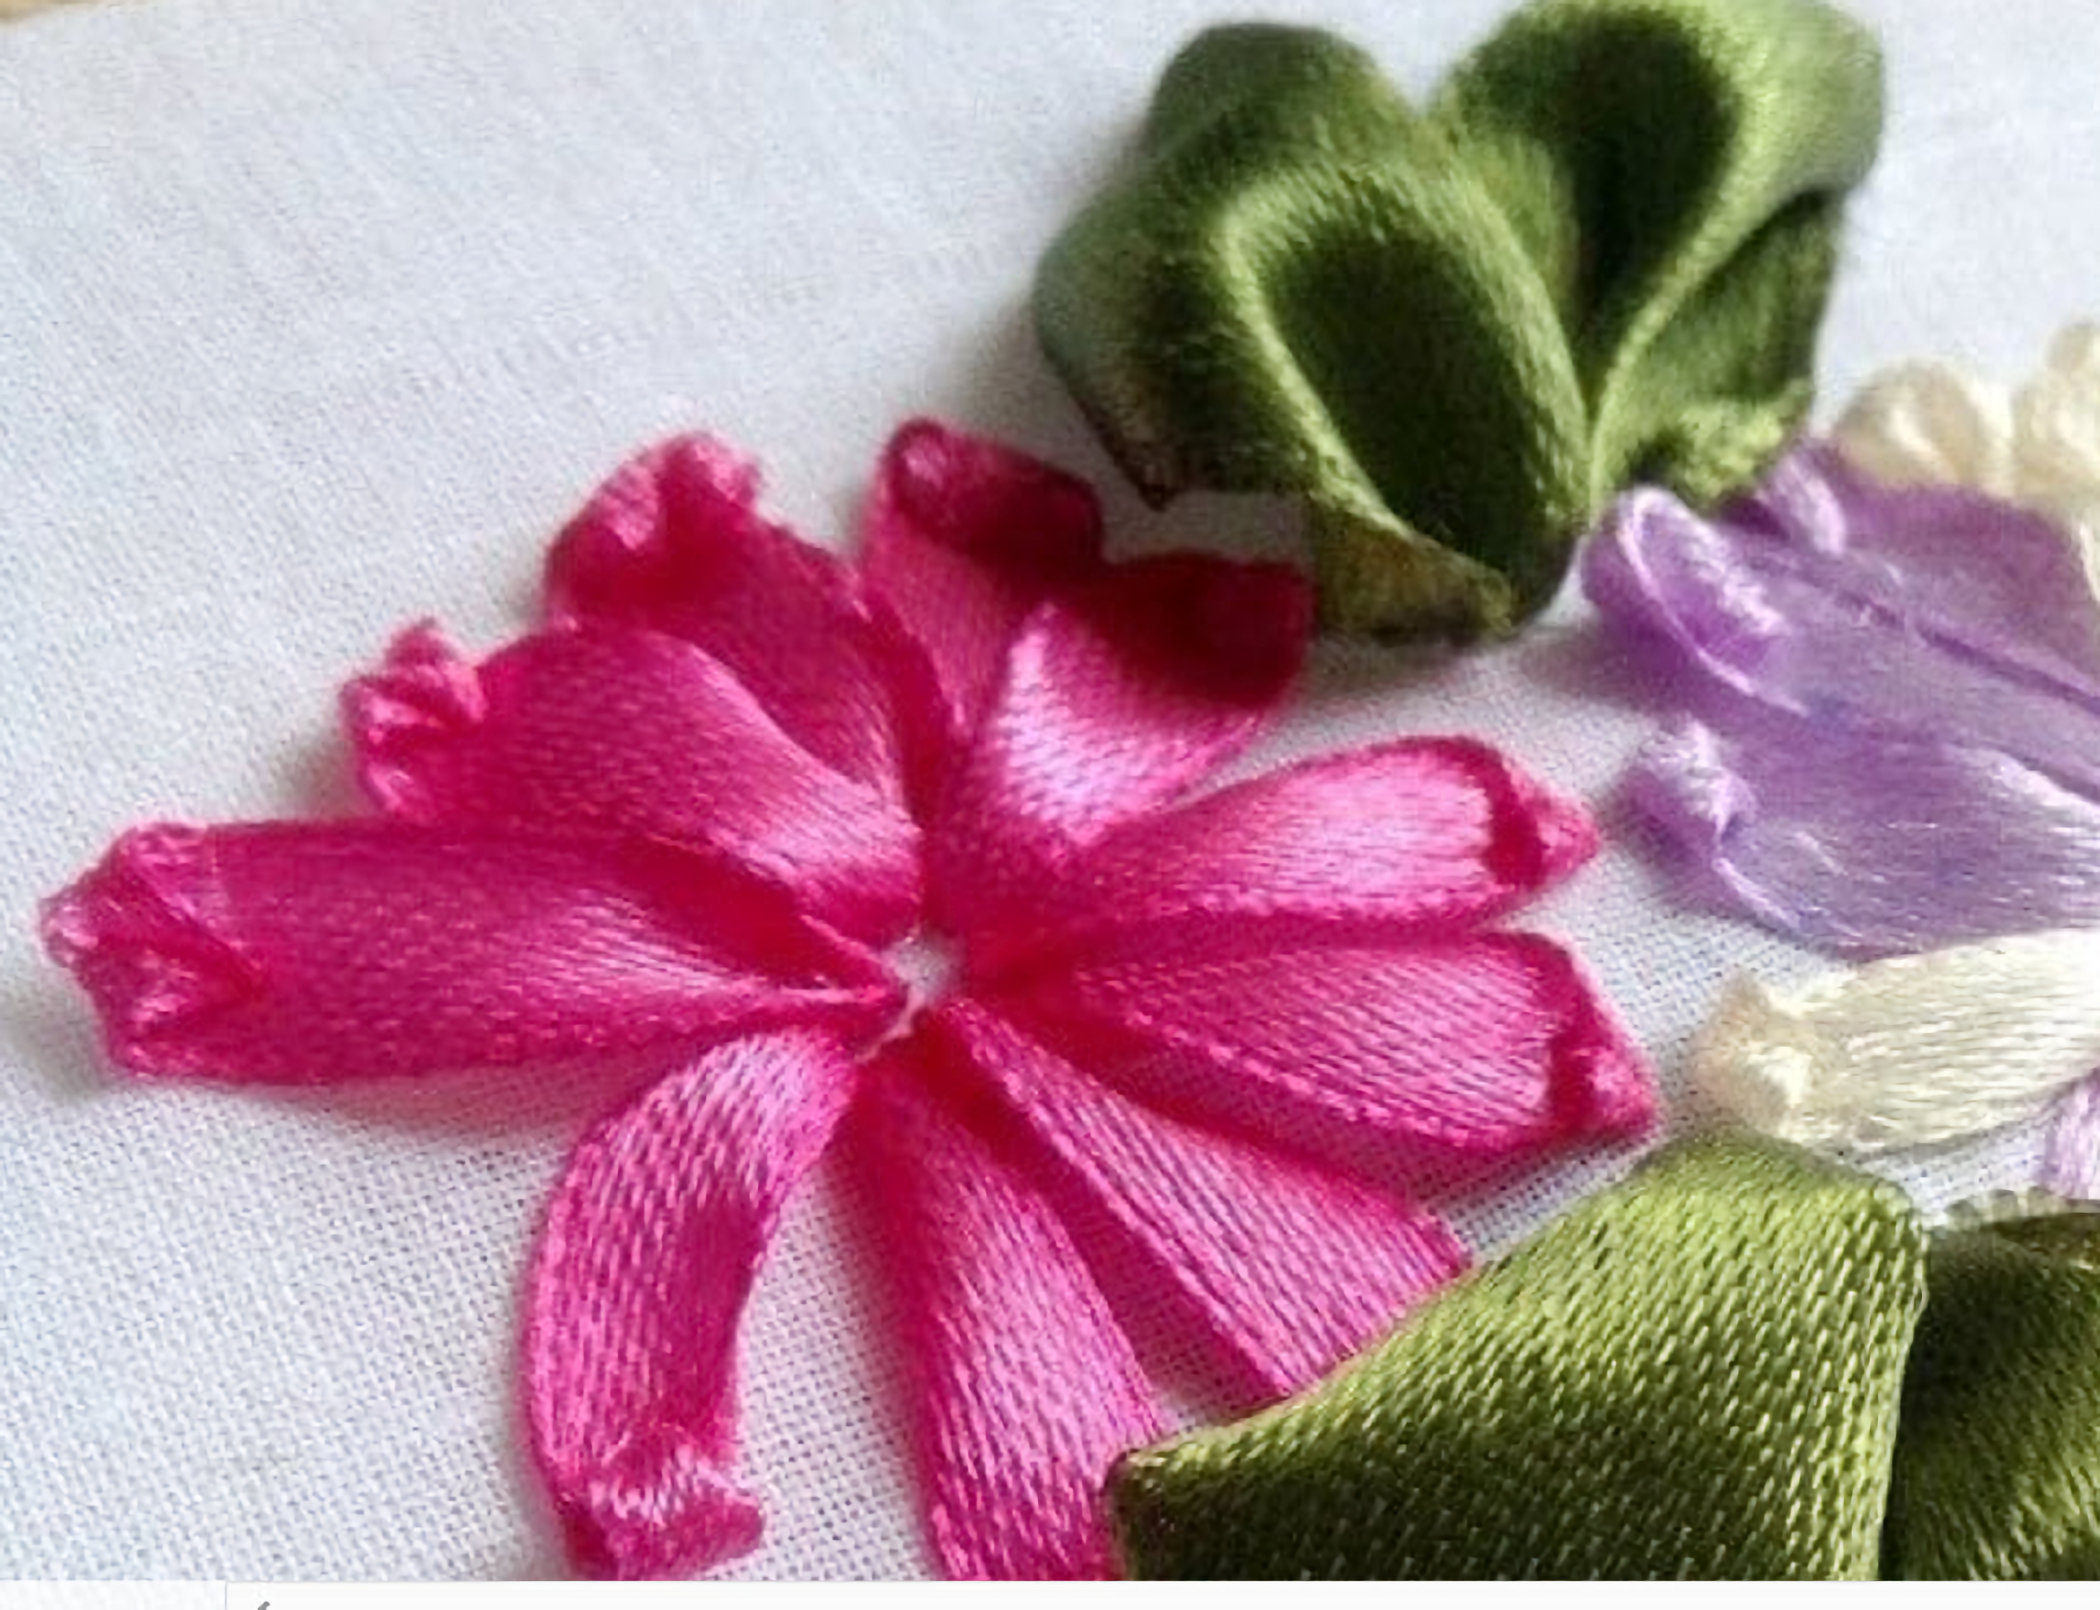
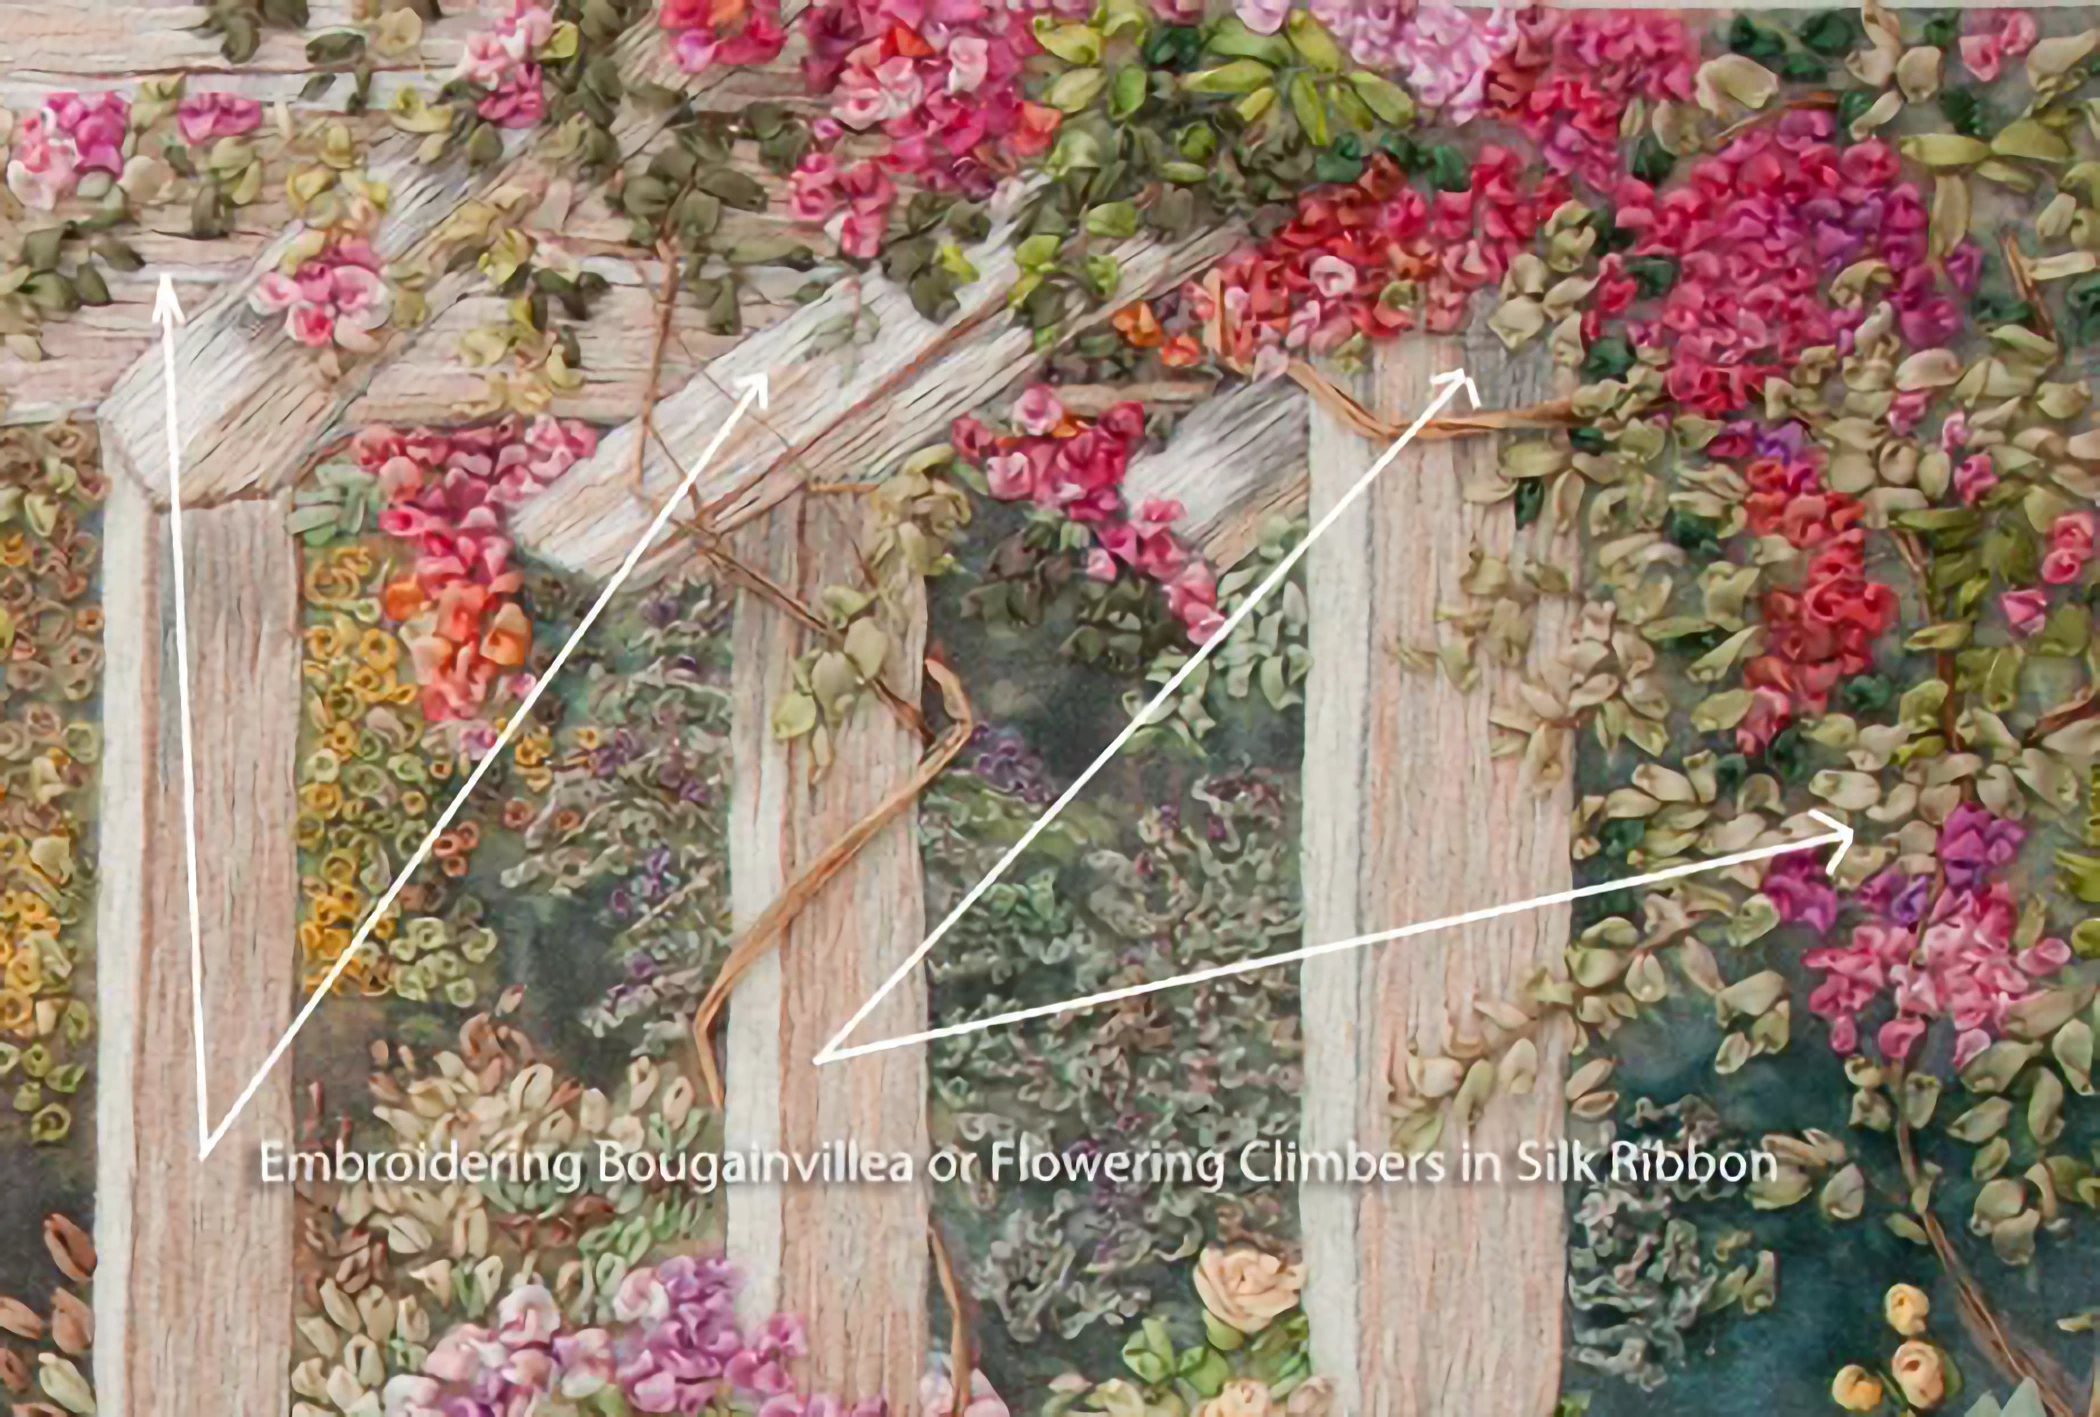
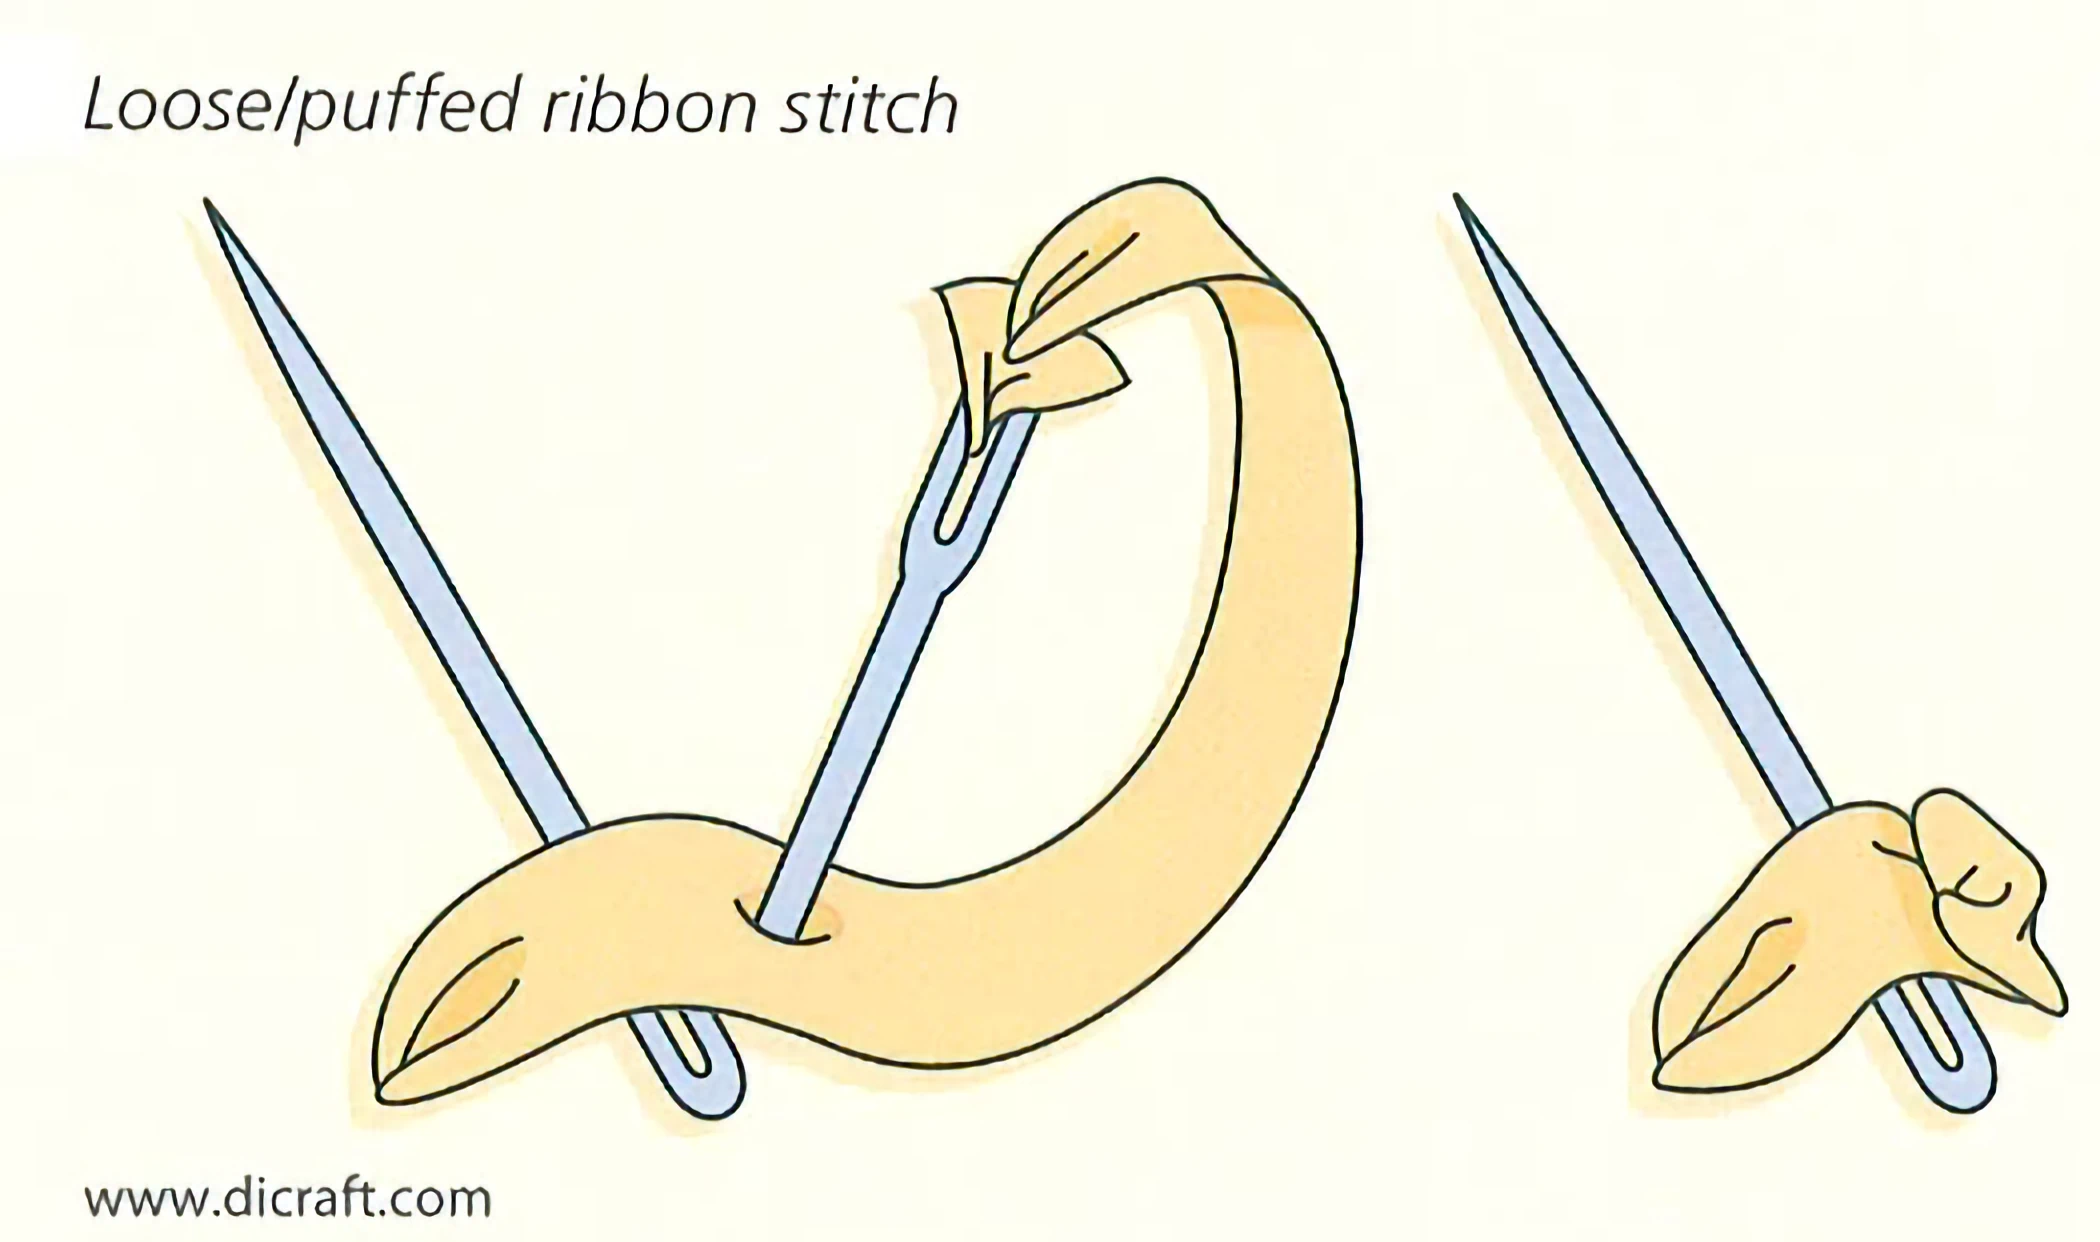
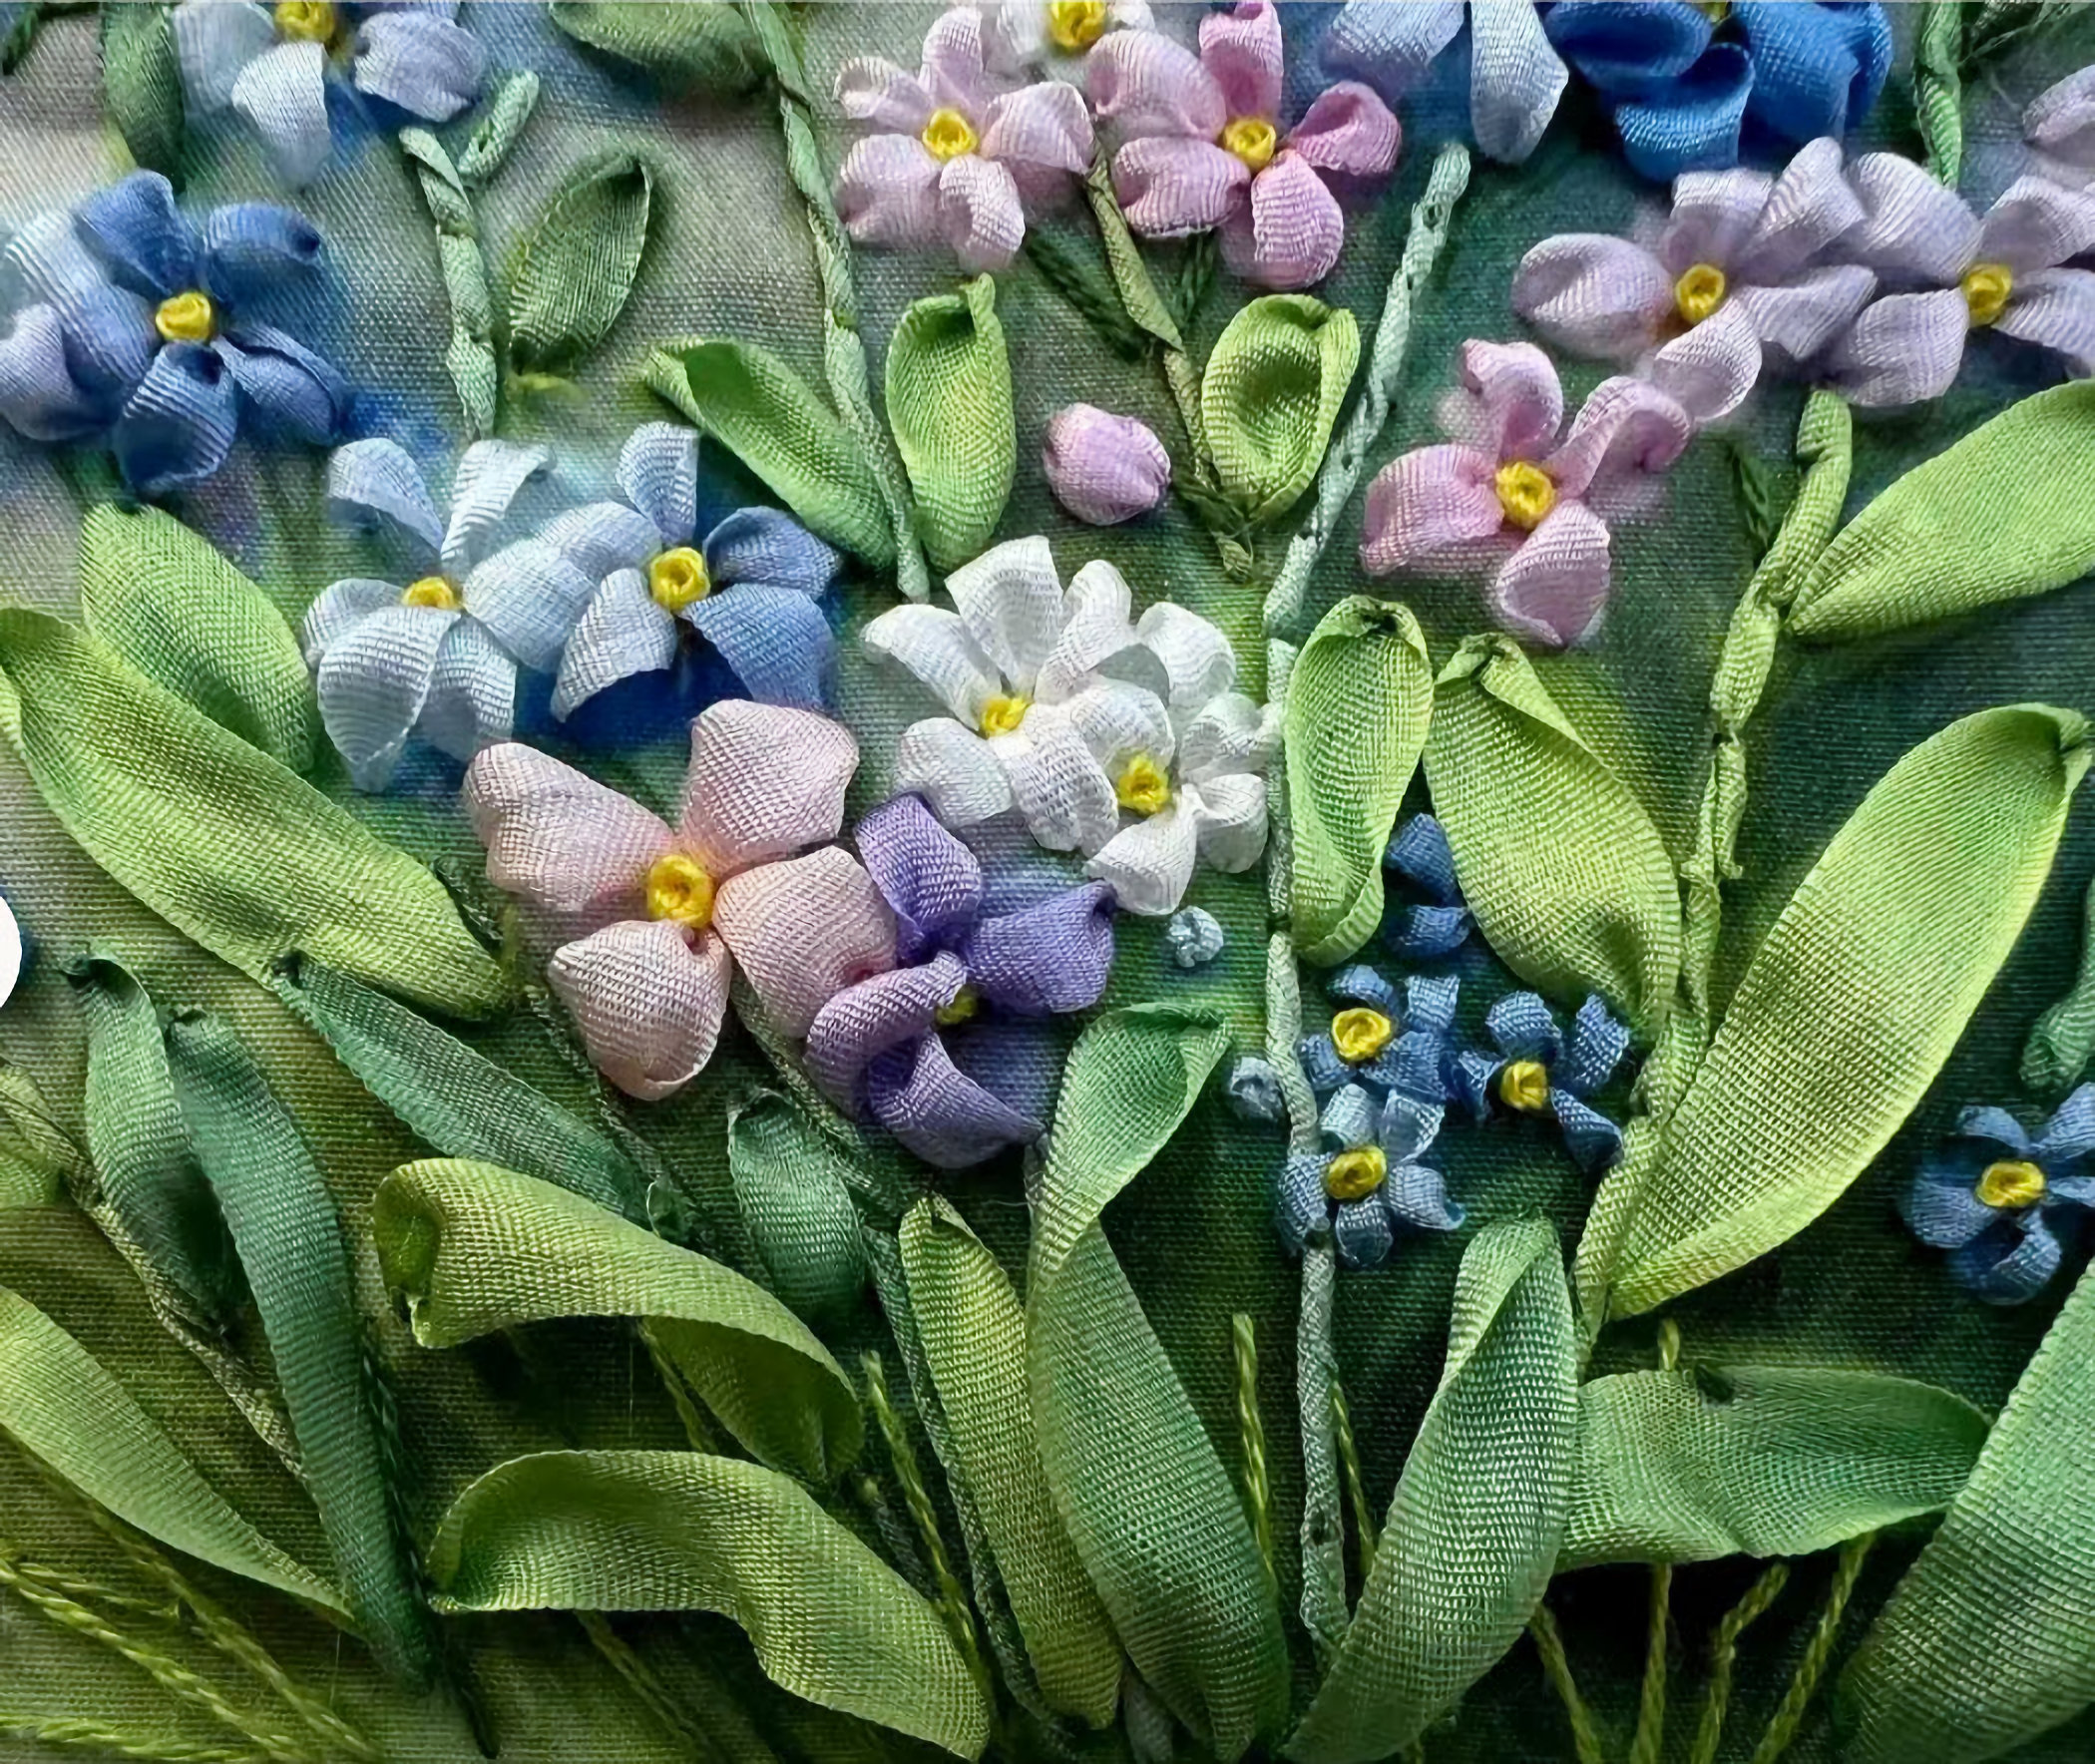
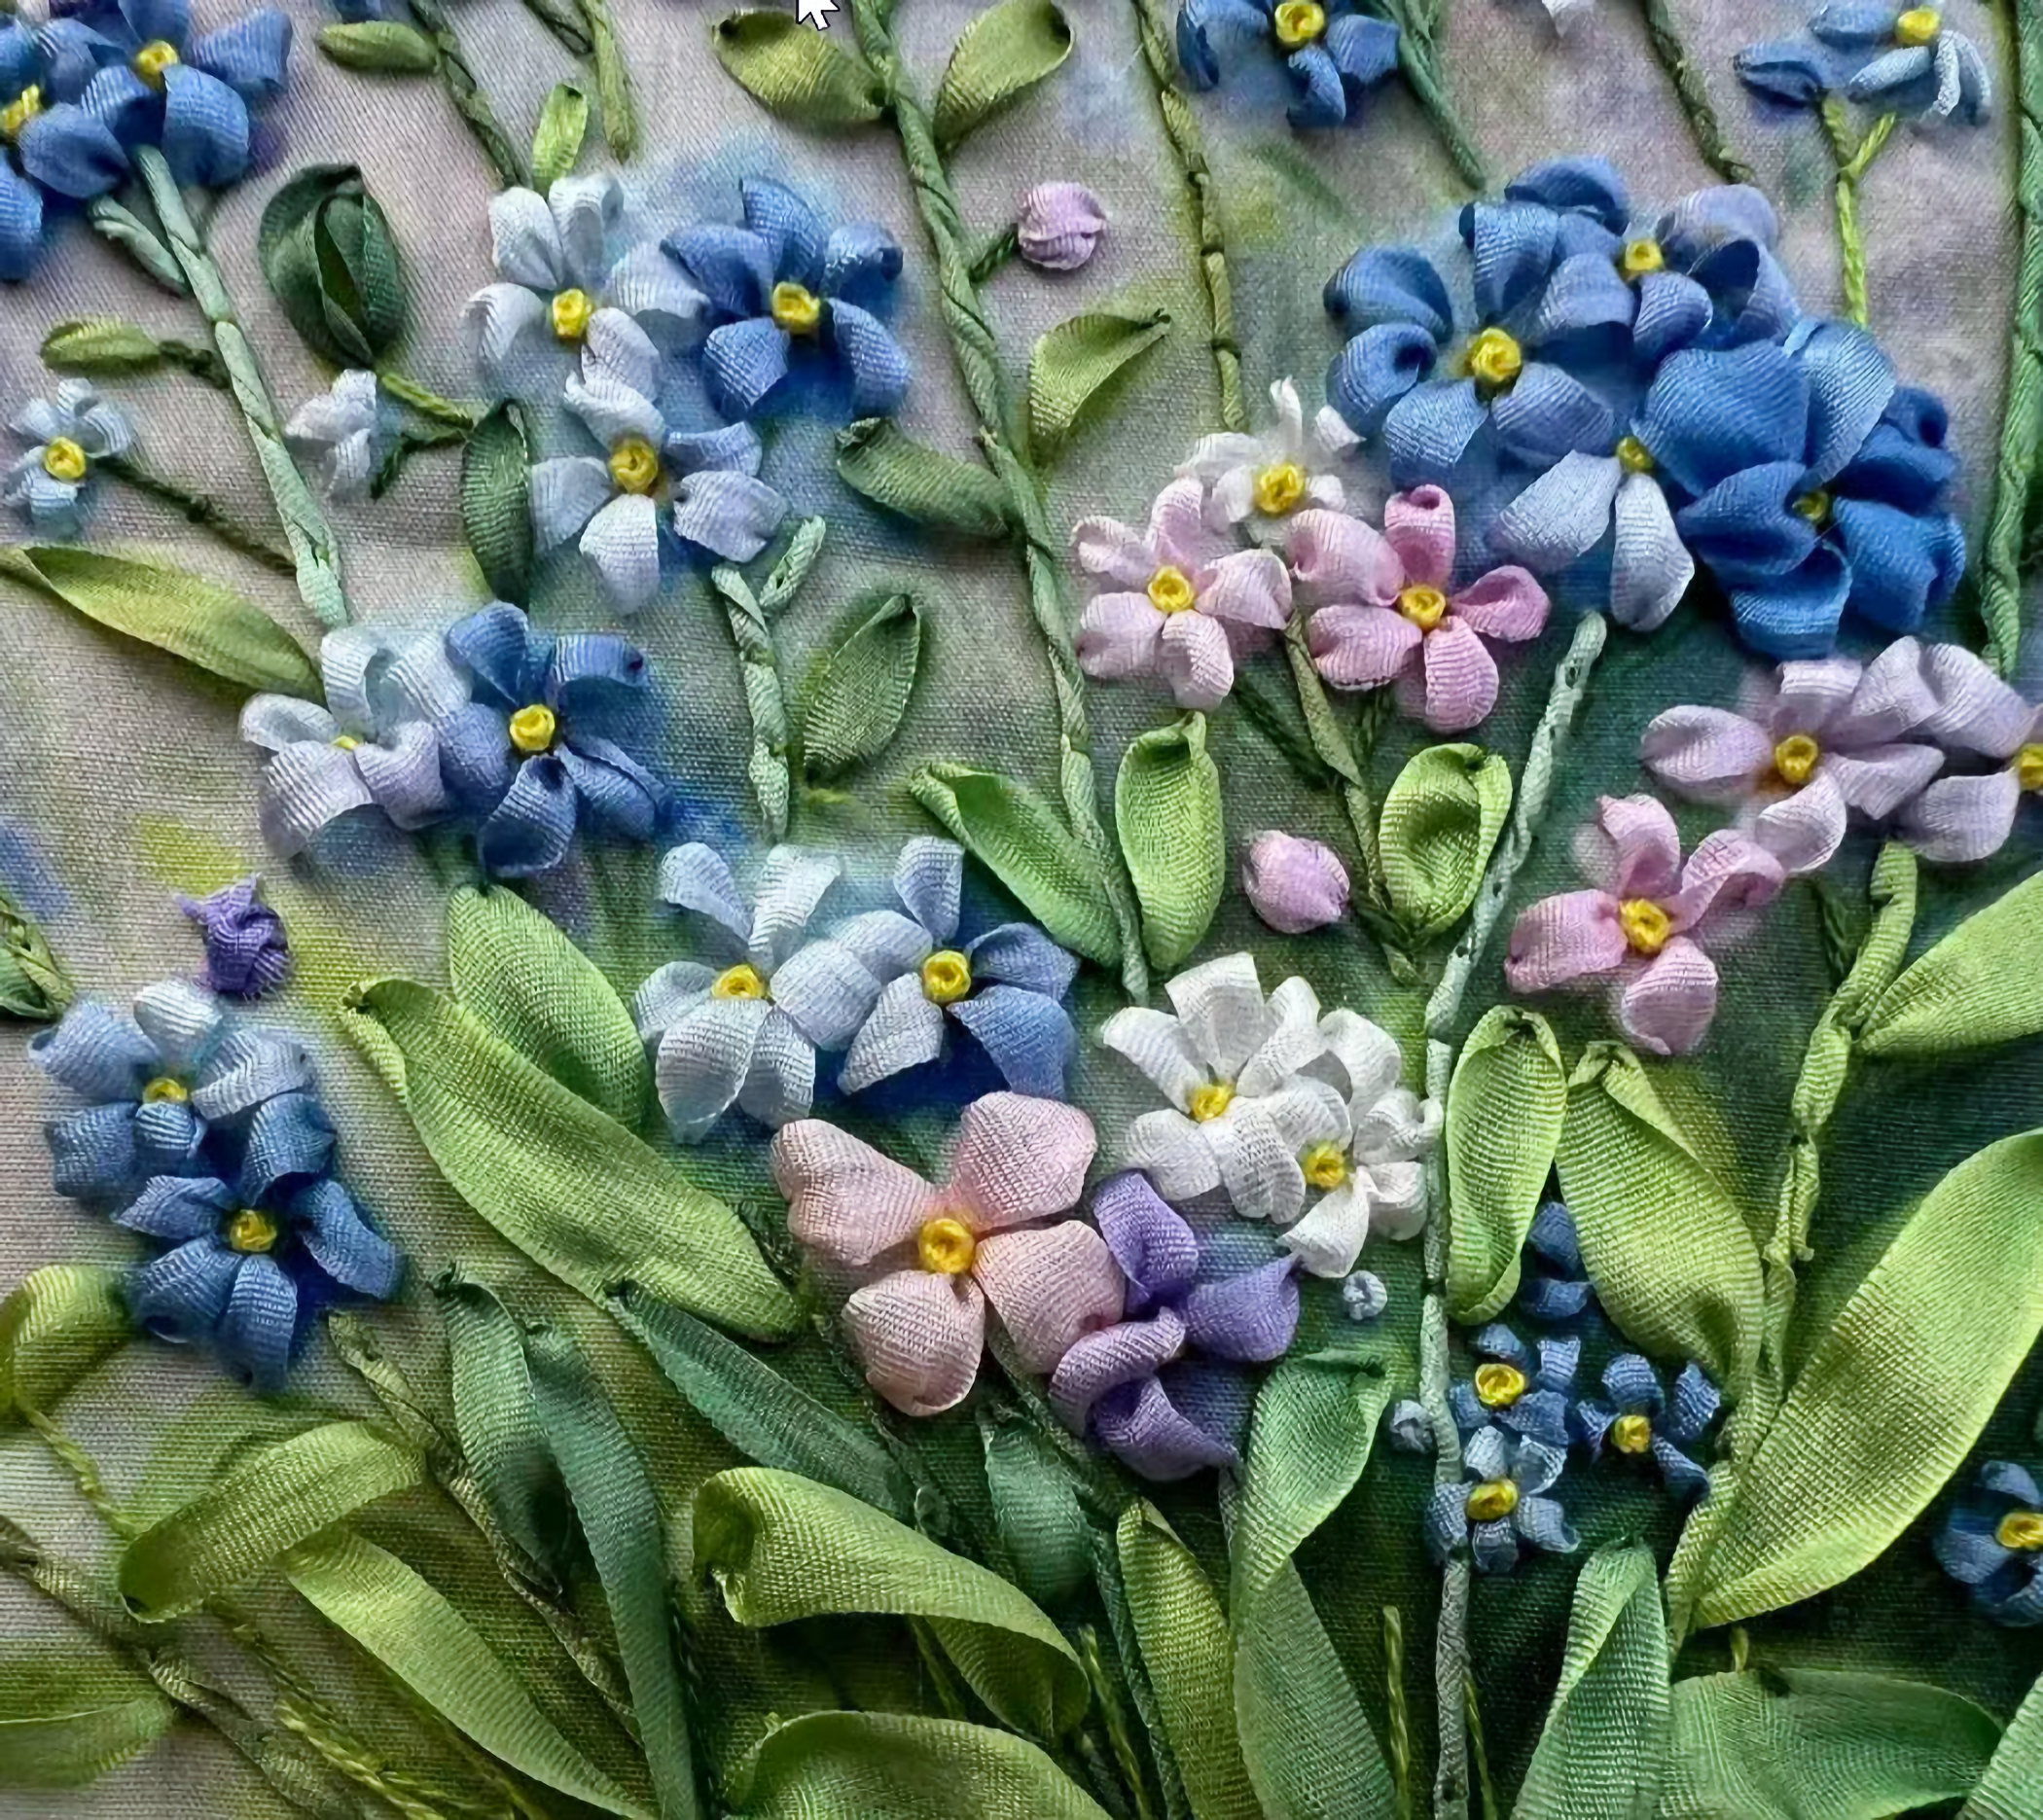
| Bougainvillea or Flowering Climbers — Build a Framework First. Form a framework of stems and branches first. This way when the flowers are made, they look more natural, like they are found in nature. — Make the thick stems. Take a length of raffia and split it into thin pieces (or you could use a bouclé yarn or similar texture) and thread it on a size 18 (large) chenille needle. Start at the base of the stem and work upwards. With one strand of matching thread on a separate needle, secure the raffia or yarn onto the design with tiny stab stitches. Space the stitches quite far apart as you only need to catch the raffia or yarn to secure it loosely on the design. Take the needle to the back and end off.Use another piece of raffia or yarn and repeat until you are happy with the stems and branch framework. Take the needle to the back and come up to start again until you are happy with the framework.Make the thin brown stems for the leaves and flowers in one or two strands of brown thread and use stem stitch or back stitch.– Add the Dark Shadows. Hint: Use a dark blue/green woolly fibre or roving to create deep shade in the design here. Secure in place with a matching thread and tiny stab stitches placed here and there.– Make the leaves. Make all the green leaves in ribbon stitch and straight stitch. Hint: Use a gentle tension, pushing the ribbon up slightly as you pierce it to make the stitch. The leaves and flowers should be loose and puffed. Use a few different shades of green silk ribbon for a natural effect. Here we used Di van Niekerk’s silk ribbons in various shades of green: 4mm silk ribbon in colours. Use 118 where the sunlight catches the leaves in the picture. Don’t overcrowd the leaves, leave some spaces between them for a soft finish.– Make the pink flowers. Repeat for the pink flowers, referring to the picture as a guide. Hint: Remember to make the stitches loose and puffed by pushing the ribbon up before you pierce it to make the ribbon stitch. It also helps to work over a spare tapestry needle as shown Flowchart: Connector: 3in the diagram below. Use 4mm ribbons. |
|||
 |
 |
 |
 |
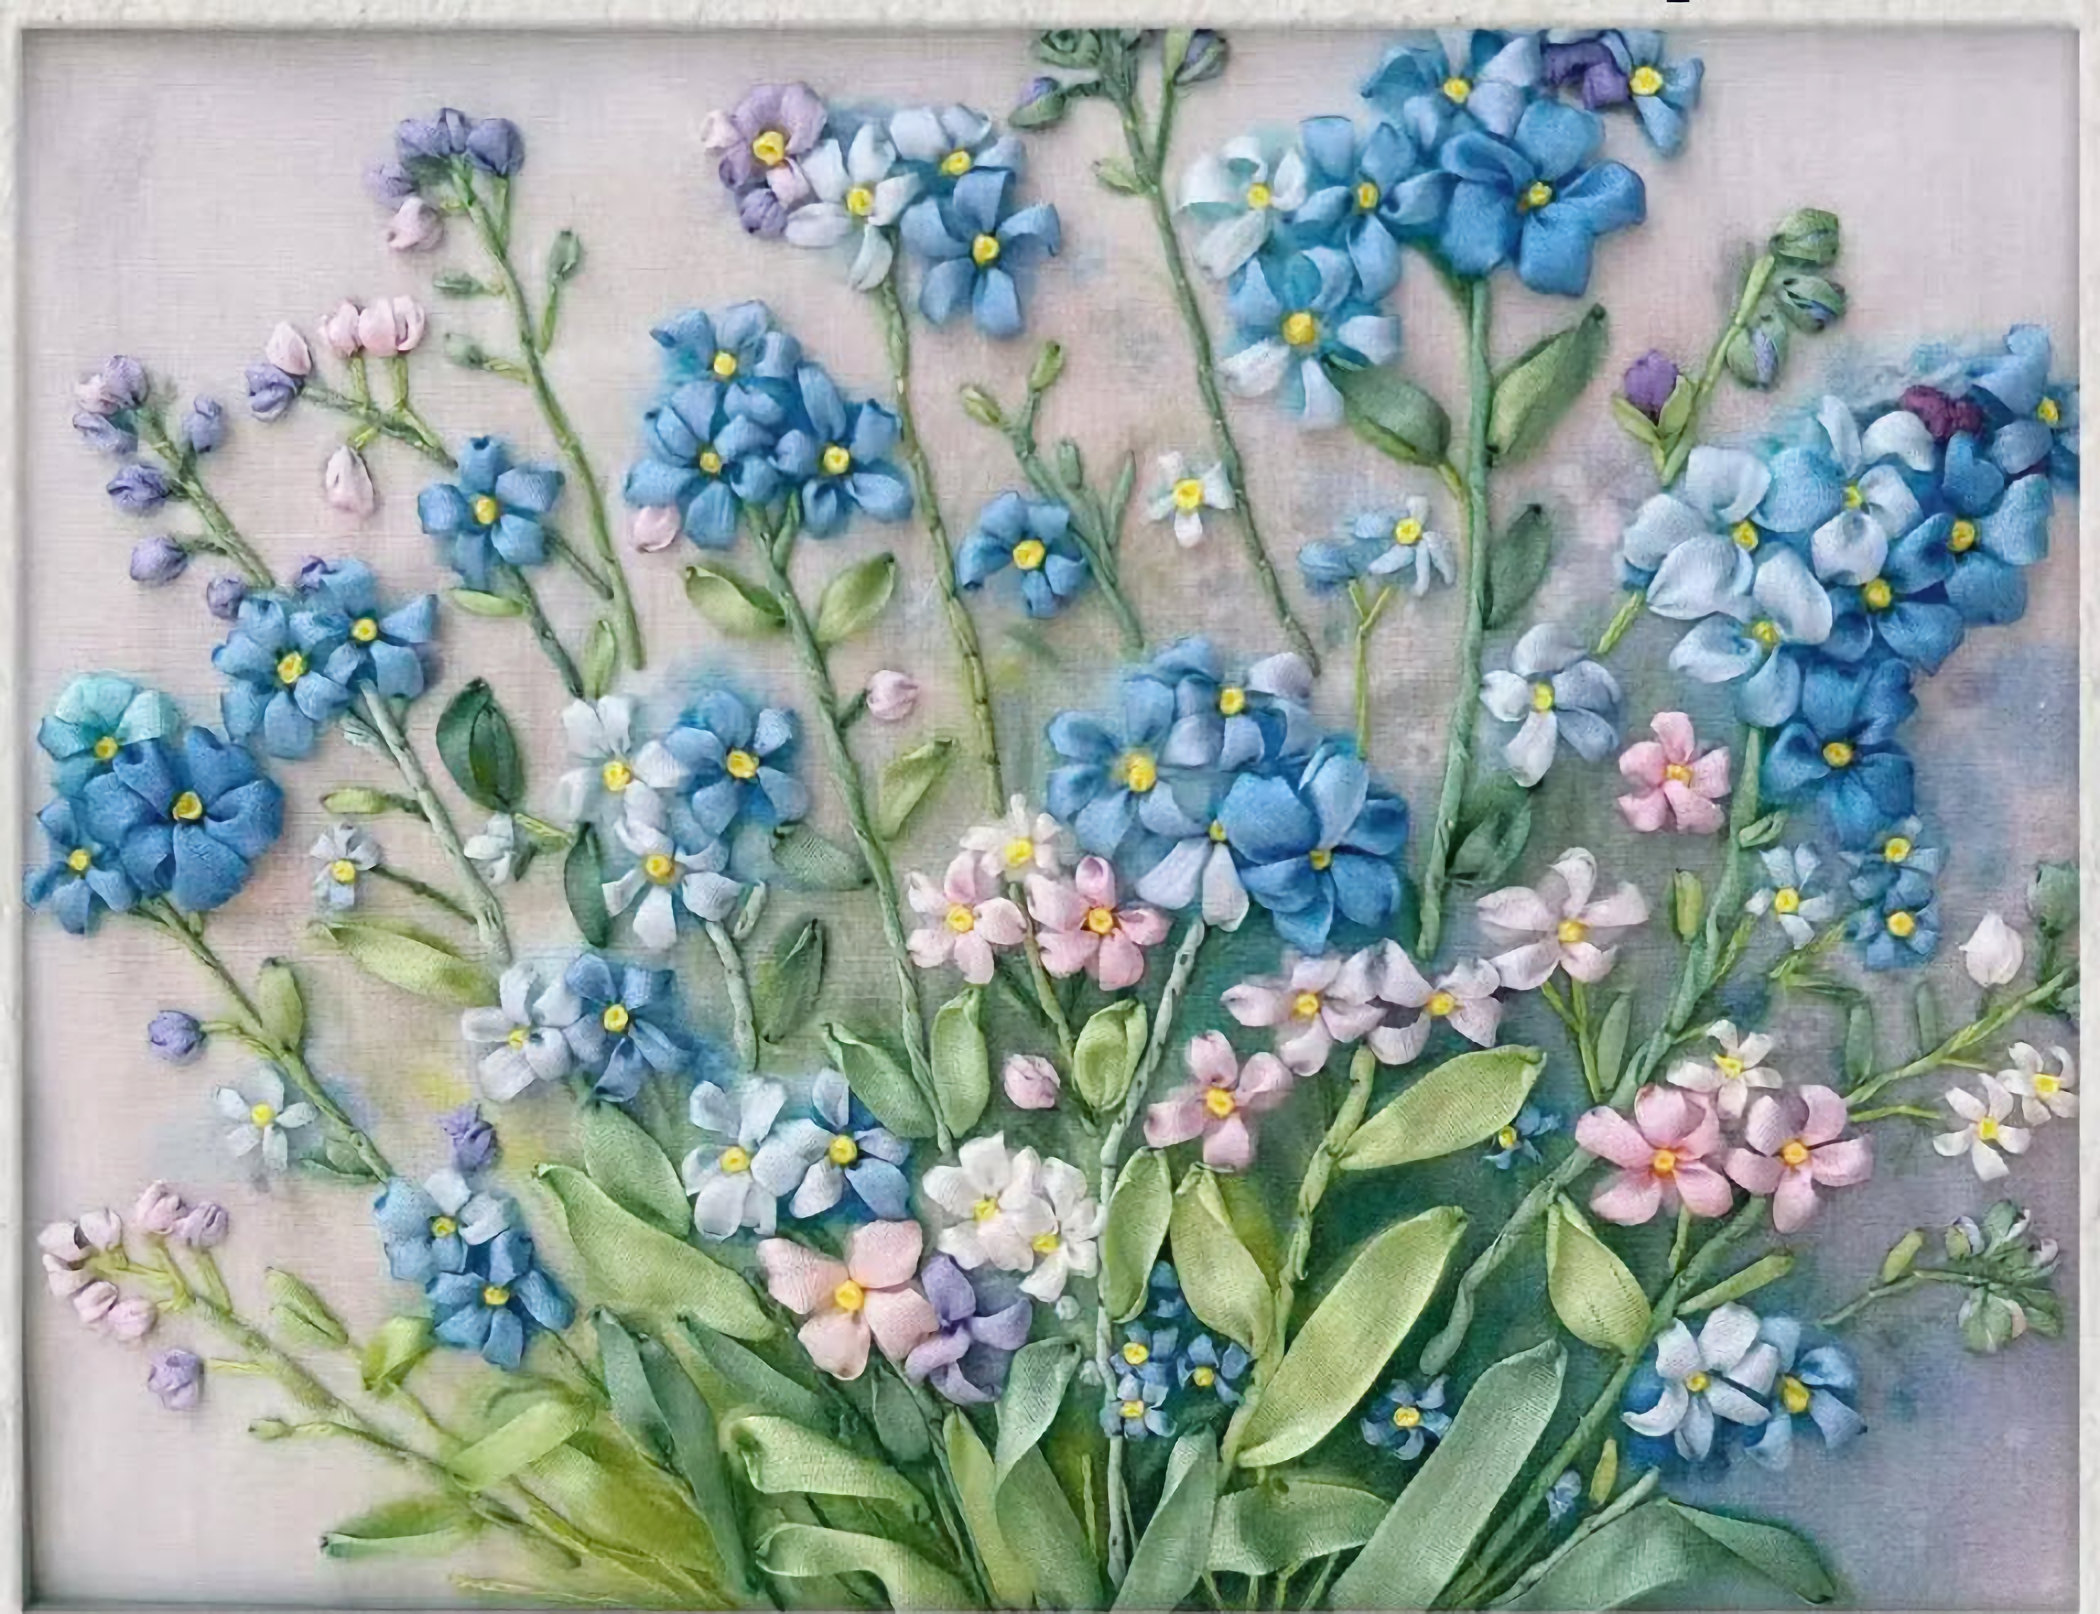 The kit includes set of 4mm, 7mm silk ribbons. |
 |
 |
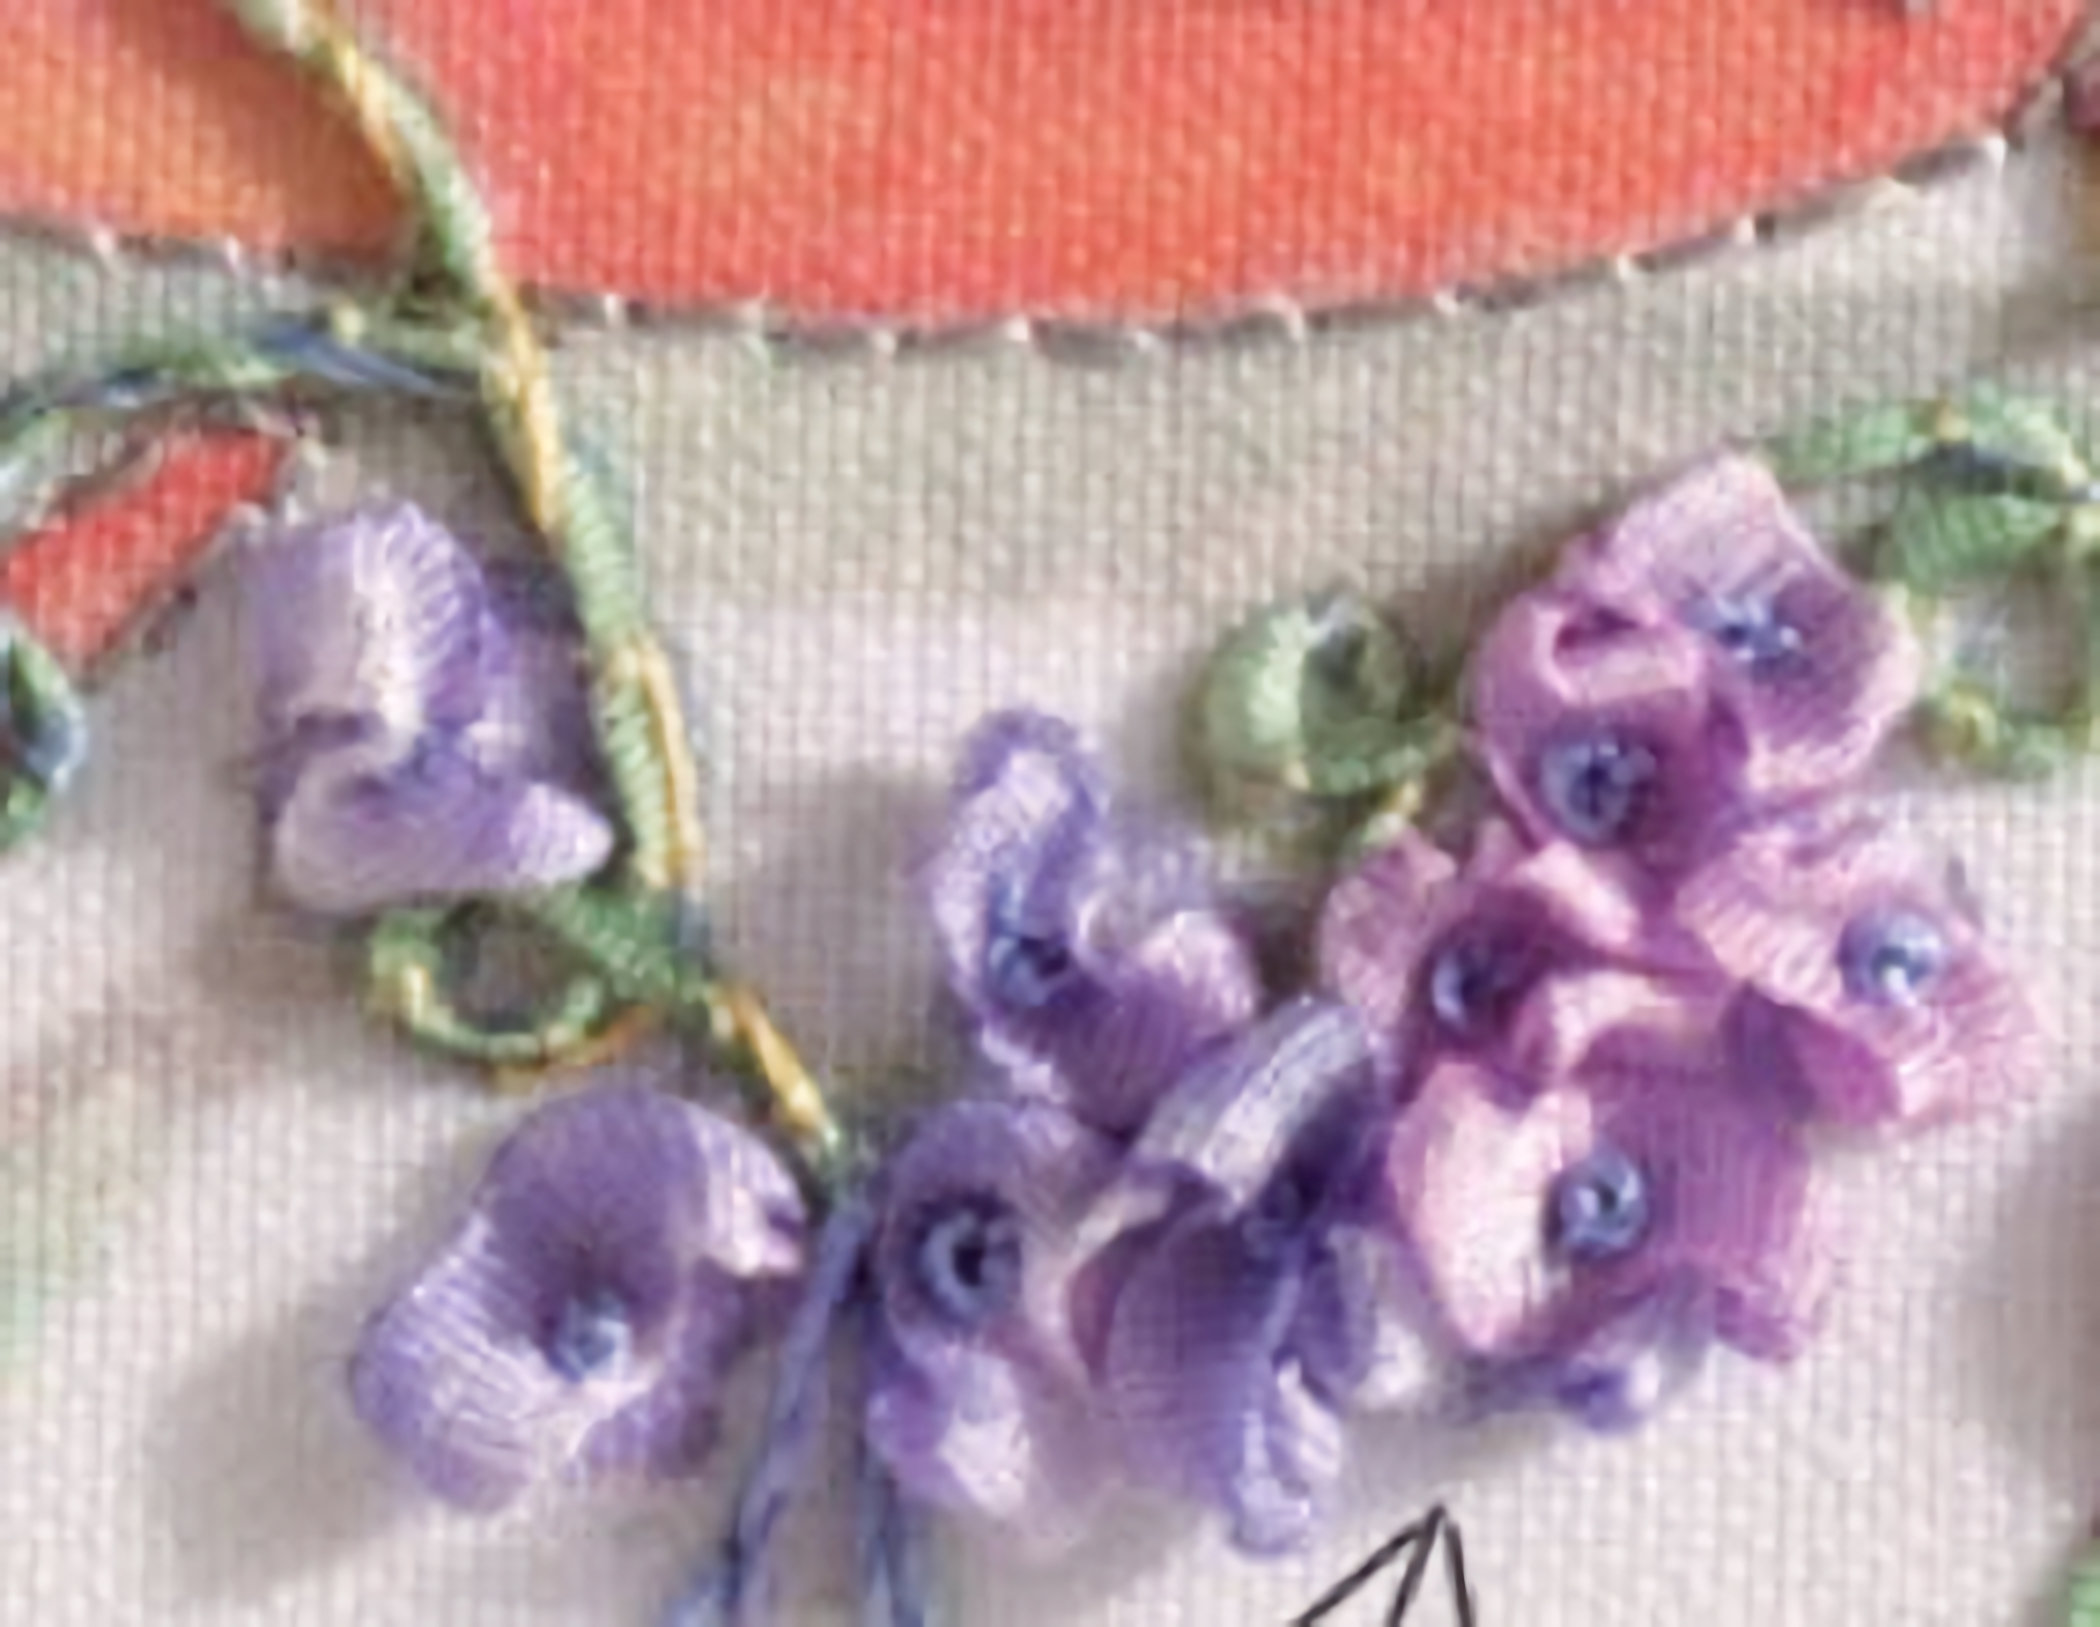
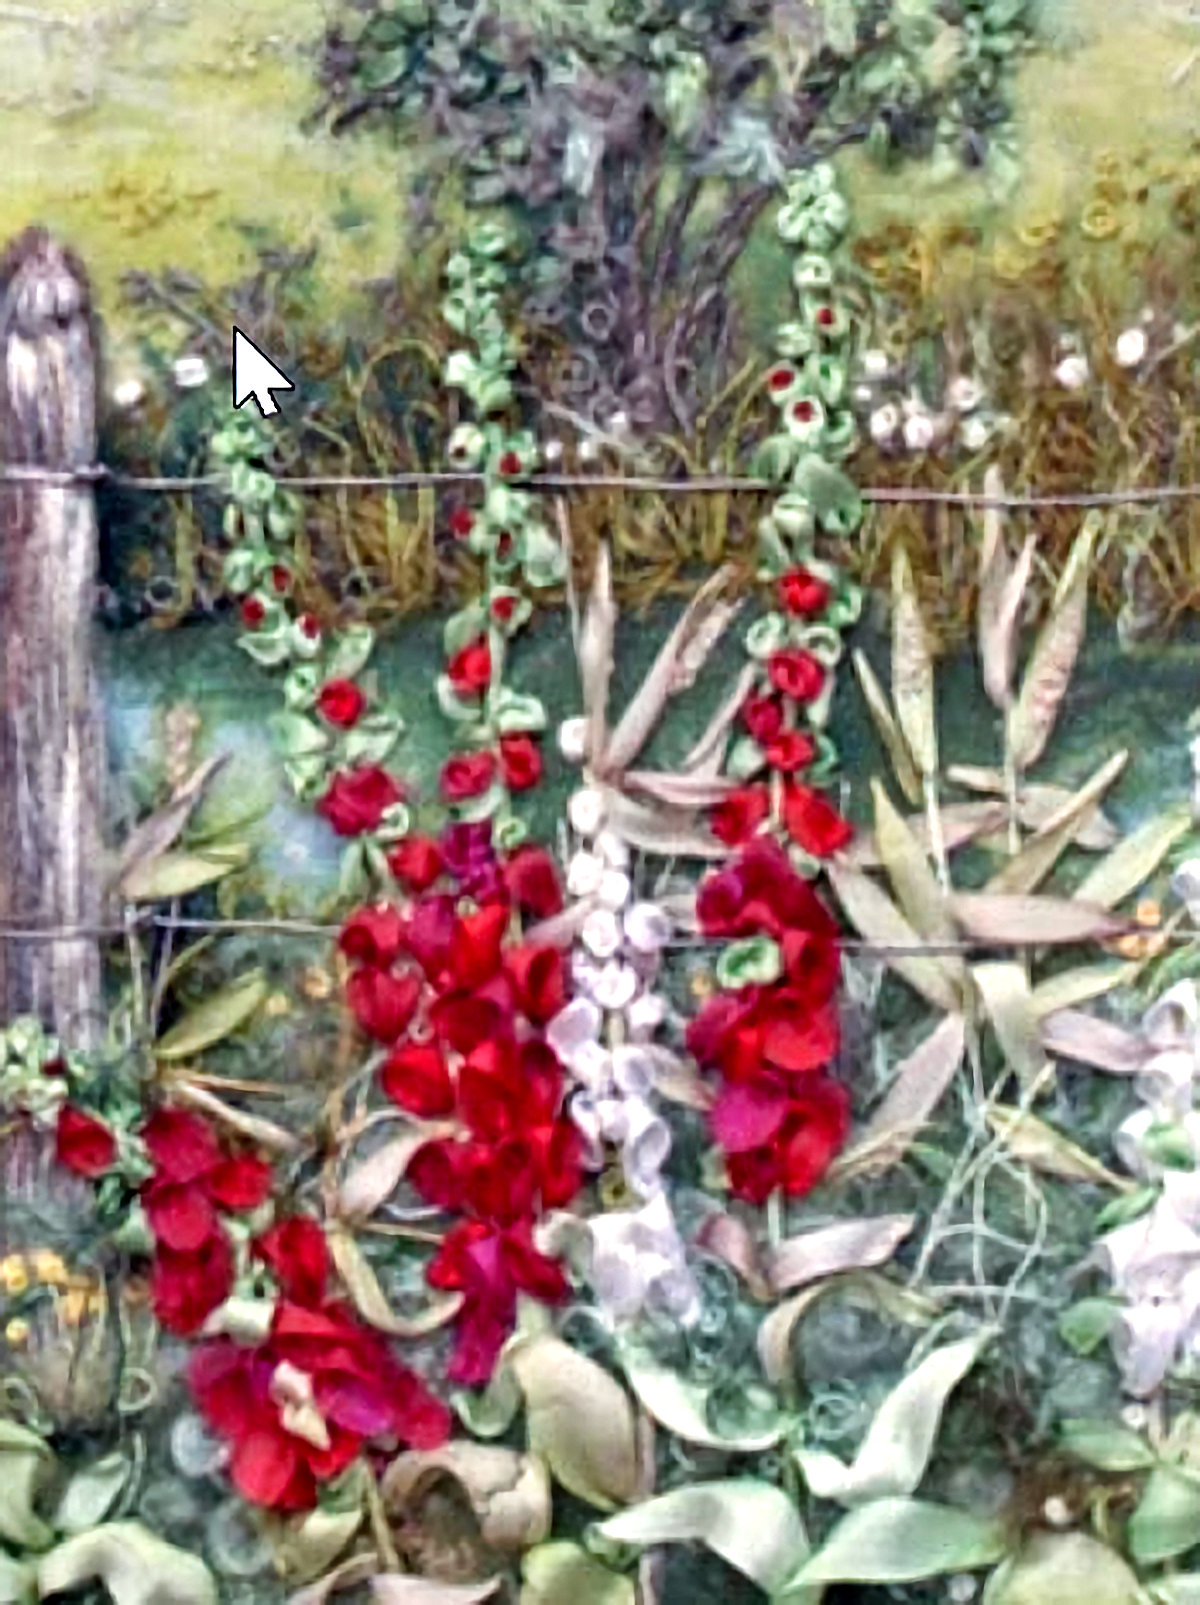
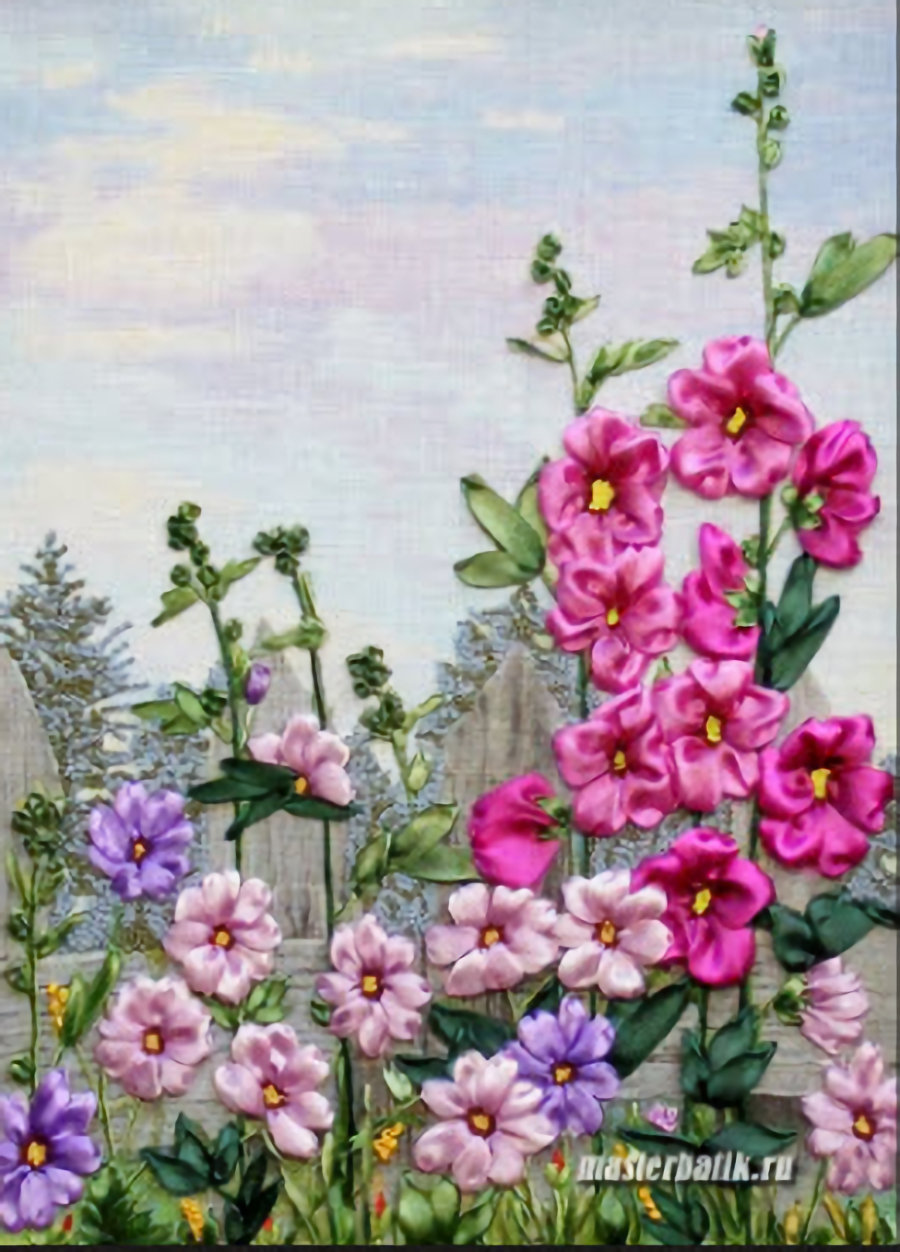
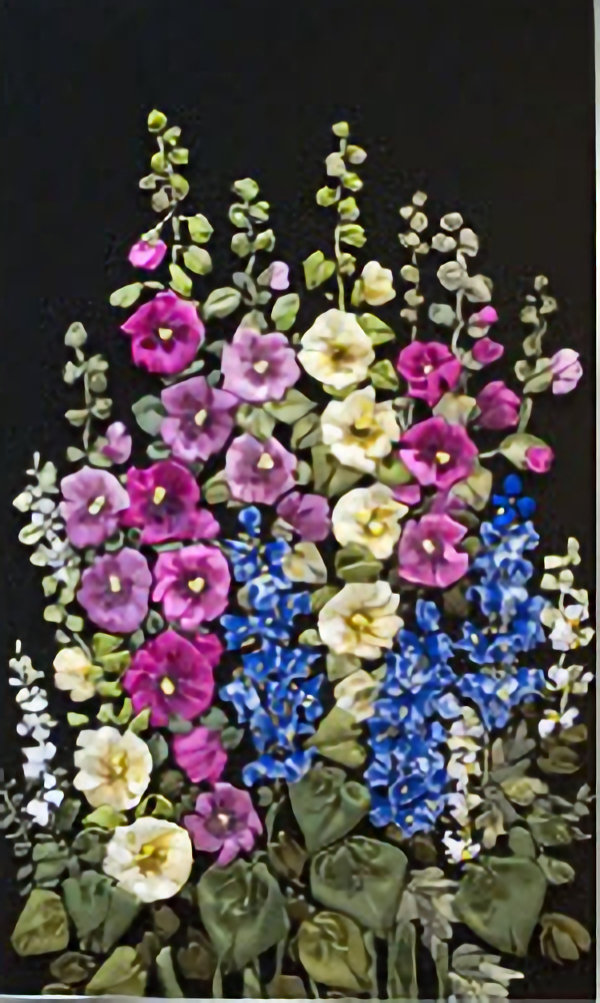
| Hollyhocks: Materials NeededSilk ribbon (approx. 7mm to 10mm width, or shibori pleated ribbon)Matching sewing thread and needleScissorsStep-by-Step InstructionsCut the Ribbon: Cut a 10-inch length of silk ribbon.Join the Ends: Place the right sides of the ribbon facing each other, and stitch the short ends together to form a small loop.Baste the Edge: Run a simple running stitch (baste) along one long edge of the ribbon loop, leaving your thread tails loose.Gather and Shape: Pull the thread tails to gather the stitching tightly, then fluff and shape the silk outward to form the ruffled cup shape of a hollyhock. Secure the thread with a knot. |
 |
 |
 |