
Some people like to snuggle into a good book, I like to snuggle into a good embroidery kit. I do a lot of my own designs but my treat is to purchase a full kit. One that has a good photo of the finished piece and clear, concise charts and instructions. My go to designer is Tanja Berlin.
Tanja Berlin’s kit came with the design printed on 100% Southern Belle cotton fabric, stranded DMC/Anchor cotton thread and a booklet with pages of charts and instructions. When you purchase a kit from Ms. Berlin she offers advice/comments on your WIP and finished piece. All you have to do is email her a photo along with a short statement of where you are having a problem. I have done several of her kits and while working 2 or 3 of them have emailed her with a ‘can you help me with a stitching problem’ request. She responded quite quickly to my emails.
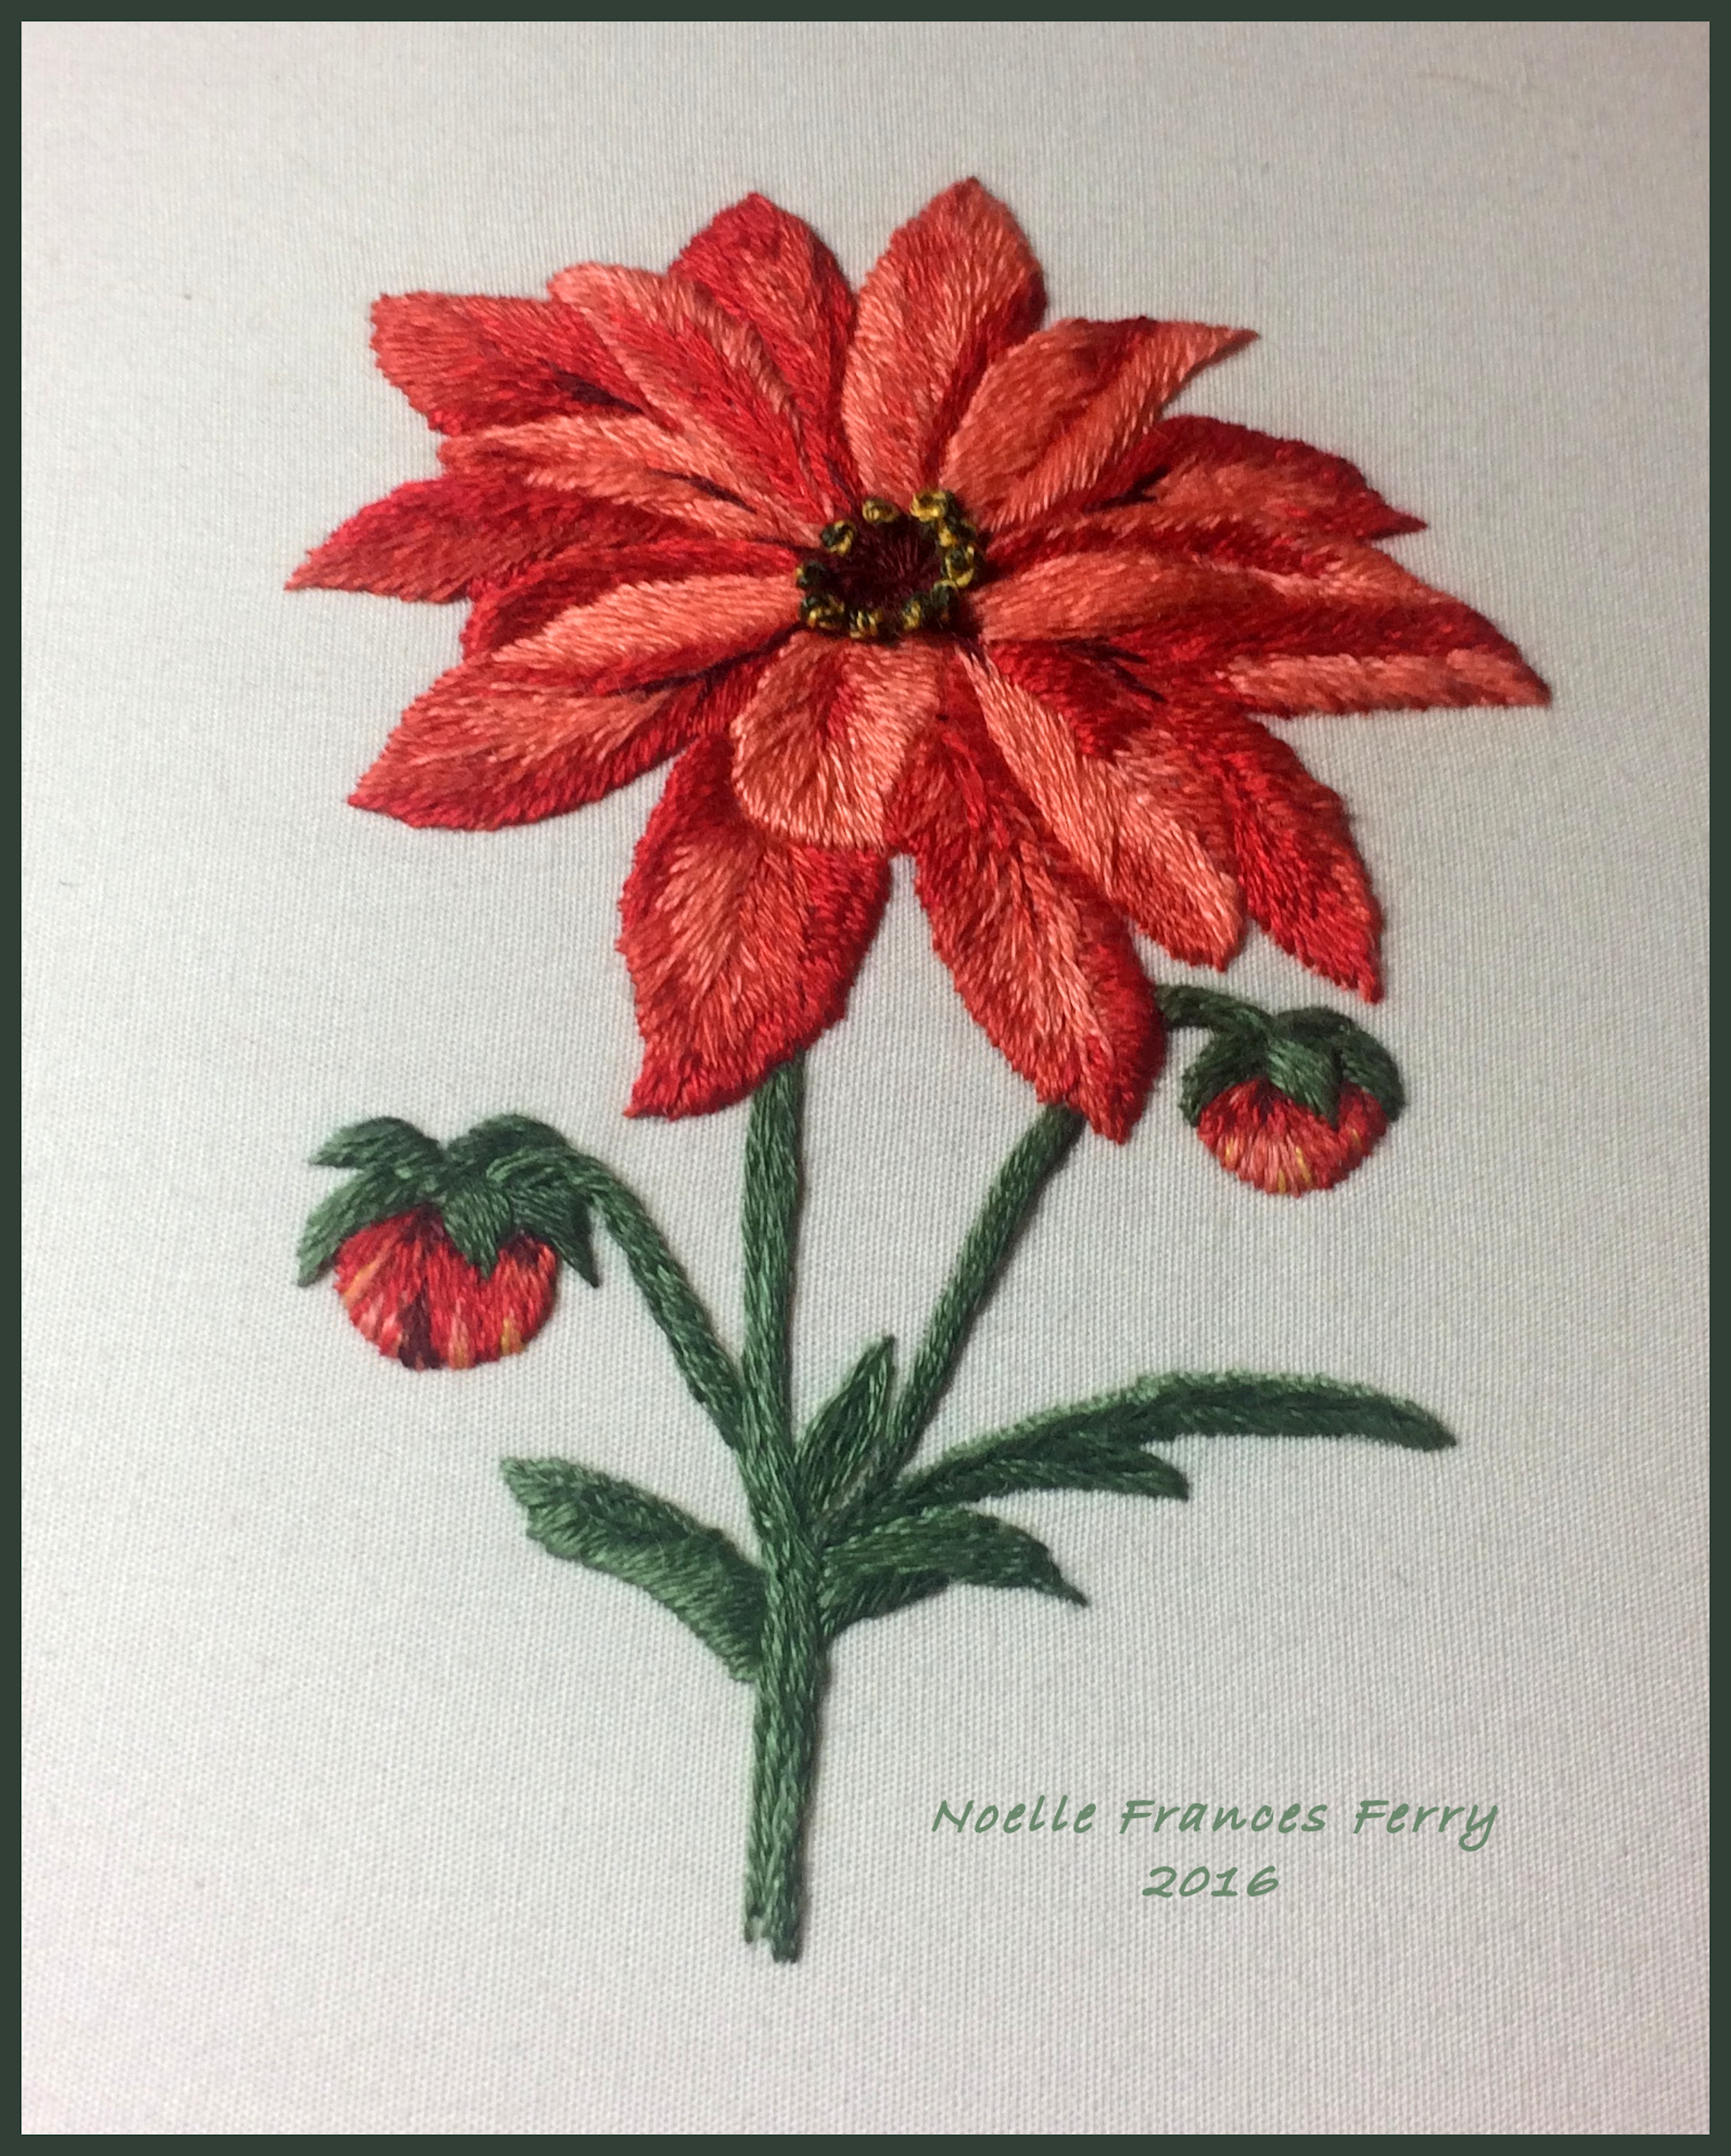
I greatly enjoy needle painting but if you view photos of Tanja’s website you will see that my shading skills are low compare to her’s. Still I will spend hours trying to improve my skill set and love doing it as I find it to be very relaxing.
I say to beginners that the rules of each stitch are there to help you understand how to do it, but like me when my finished projects are not as prefect as the shown designer’s photo have fun, enjoy stitching and viewing your produced projects.
 |
 |
 |
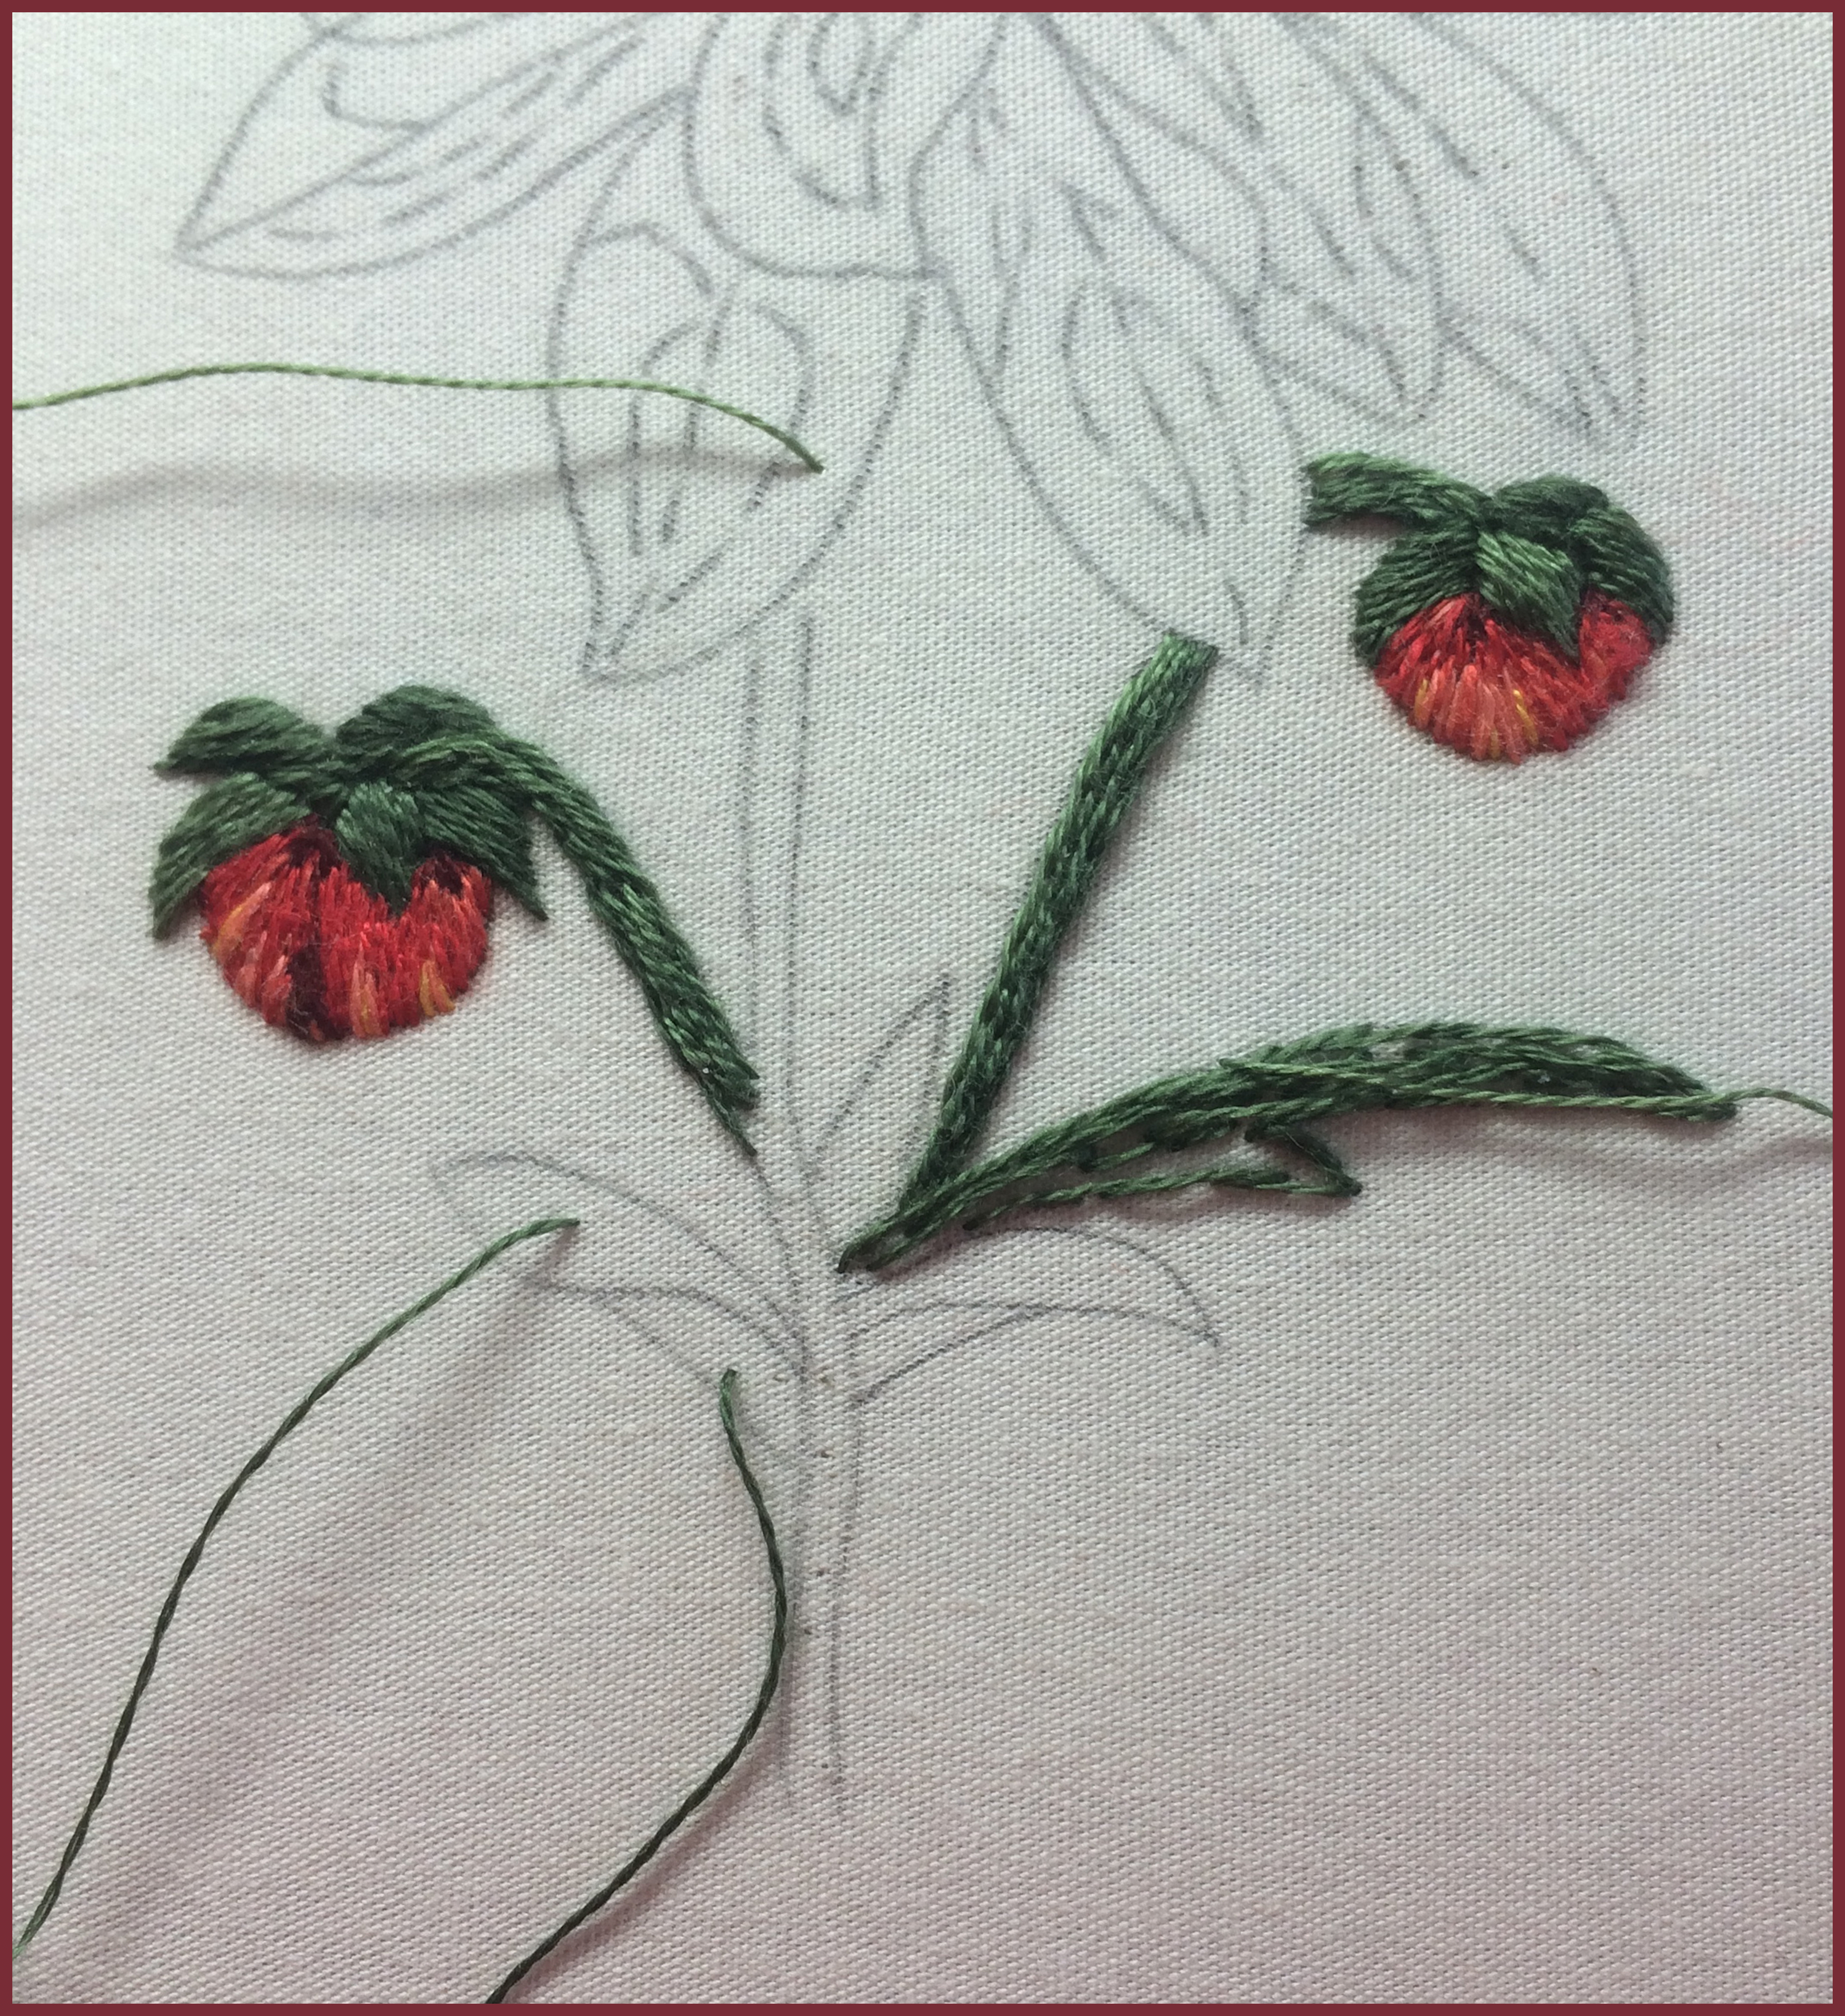
 To create more 3-d look to a leaf (right arrow) I did 3-4 rows of horizontal stitches to create a tiny padded area over which I will satin stitch. This area of satin stitches will have a lift up (and over the horizontal stitches) and then these satin stitches go back down to fabric level at the tip of the leaf. |
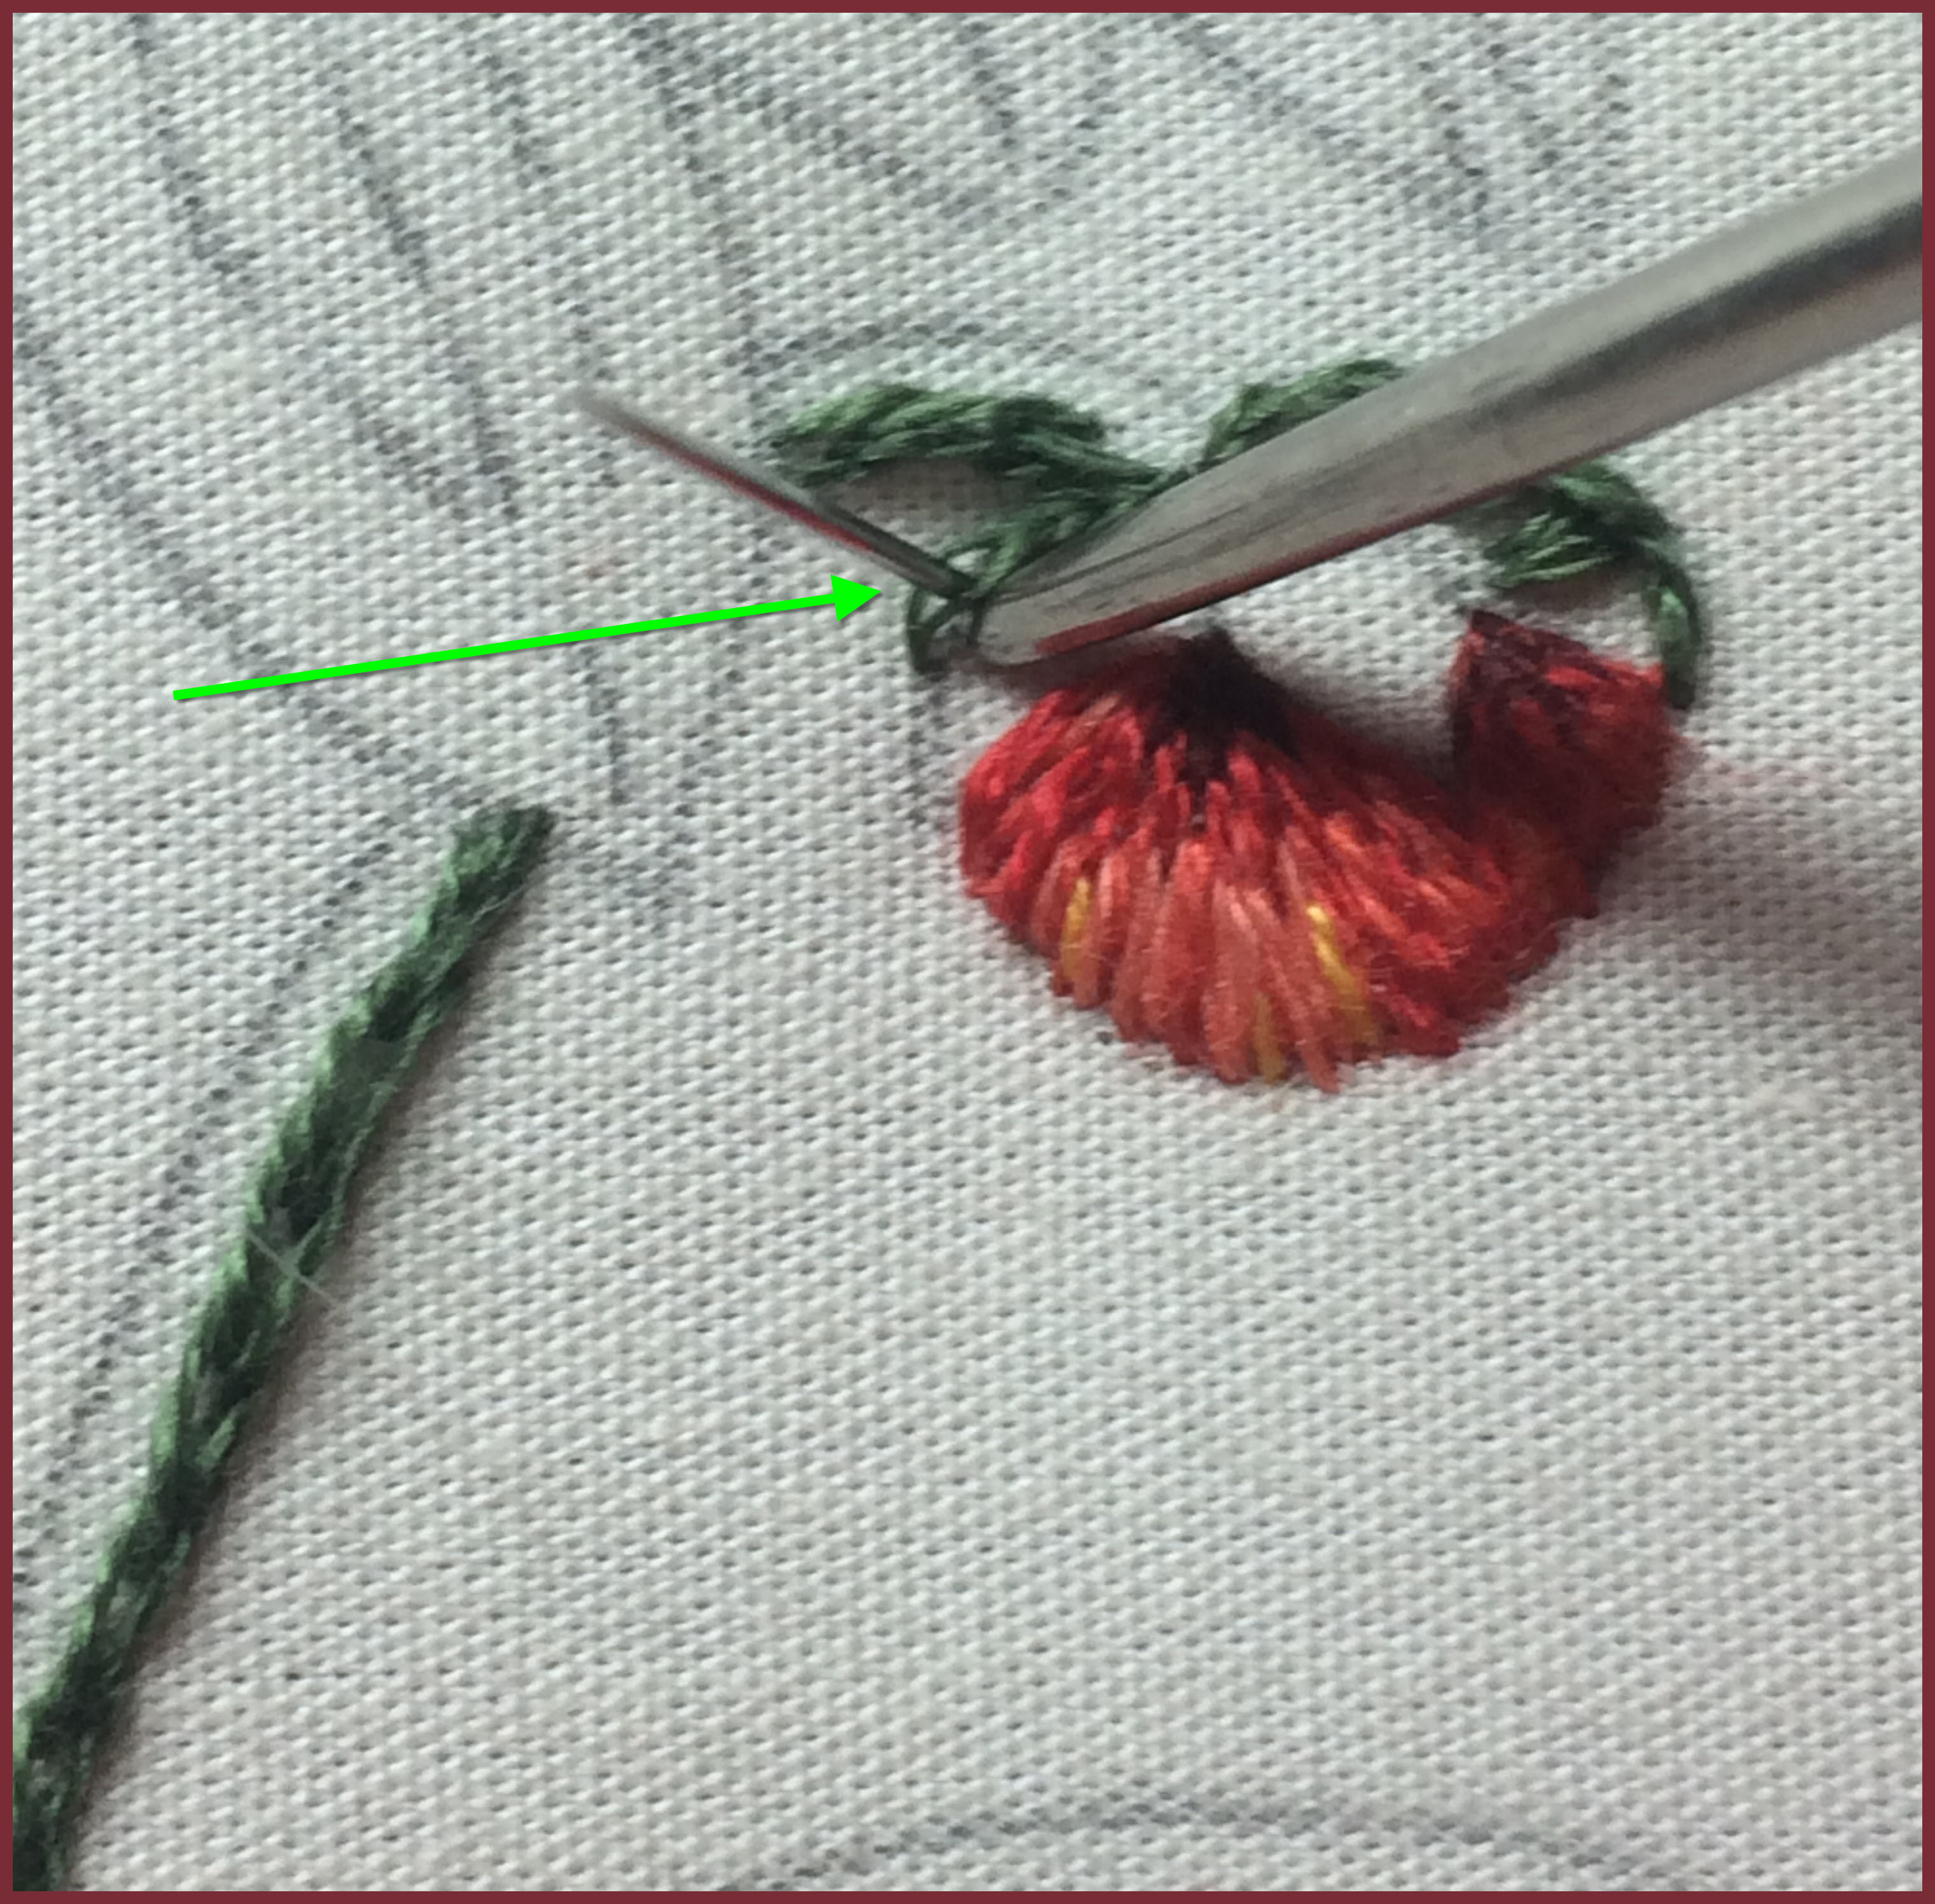
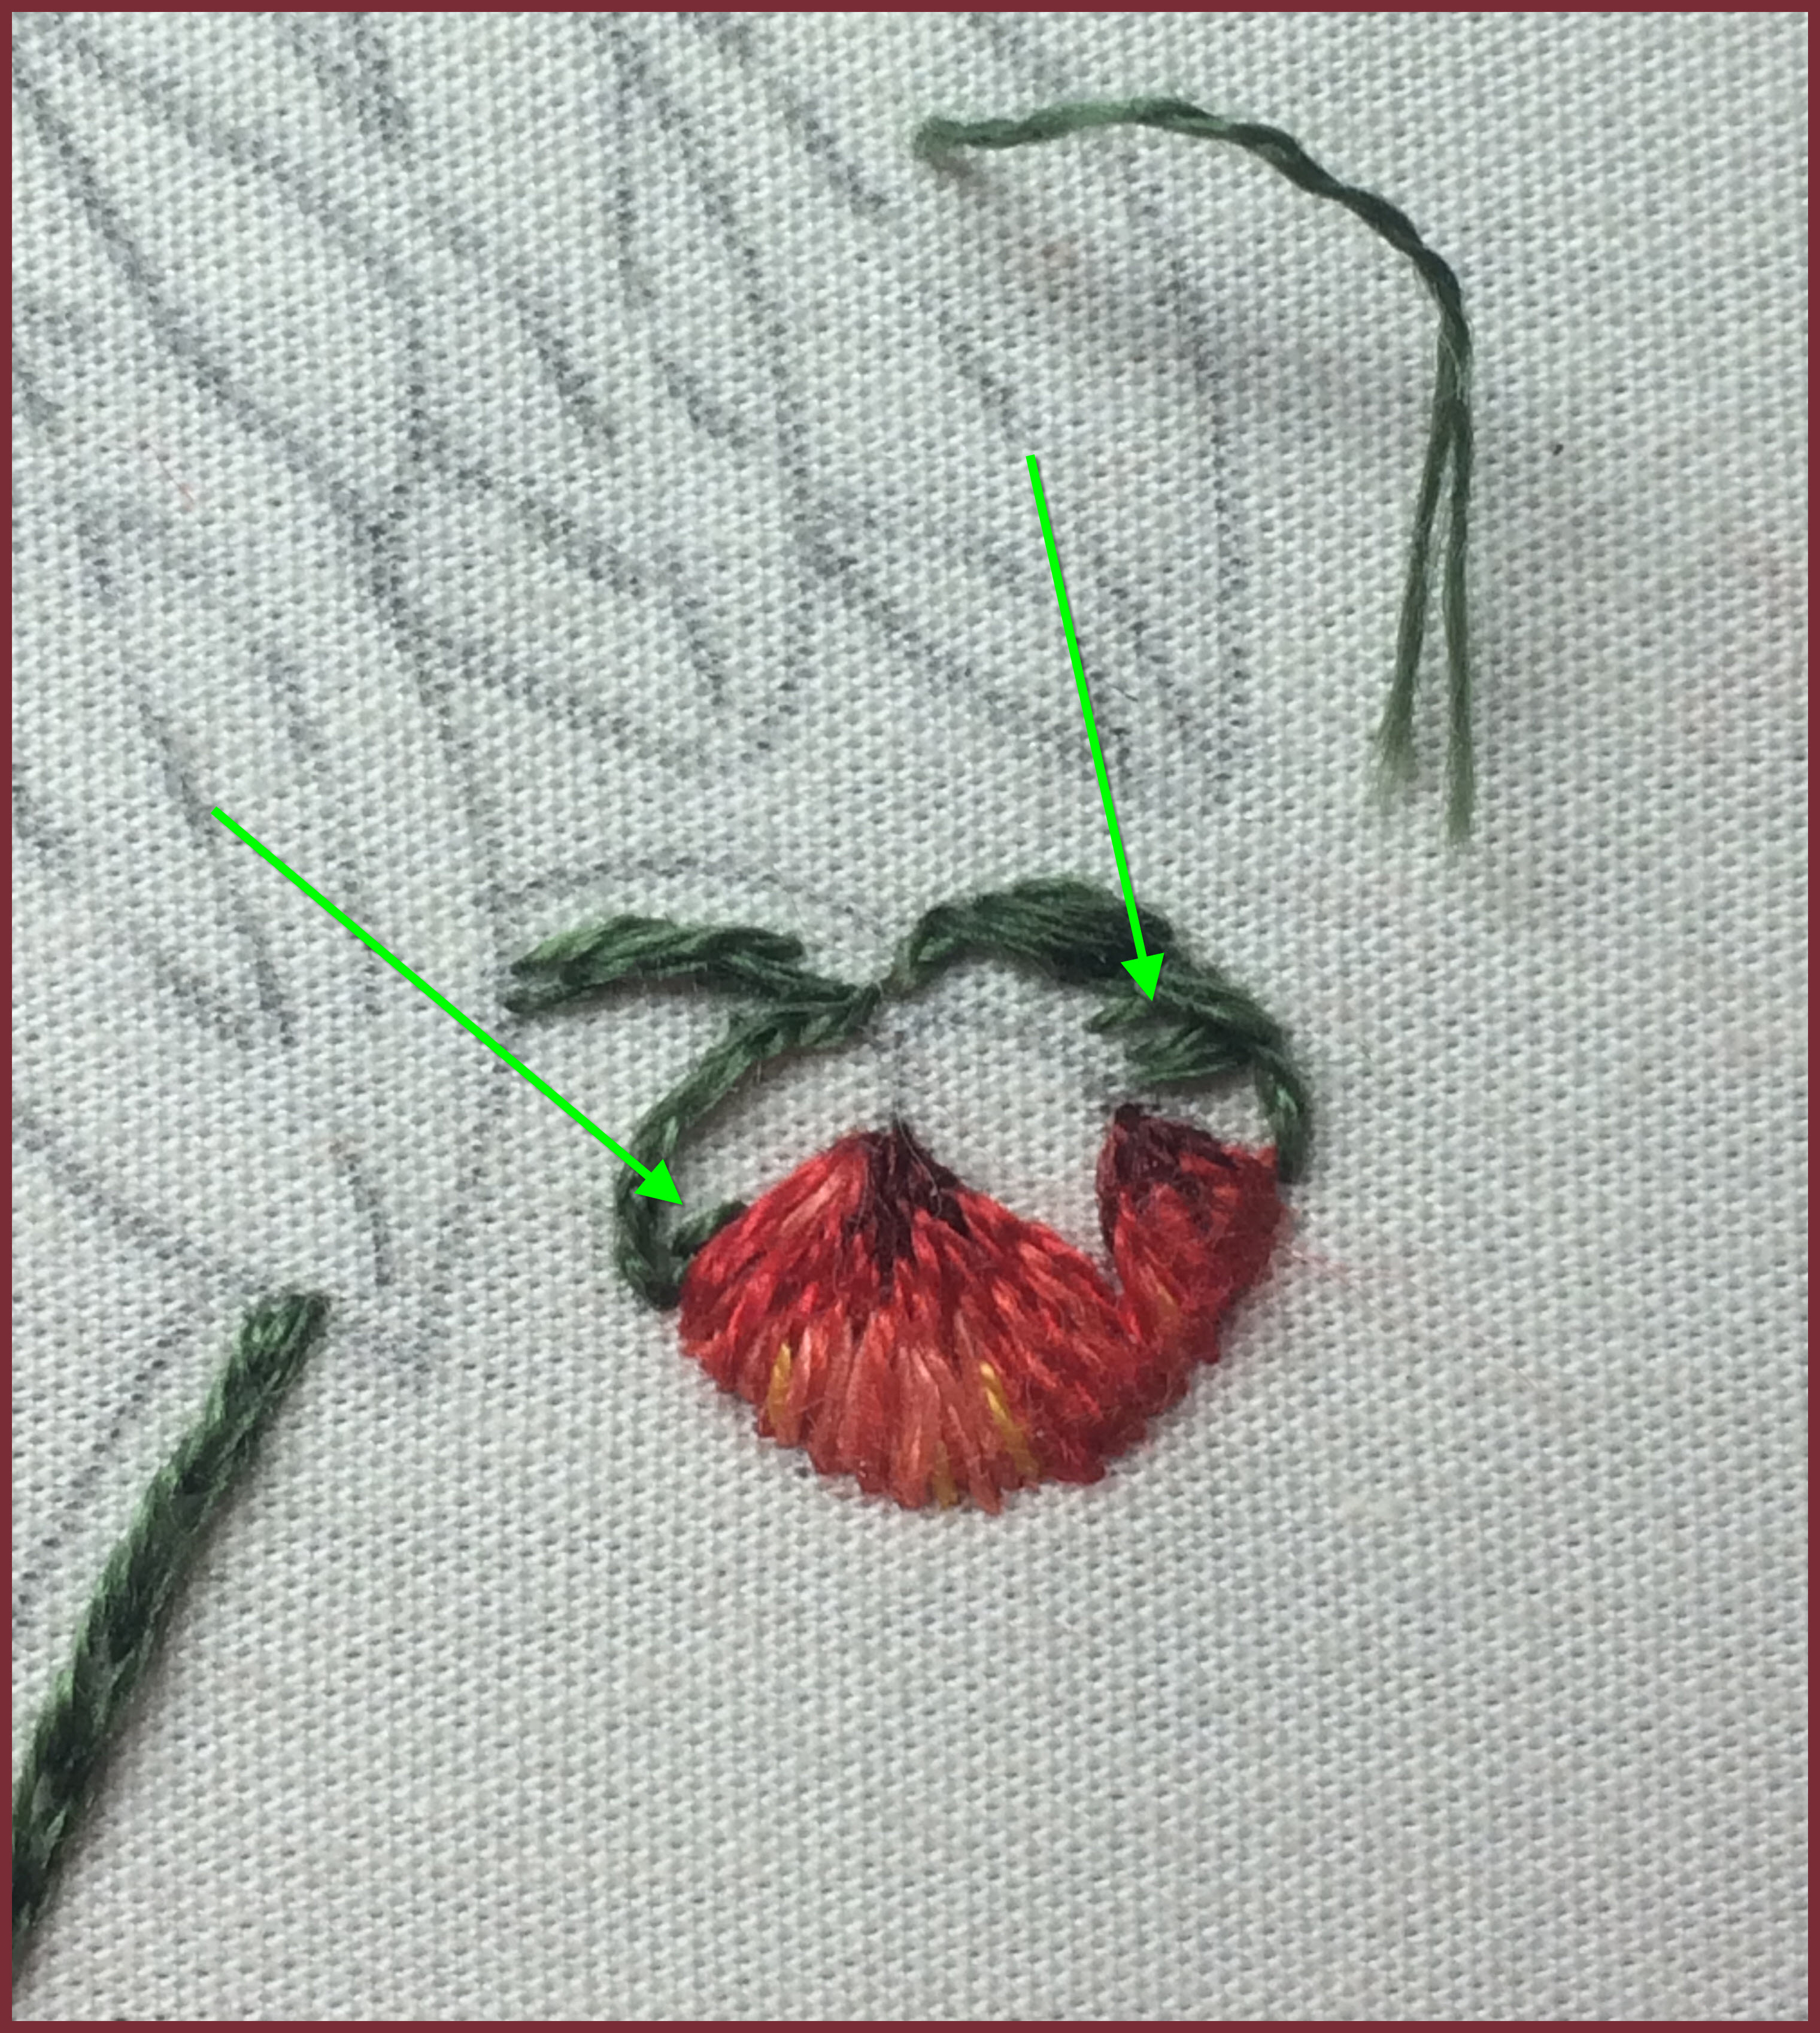
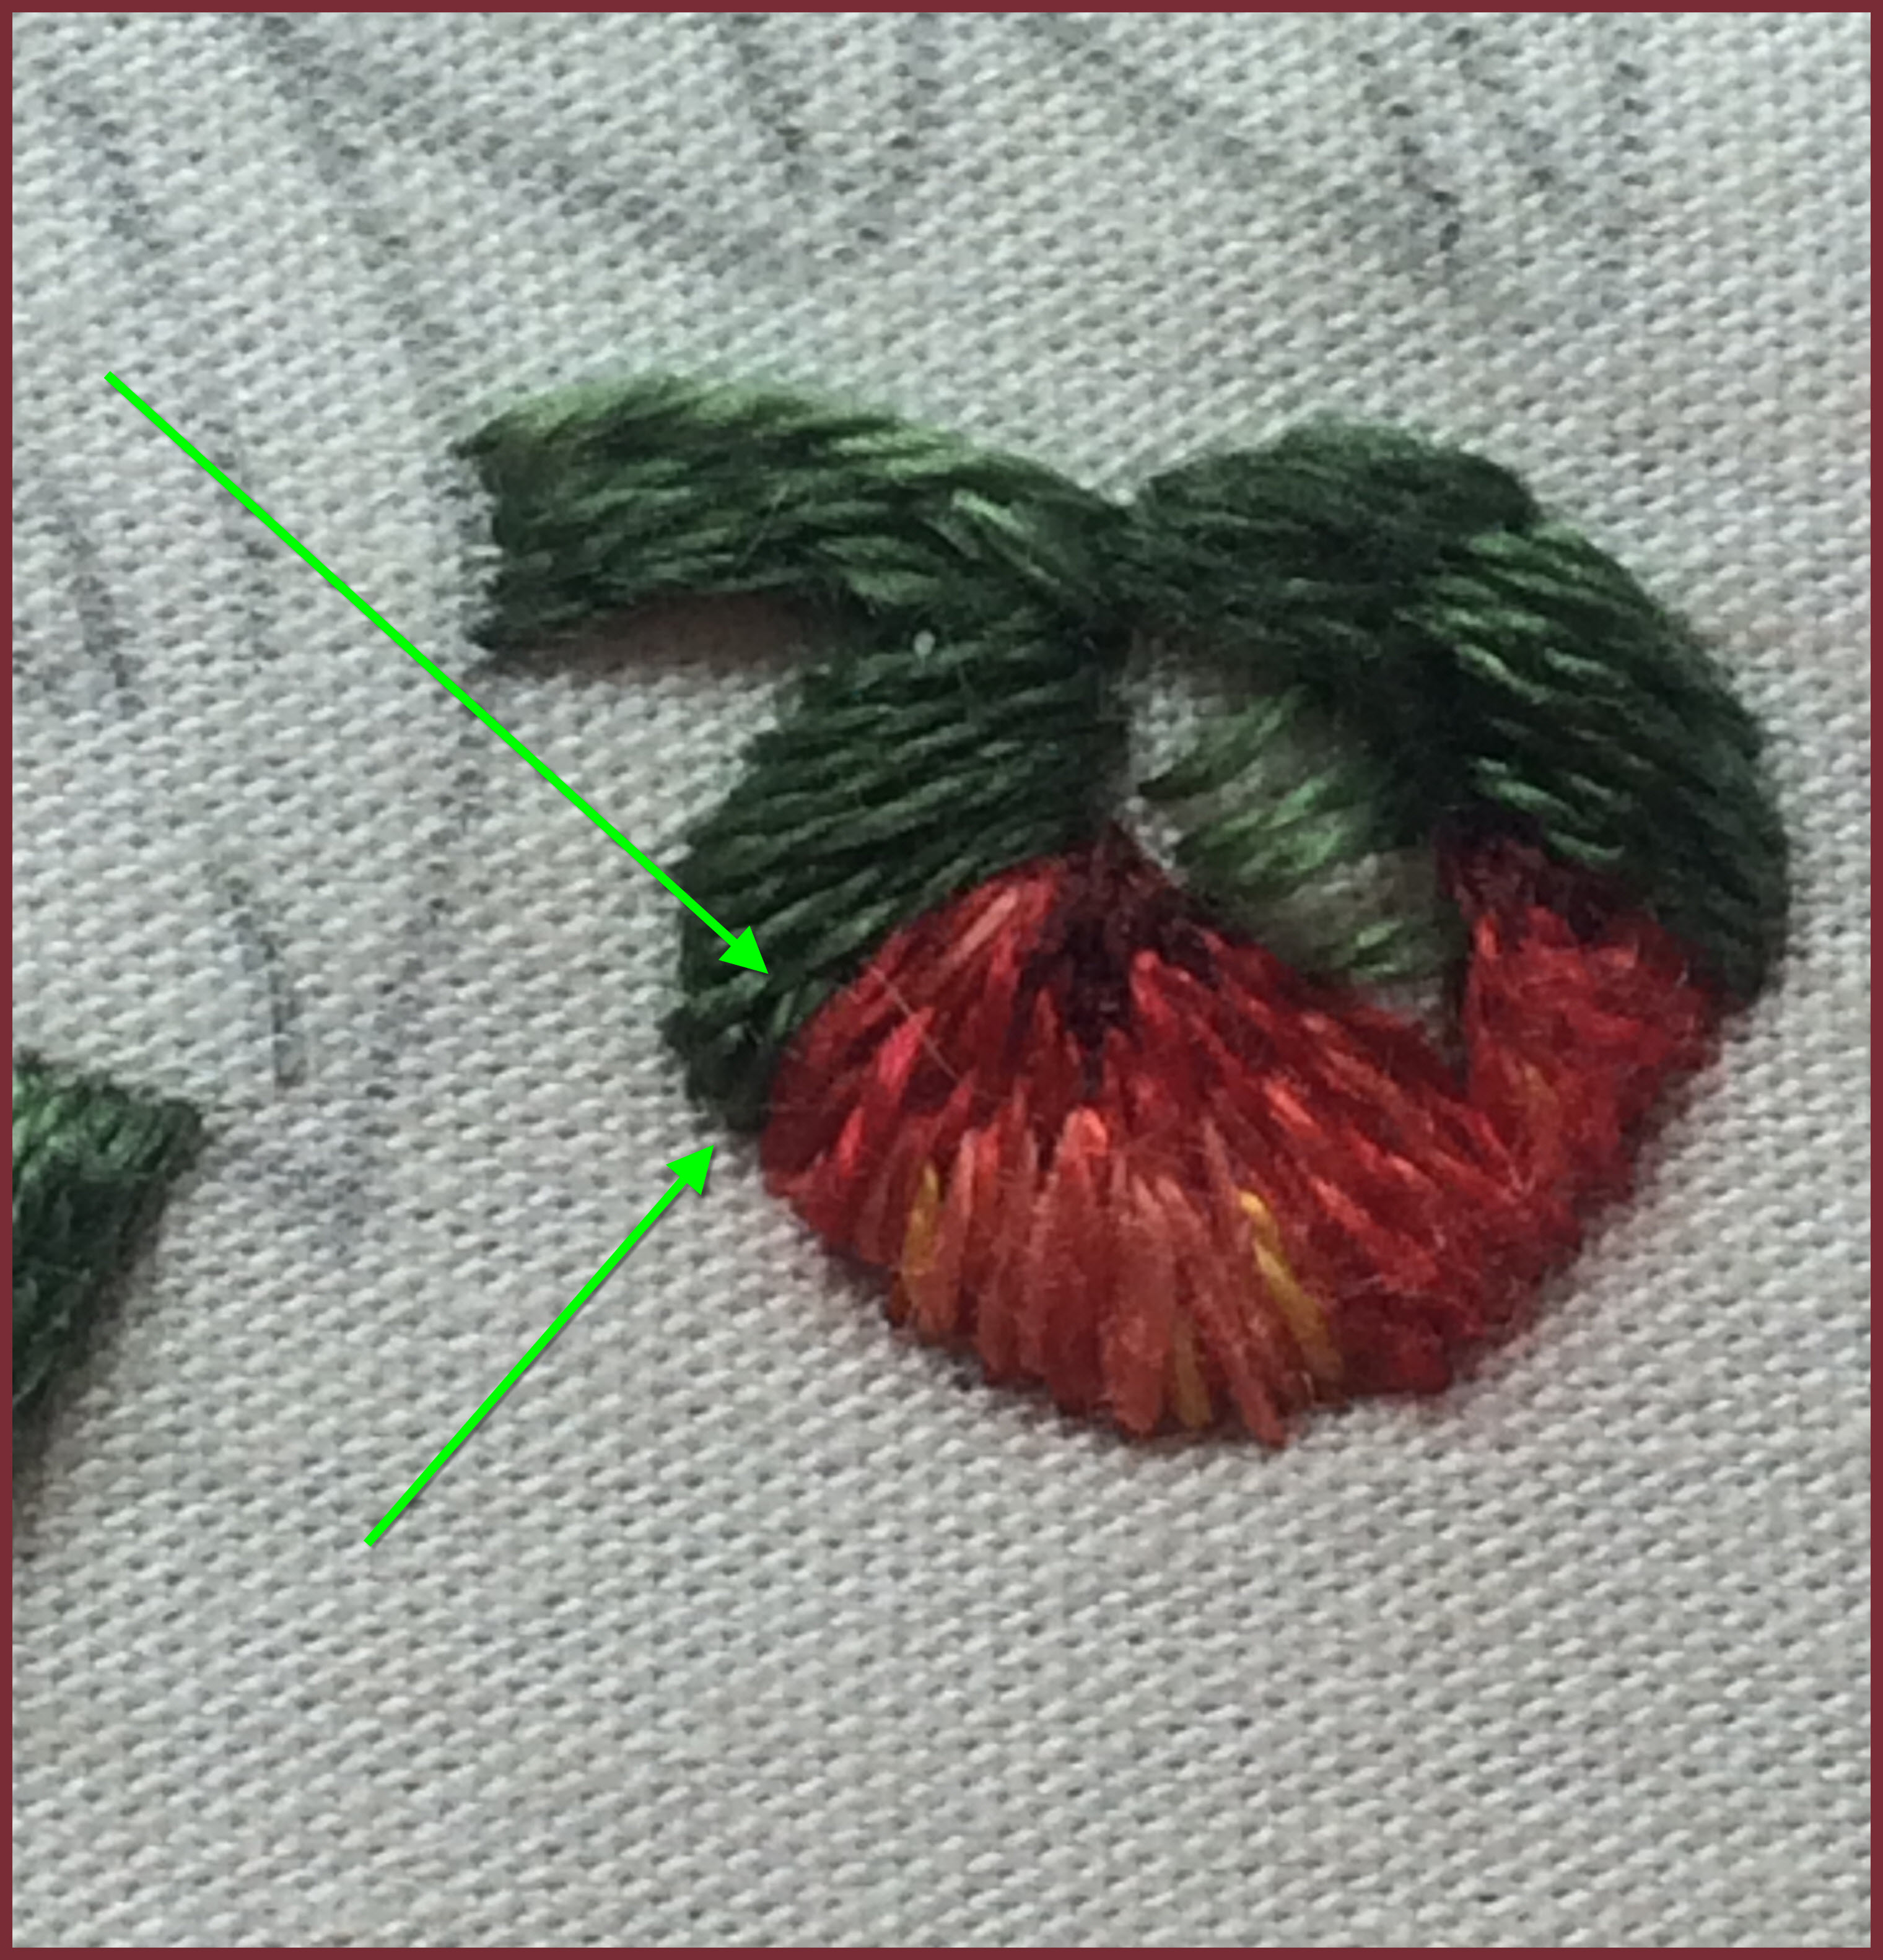 First is, notice the rows of spare stitches right in the middle bud leaf. That is for creating 3-d look, ie padded satin stitch. This is the top most leaf for the bud and I wanted those satin stitches to be lifted. Second is, long/short and satin stitches are not suppose to cross over top of previous stitches. Within my previous comments I mentioned that I was bringing a stitch up underneath a previous stitch. What I did not say was that I laid the next stitch on top of that one to give it a slight lift and then down to be the tip point of that leaf. What I am trying to say is that there are established rules for particular stitches, like don’t cross over a previous satin or long/short stitch, but for me the needle is my paint brush and sometimes I bend a rule to get the look that I want. |