
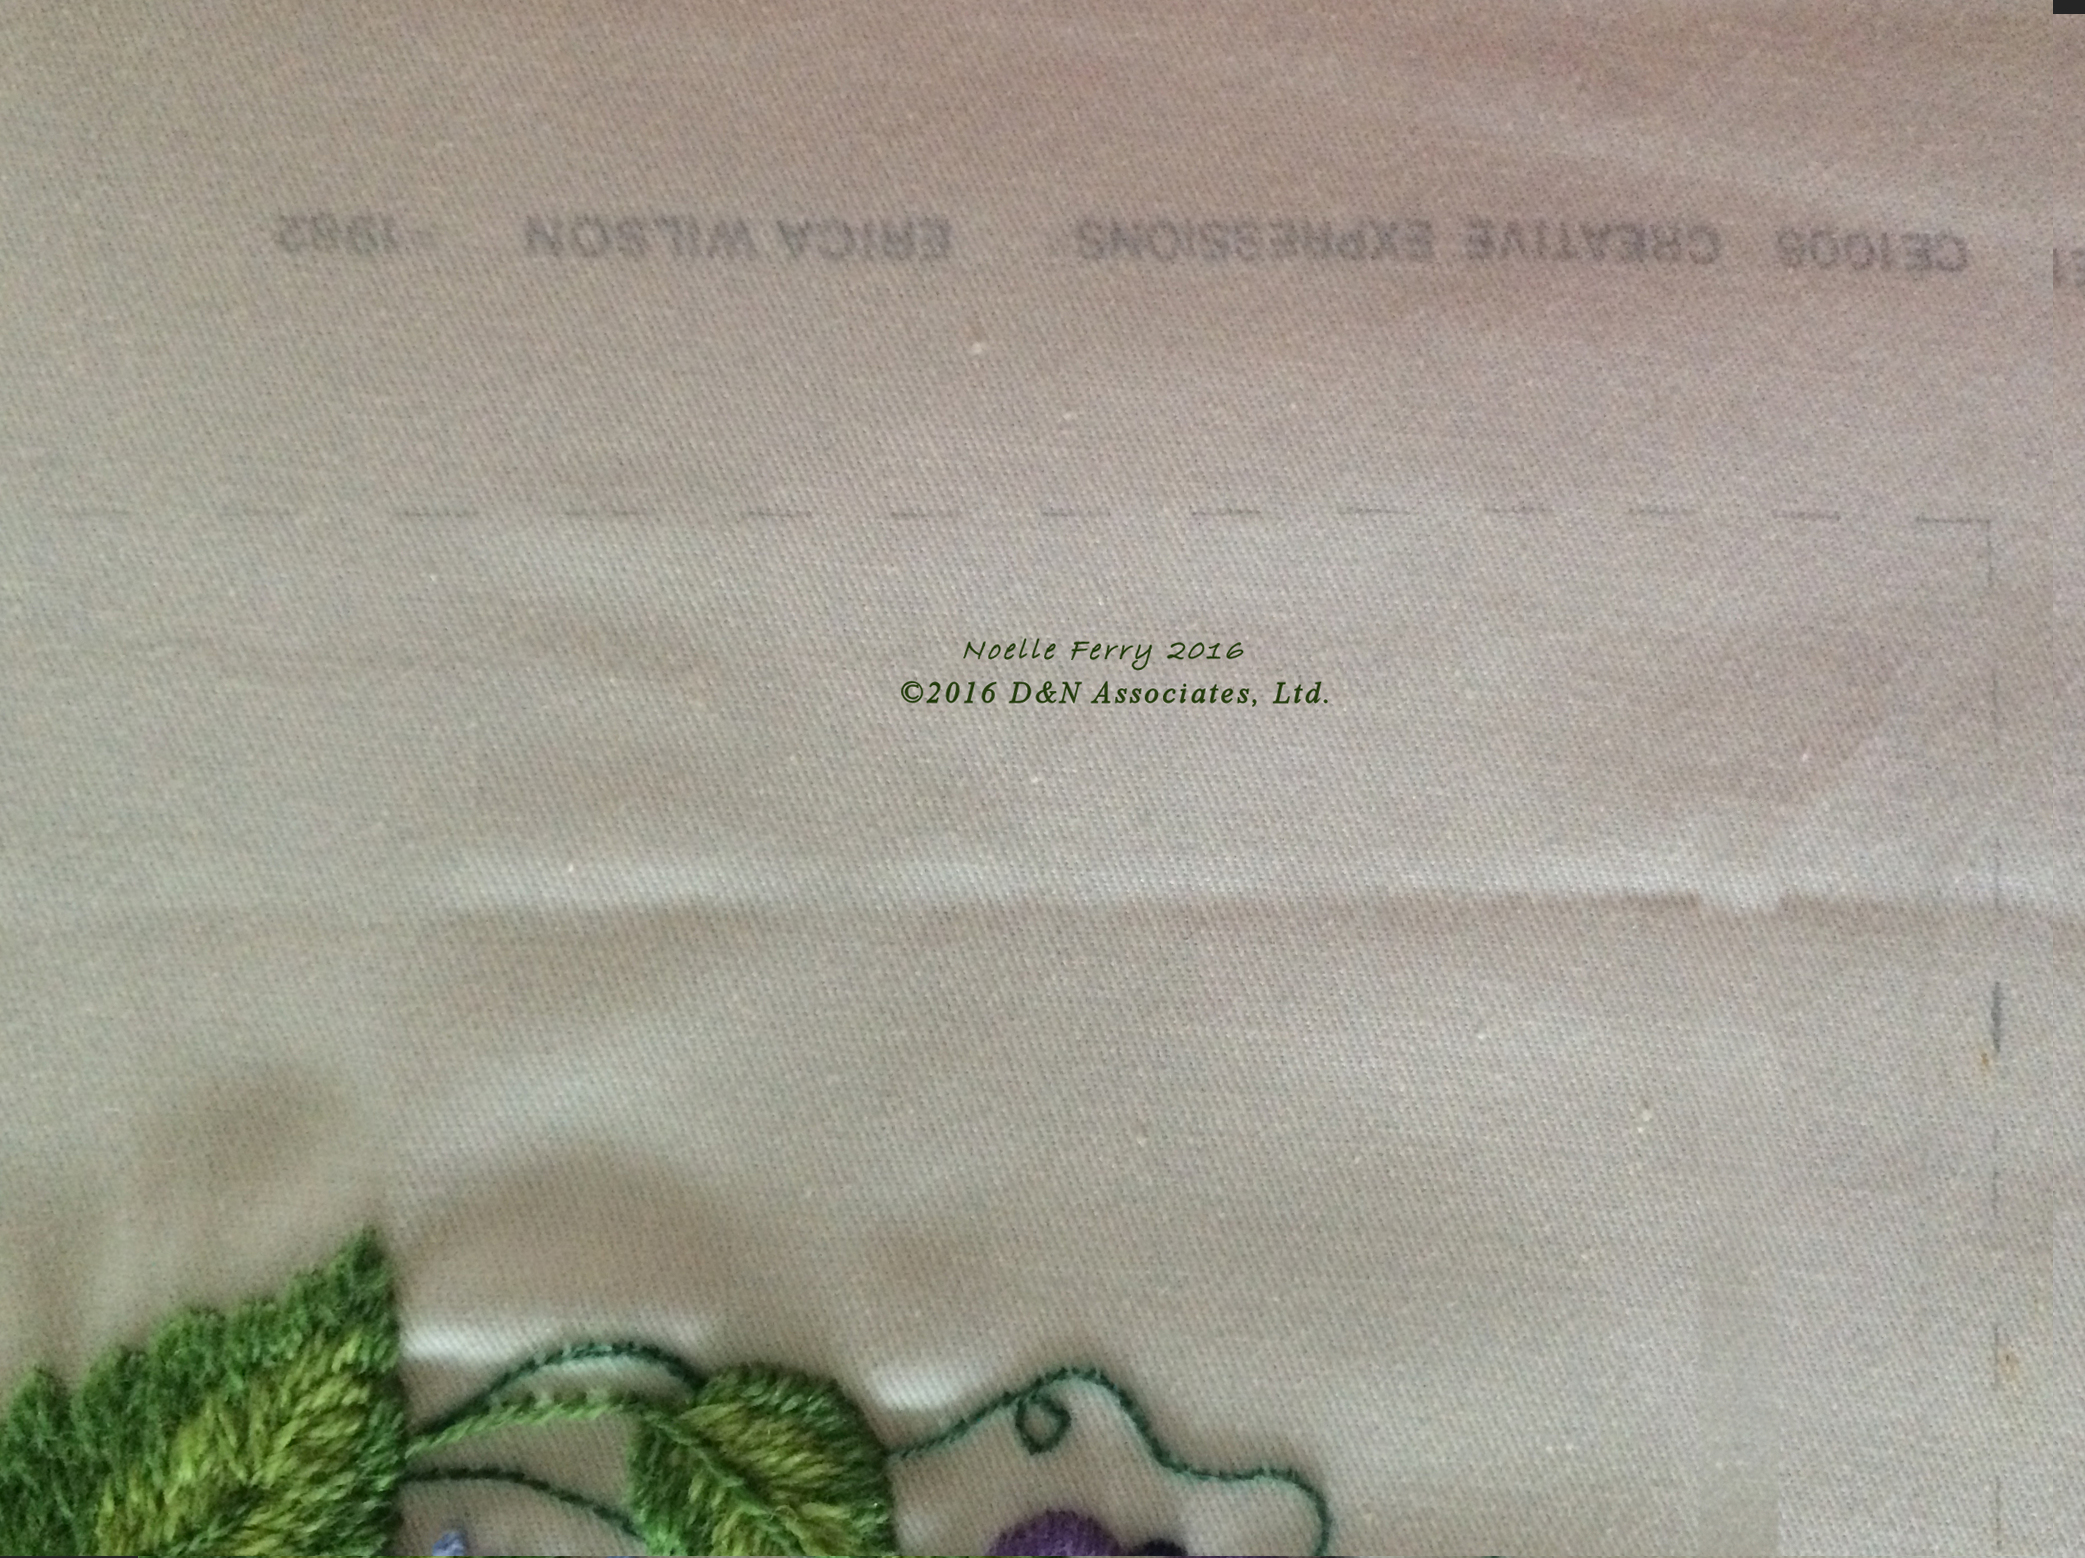
This crewel is a blend of wool yarn and stranded cotton threads. Designer is Erica Wilson, design name is Nantucket Wildflowers. This kit was produced in 1982. Purchased 2014 on eBay as a full kit (minus the pillow fill). Design worked area is 14 x 14 inch. Finished as a 16-inch pillow.
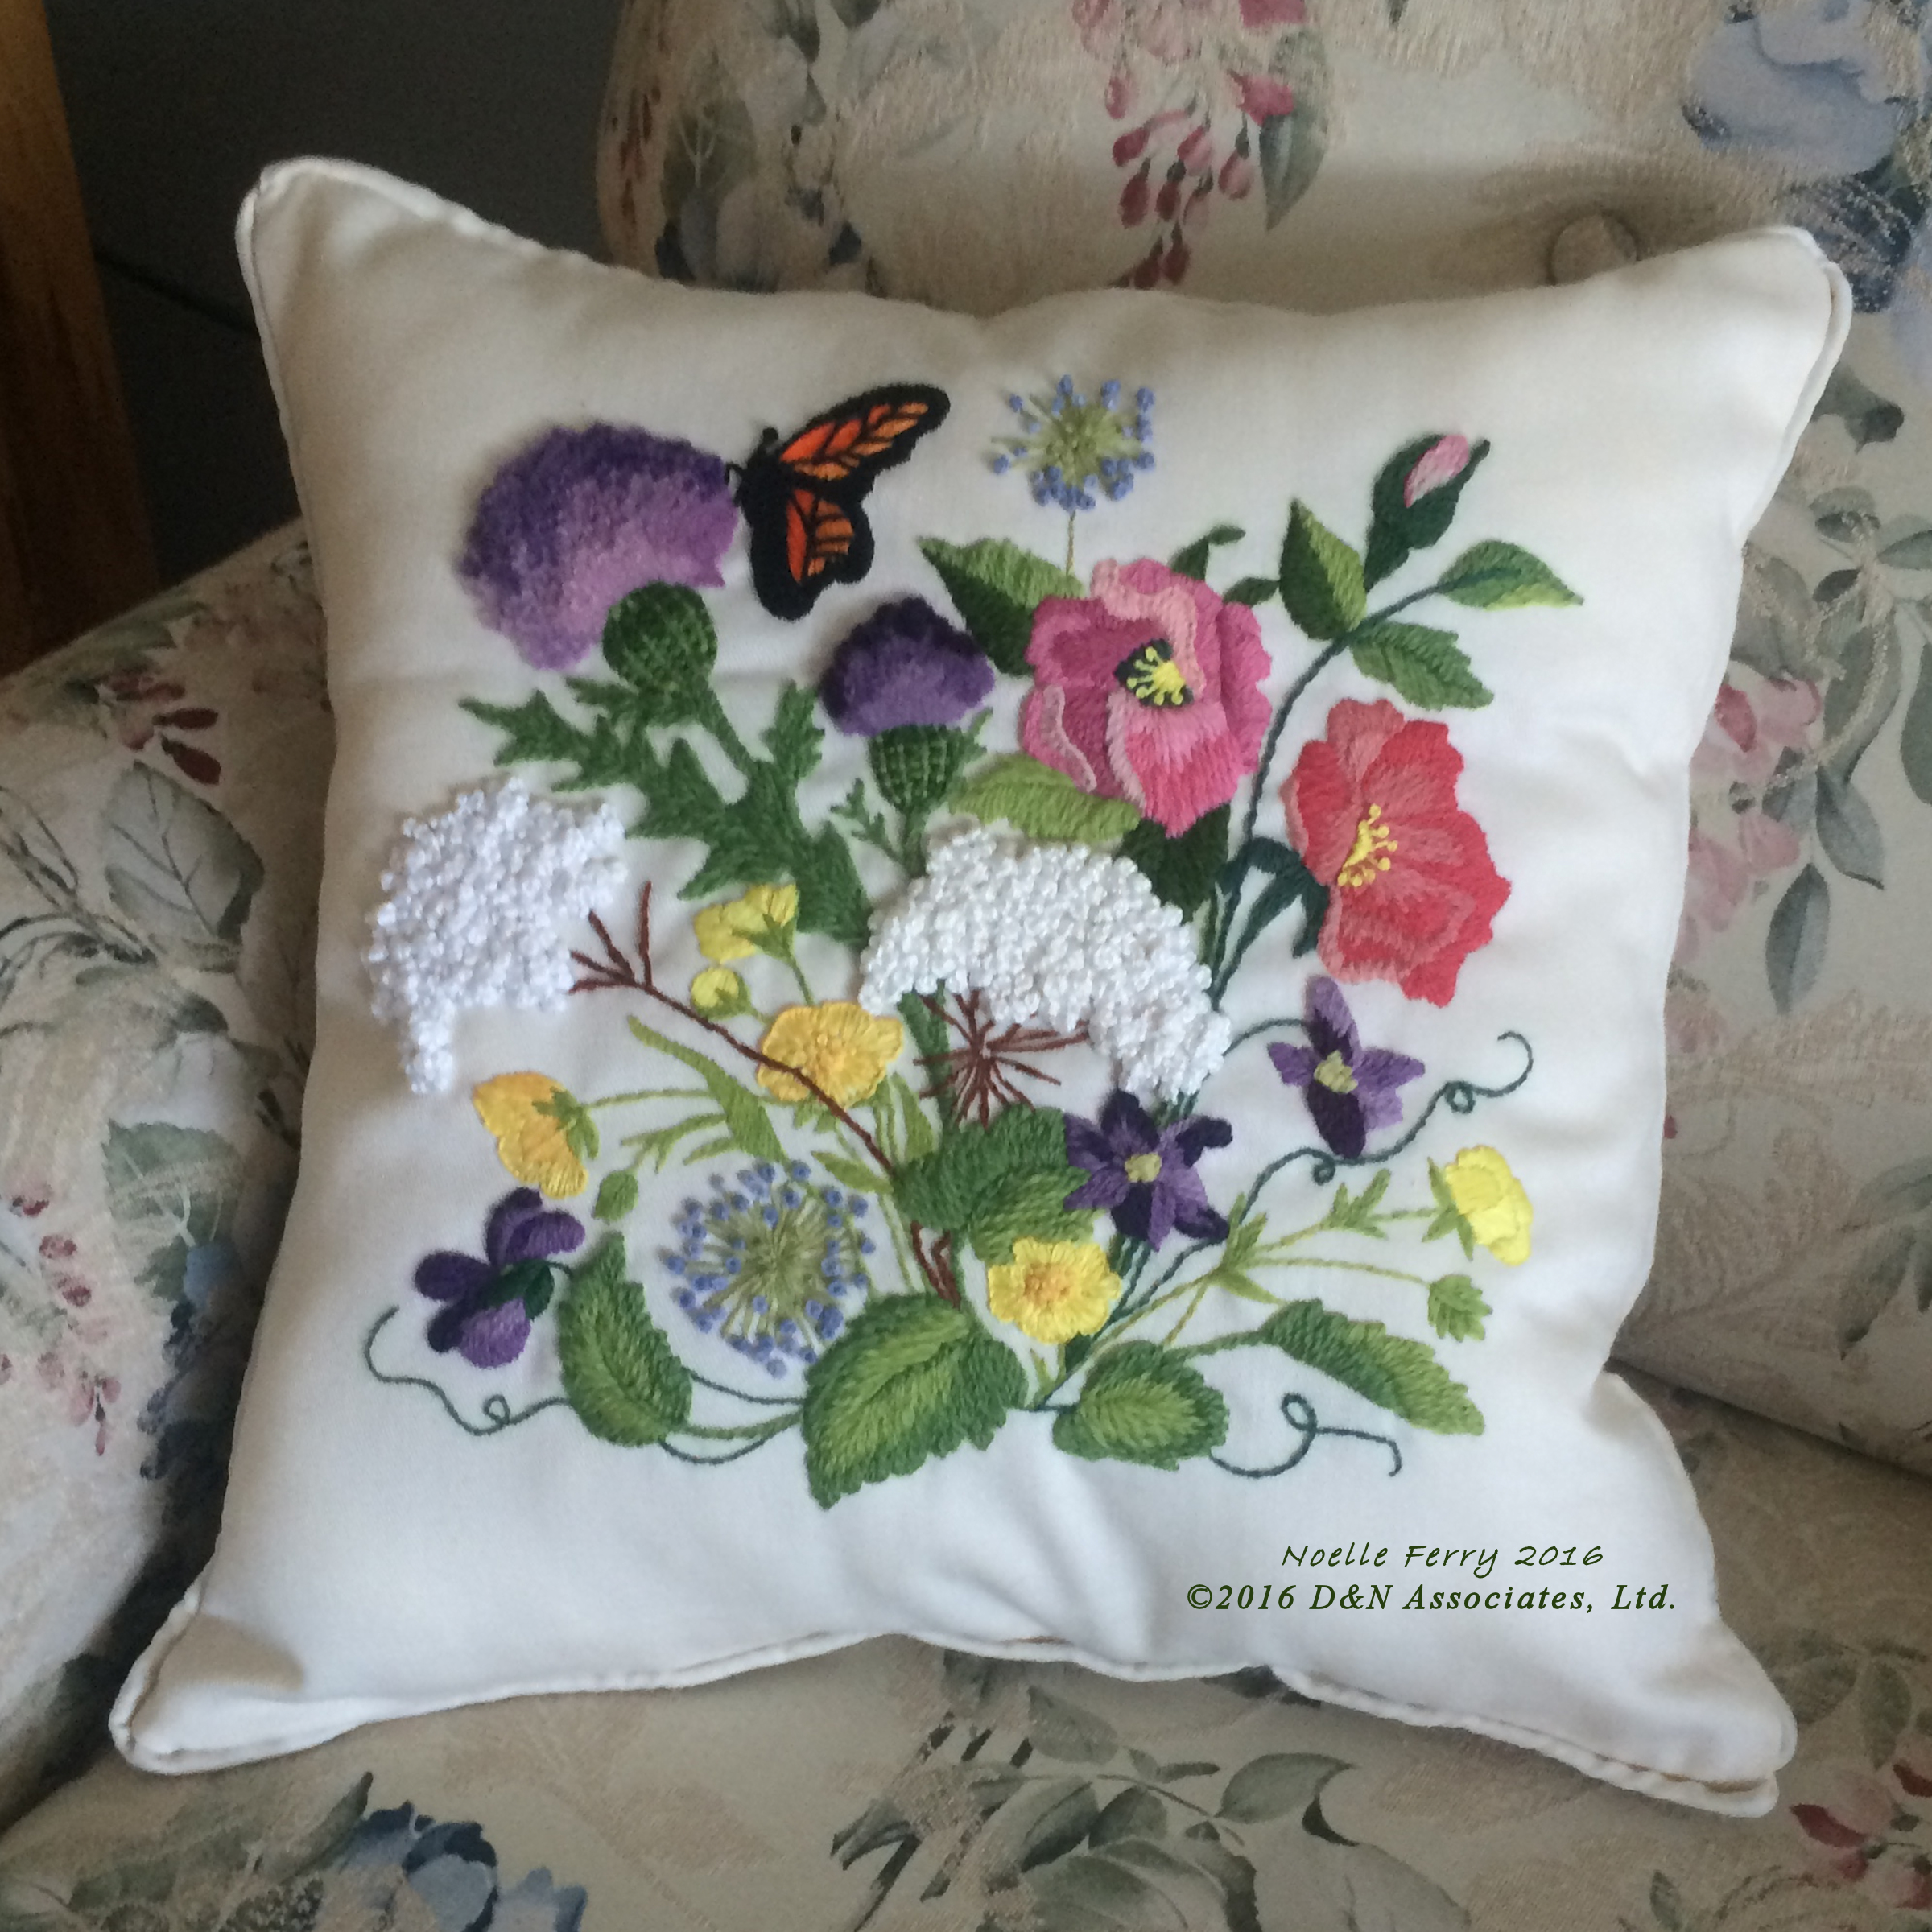
The kit included the printed front and matching (fabric) back along with a 59-inch length of the same fabric that is used to create the piping.
I switched out crewel yarn because I wanted darker purples for the violets and thistles and rosey reds for the rightmost rose.

The design for the thistles is drawn (see next to the butterfly) for using long/short satin stitches for the flower head. I wanted more 3-dimensional for the thistle flowers so I used turkey stitch.
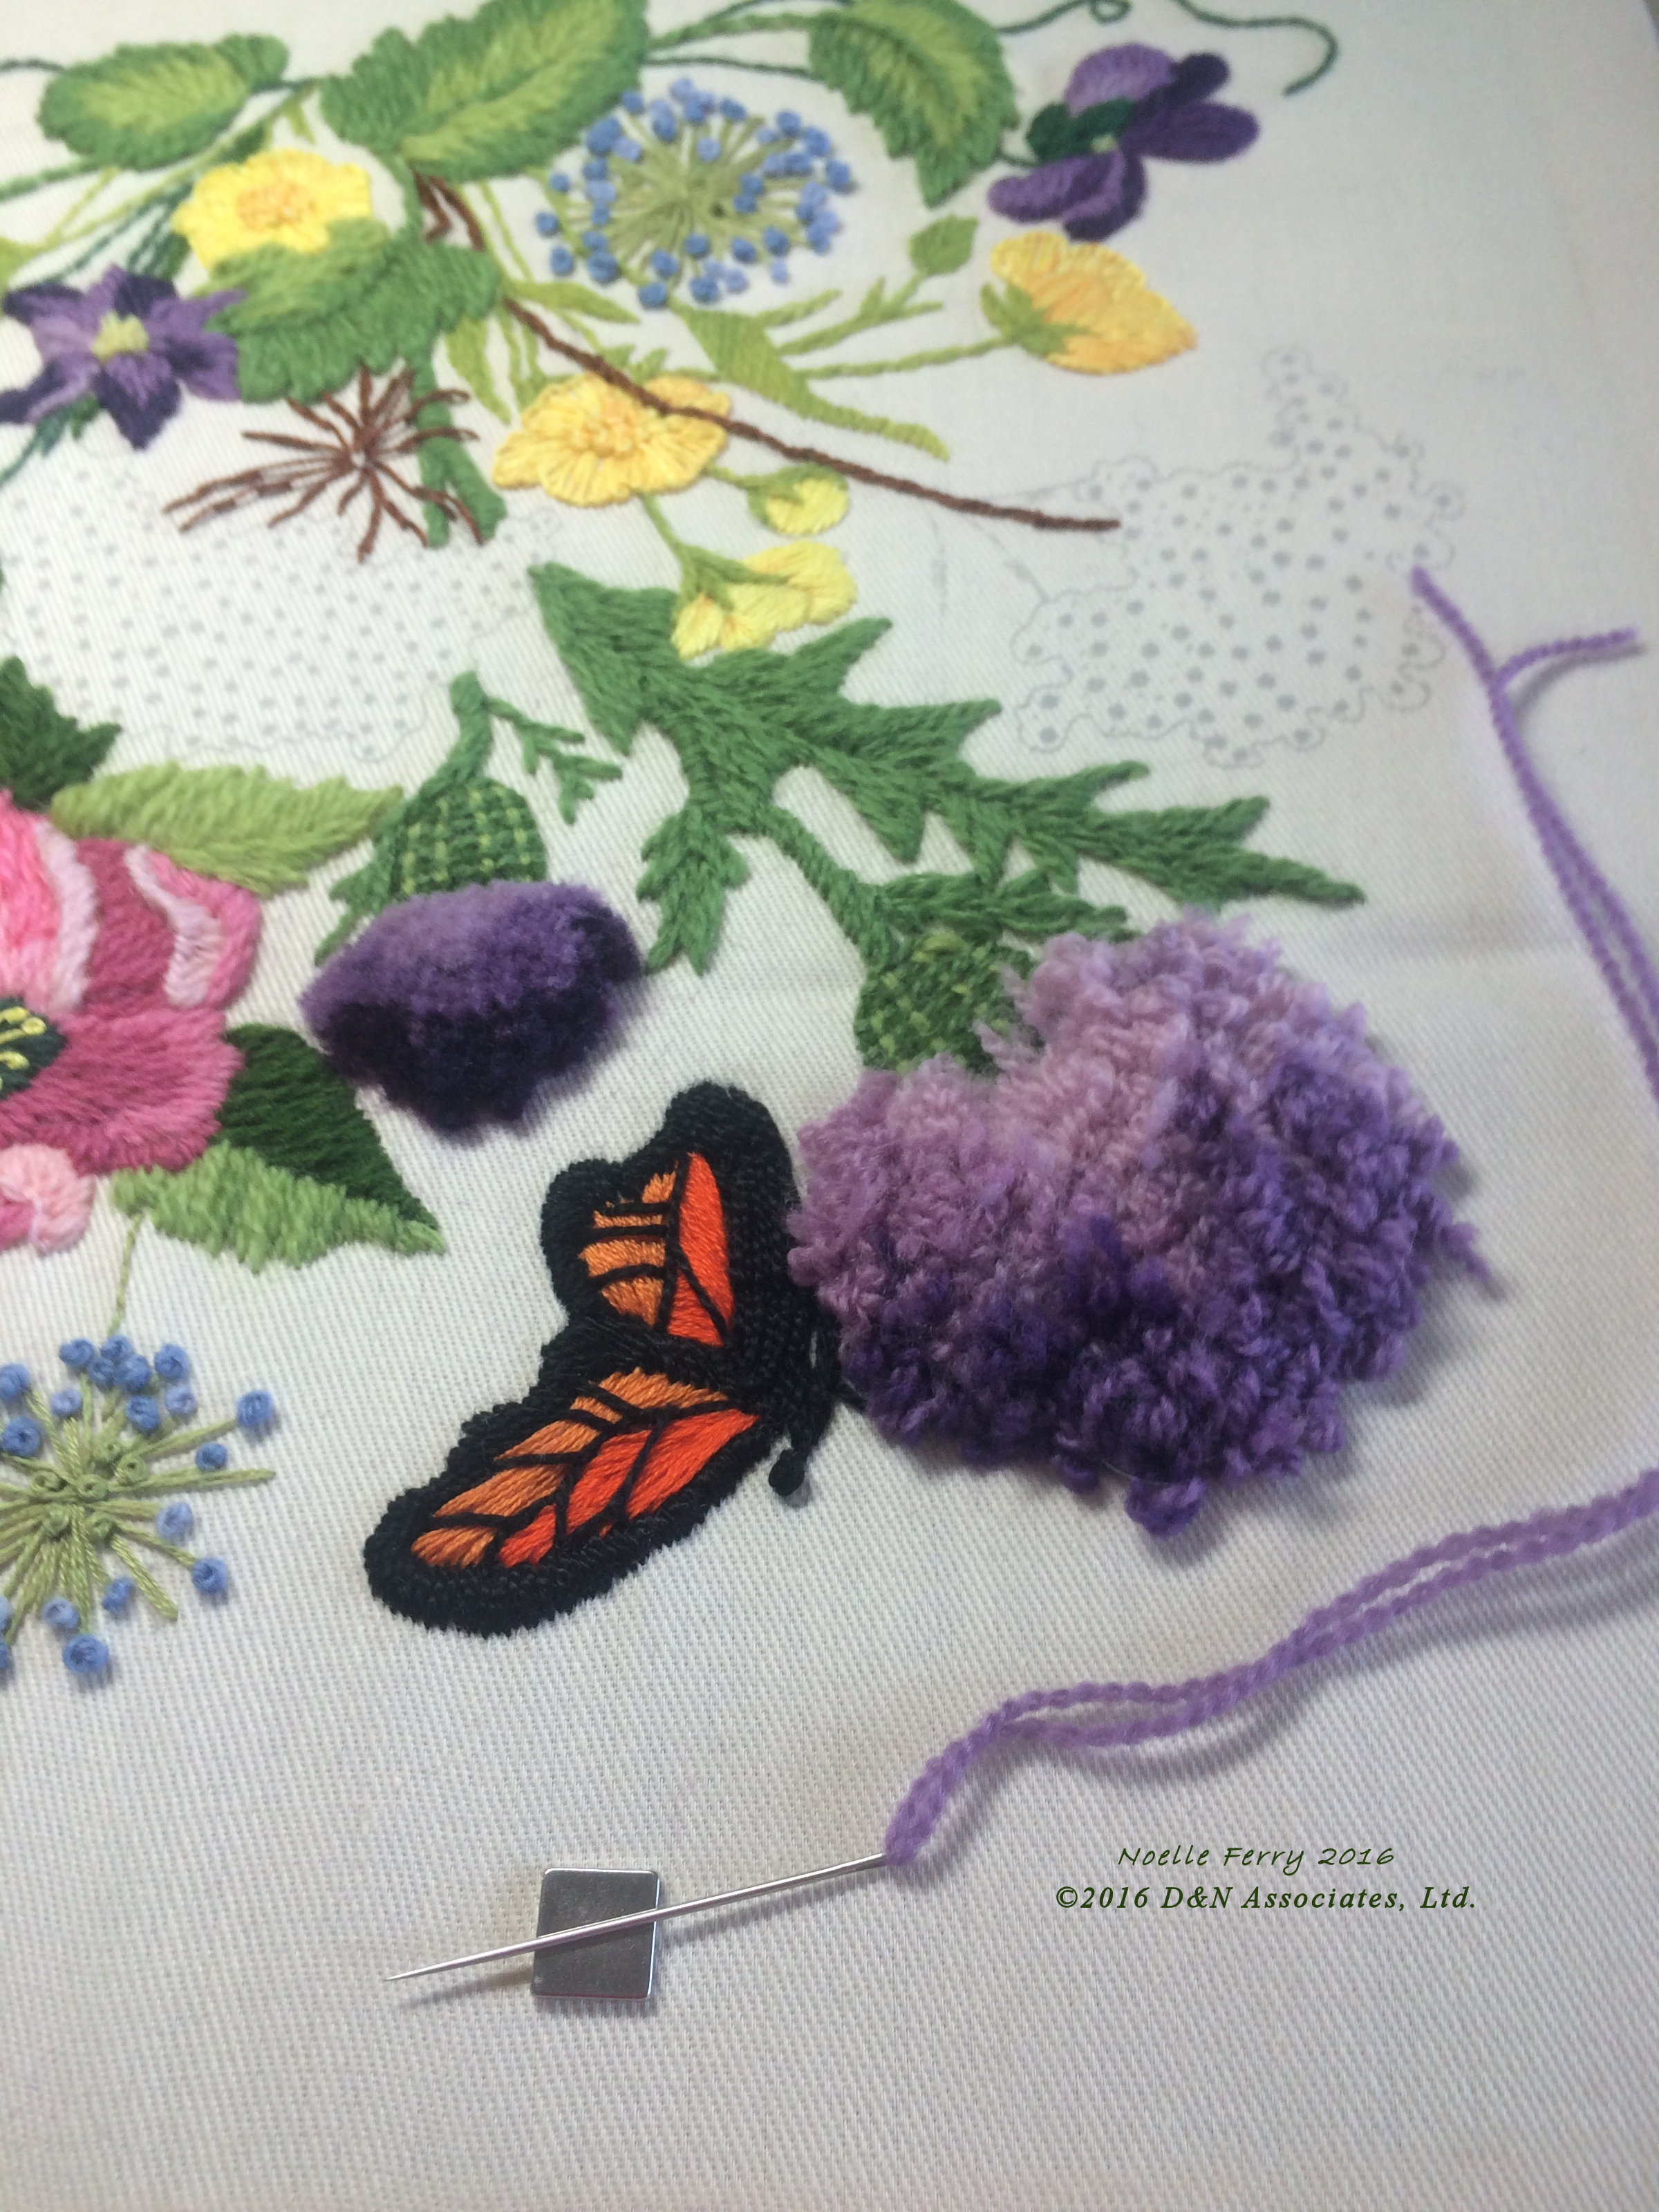
For the flower heads of the thistles I used four different shades of purple yarn. I worked with two lengths of the purple crewel yarn in my needle. The provided fabric was tightly woven and held the thickness of the two lengths of yarn nice and snug as I worked. If you click (to enlarge) the photo you can view that as I did each turkey stitch I did half-inch to an inch loop. If you view Mary Corbet’s discussion of turkey stitch on her website http://www.needlenthread.com/ you will see a good tutorial for working this stitch.

Two tools that I used for snipping each turkey stitch is a sharp scissor and masking tape.
The scissors that I used are not my super sharp precision hardanger scissors but the scissors that I keep readily at hand for day-to-day embroidery work.
First goal is to snip away the actual loop tops of each turkey stitch. When all of the loop tops are snipped I begin to shape the curvature of the top and height of the flower head. Here is where the masking tape comes into play. Each group of snipping creates a lot of yarn fuzz. Strips of the masking tape are used to dab at the worked areas and fabric to capture and remove these clumps of fuzz.
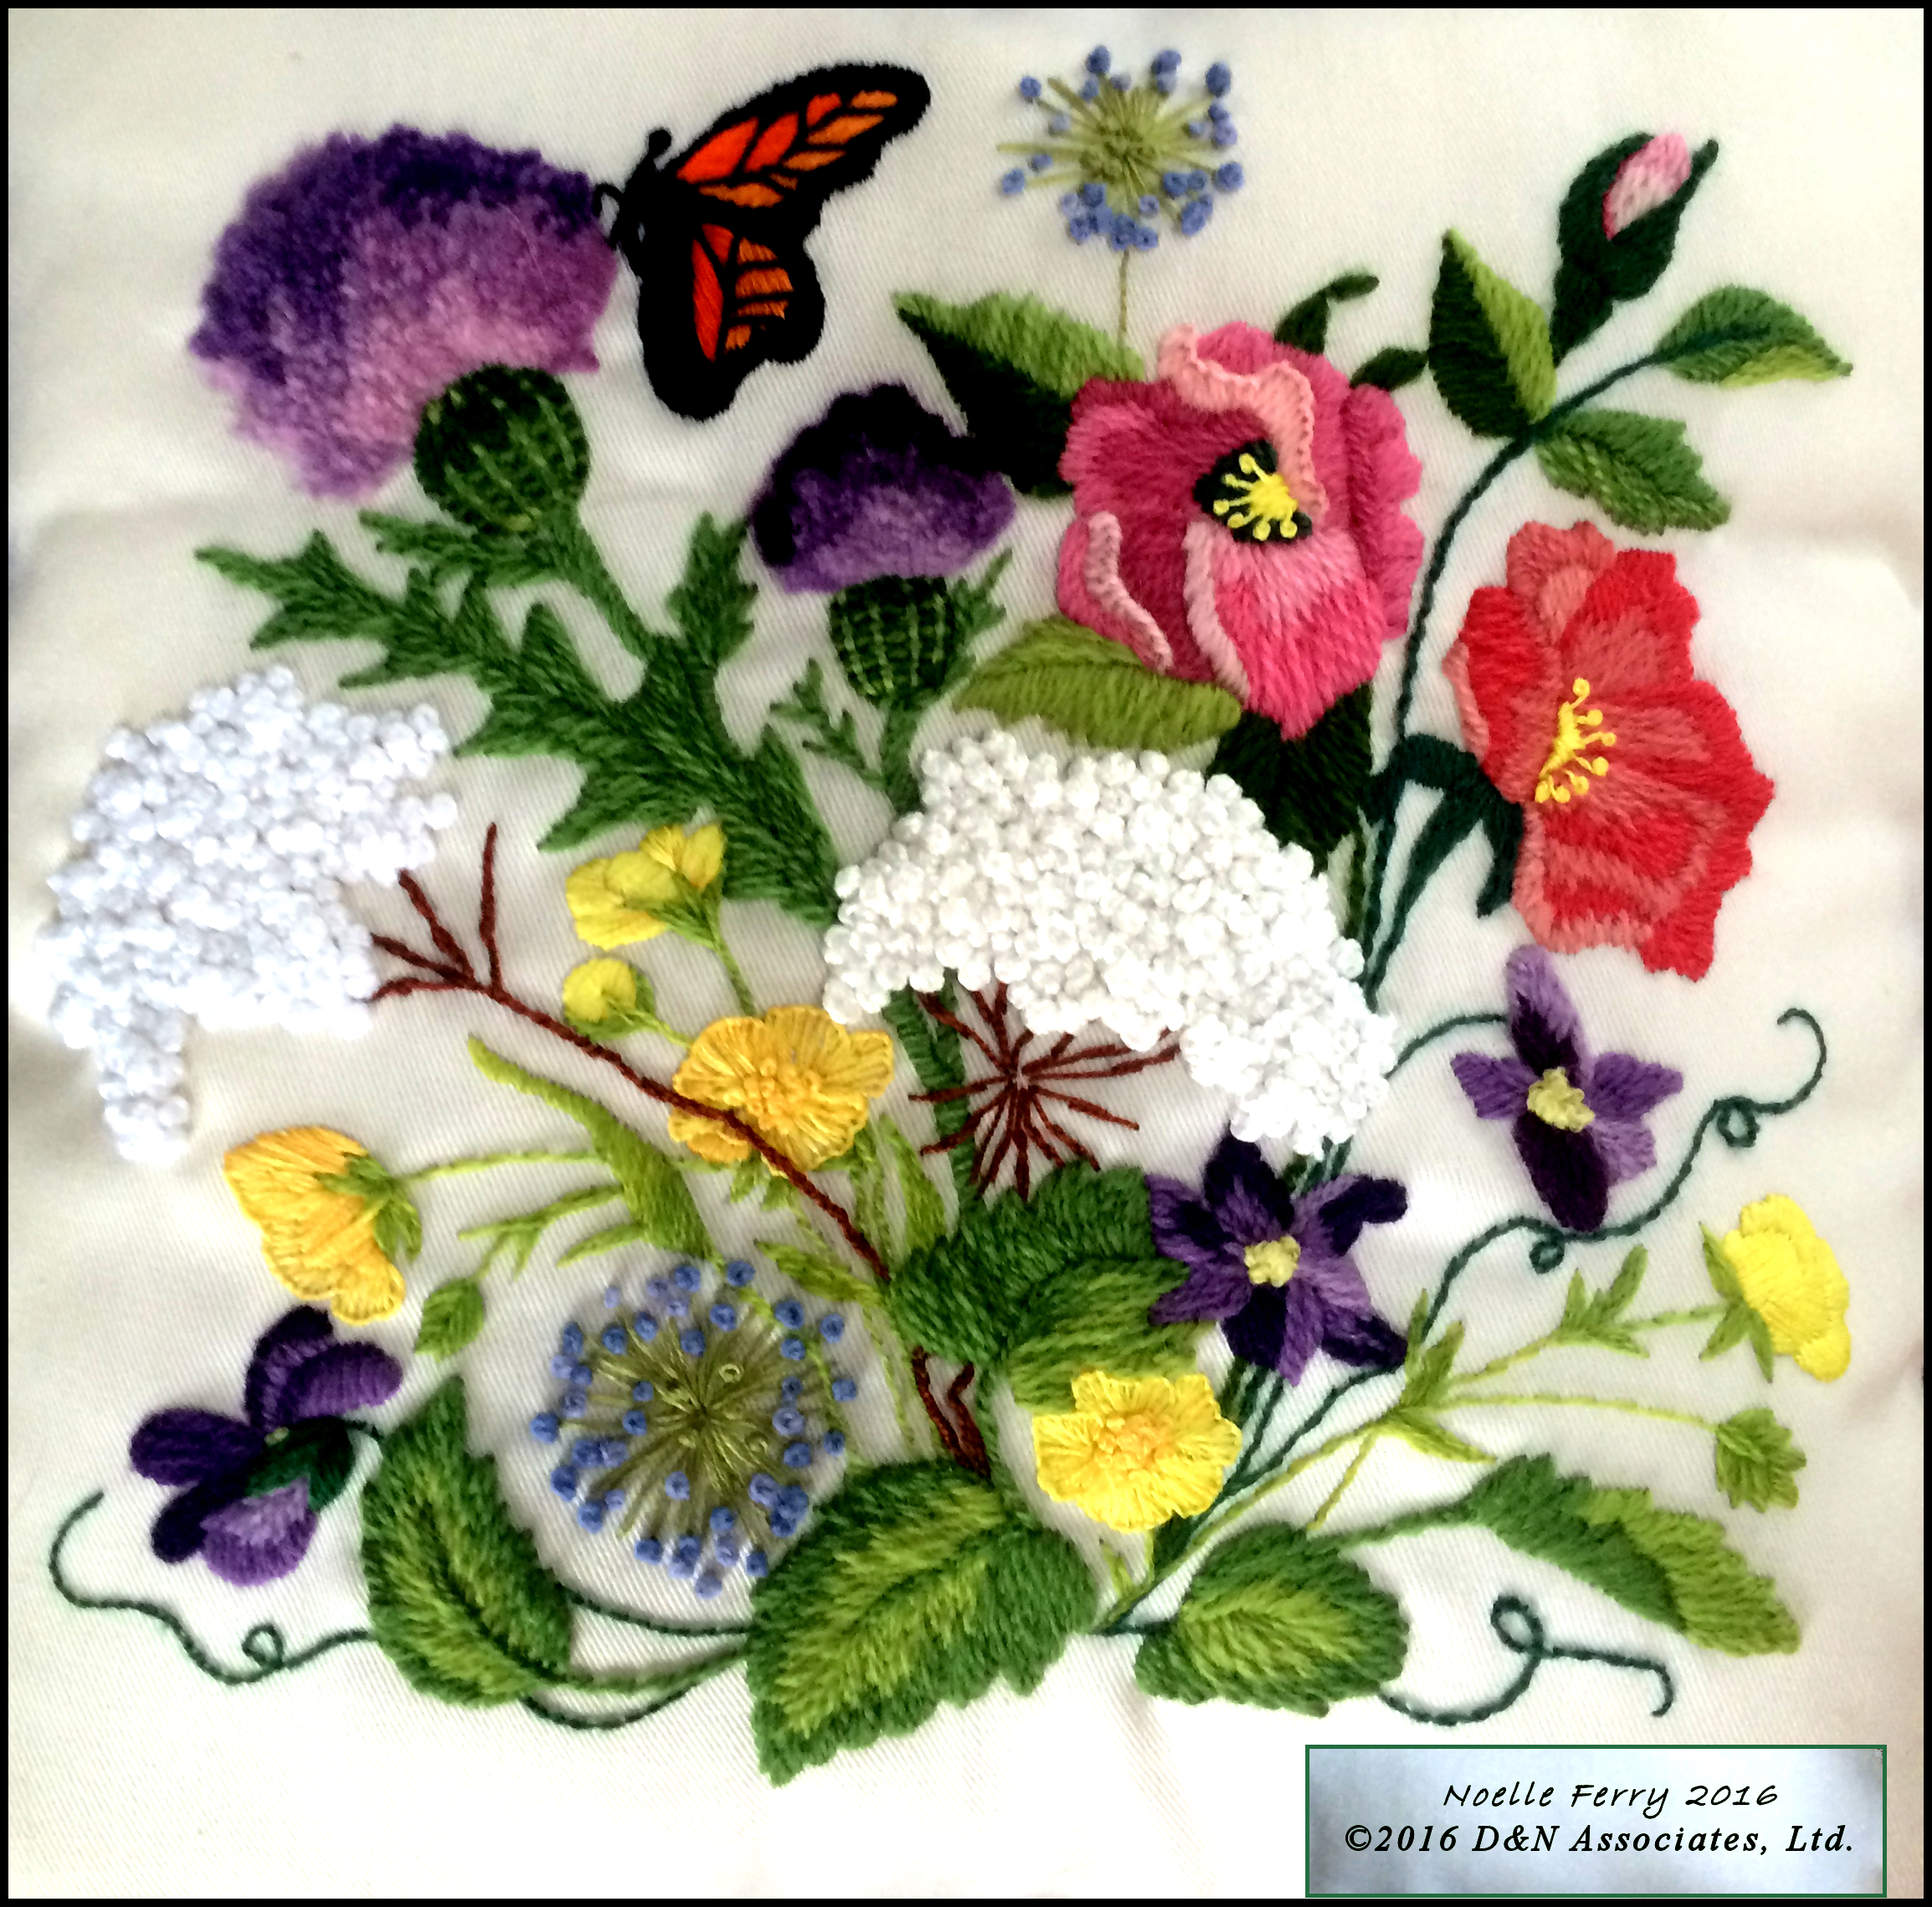
In the below photo you can view that I snipped the larger (of the two) thistle flower heads to be higher off the fabric than the small thistle flower head.
The actual overall worked design (on the photo cover of the kit) shows the traditionally worked flowers with a flatter two-dimensional stitching but I wanted a few of my worked flowers to be more dimensional so I worked the thistle flower heads and the (to be worked) Queen Anne lace flower heads to be up, higher off the fabric.
Creating the pillow:
|
|
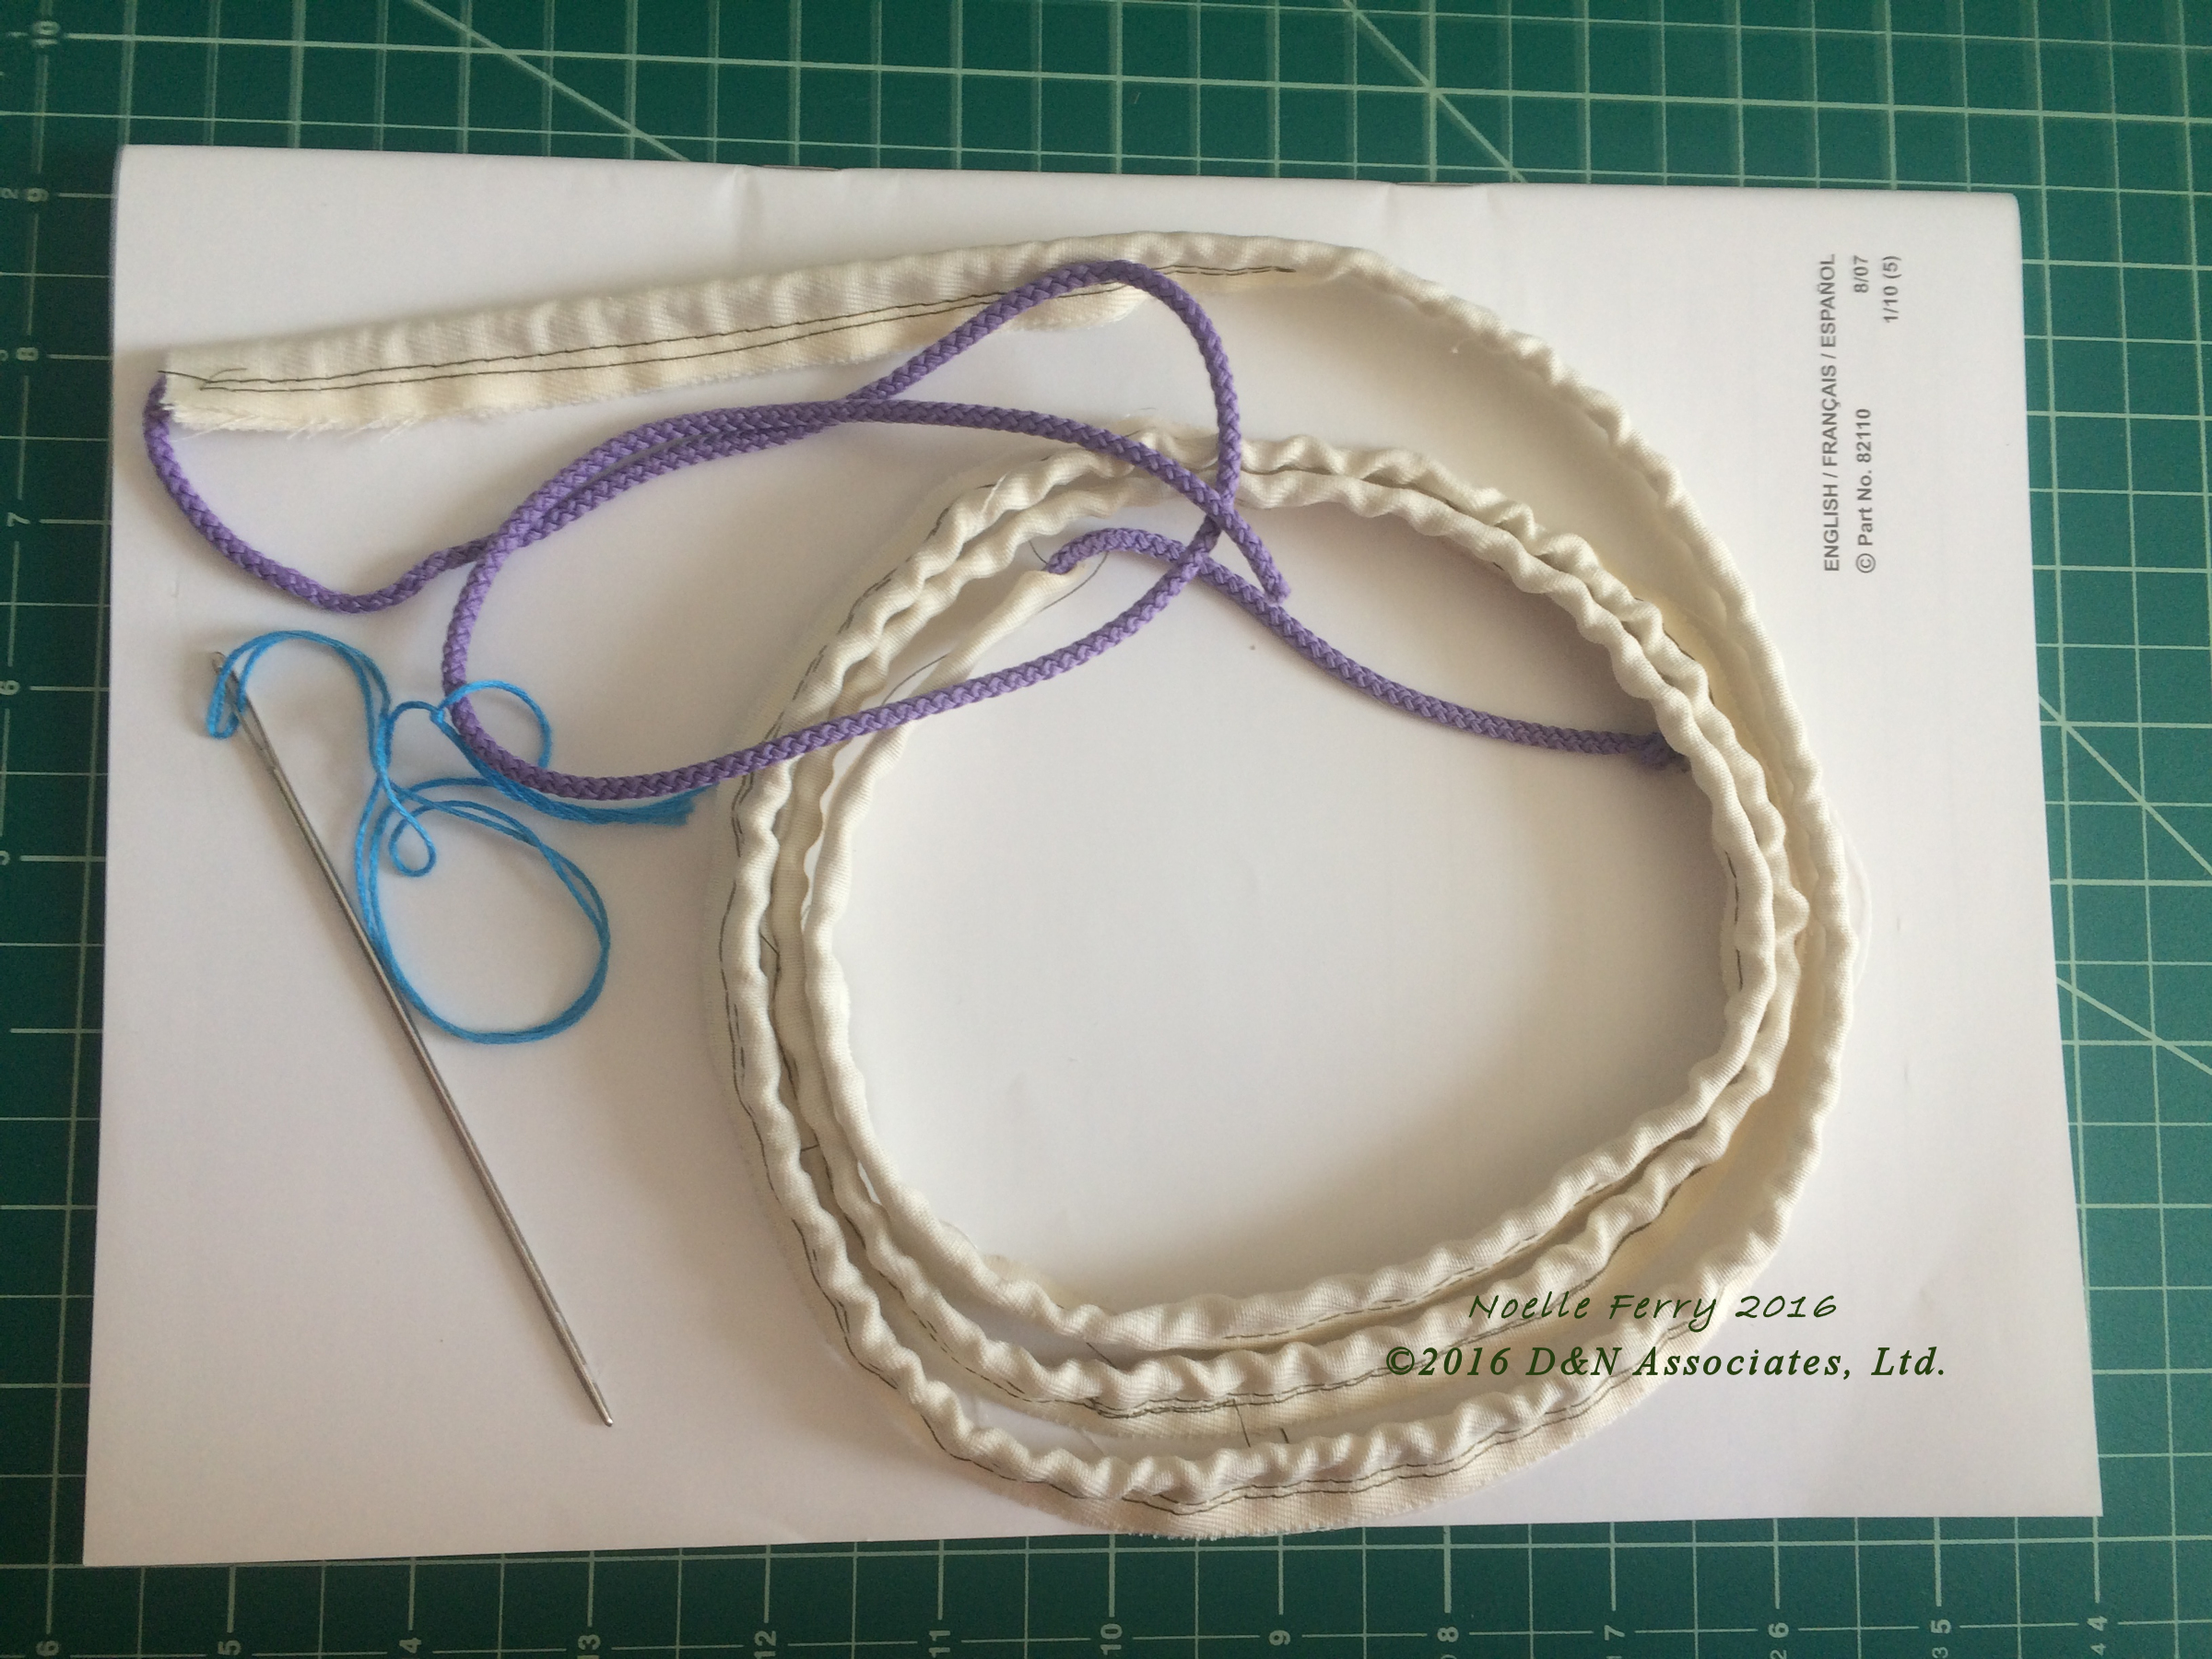 As I mentioned this kit came with the printed front fabric, the backing fabric and a long narrow strip of fabric to be make into the piping. As I mentioned this kit came with the printed front fabric, the backing fabric and a long narrow strip of fabric to be make into the piping. |
After ironing creases out of the provided piping fabric strip, I folded it in half lengthwise. I used the dark green sewing machine thread knowing I would be removing this basing thread. Piping fabric folded, sewing machine ready, I placed long stitches far enough away, along the fold, to give me plenty of room to pull the purple cording through.
Normally I would had purchased a white or beige color cording to use within the piping but I had the purple cord in my stash.
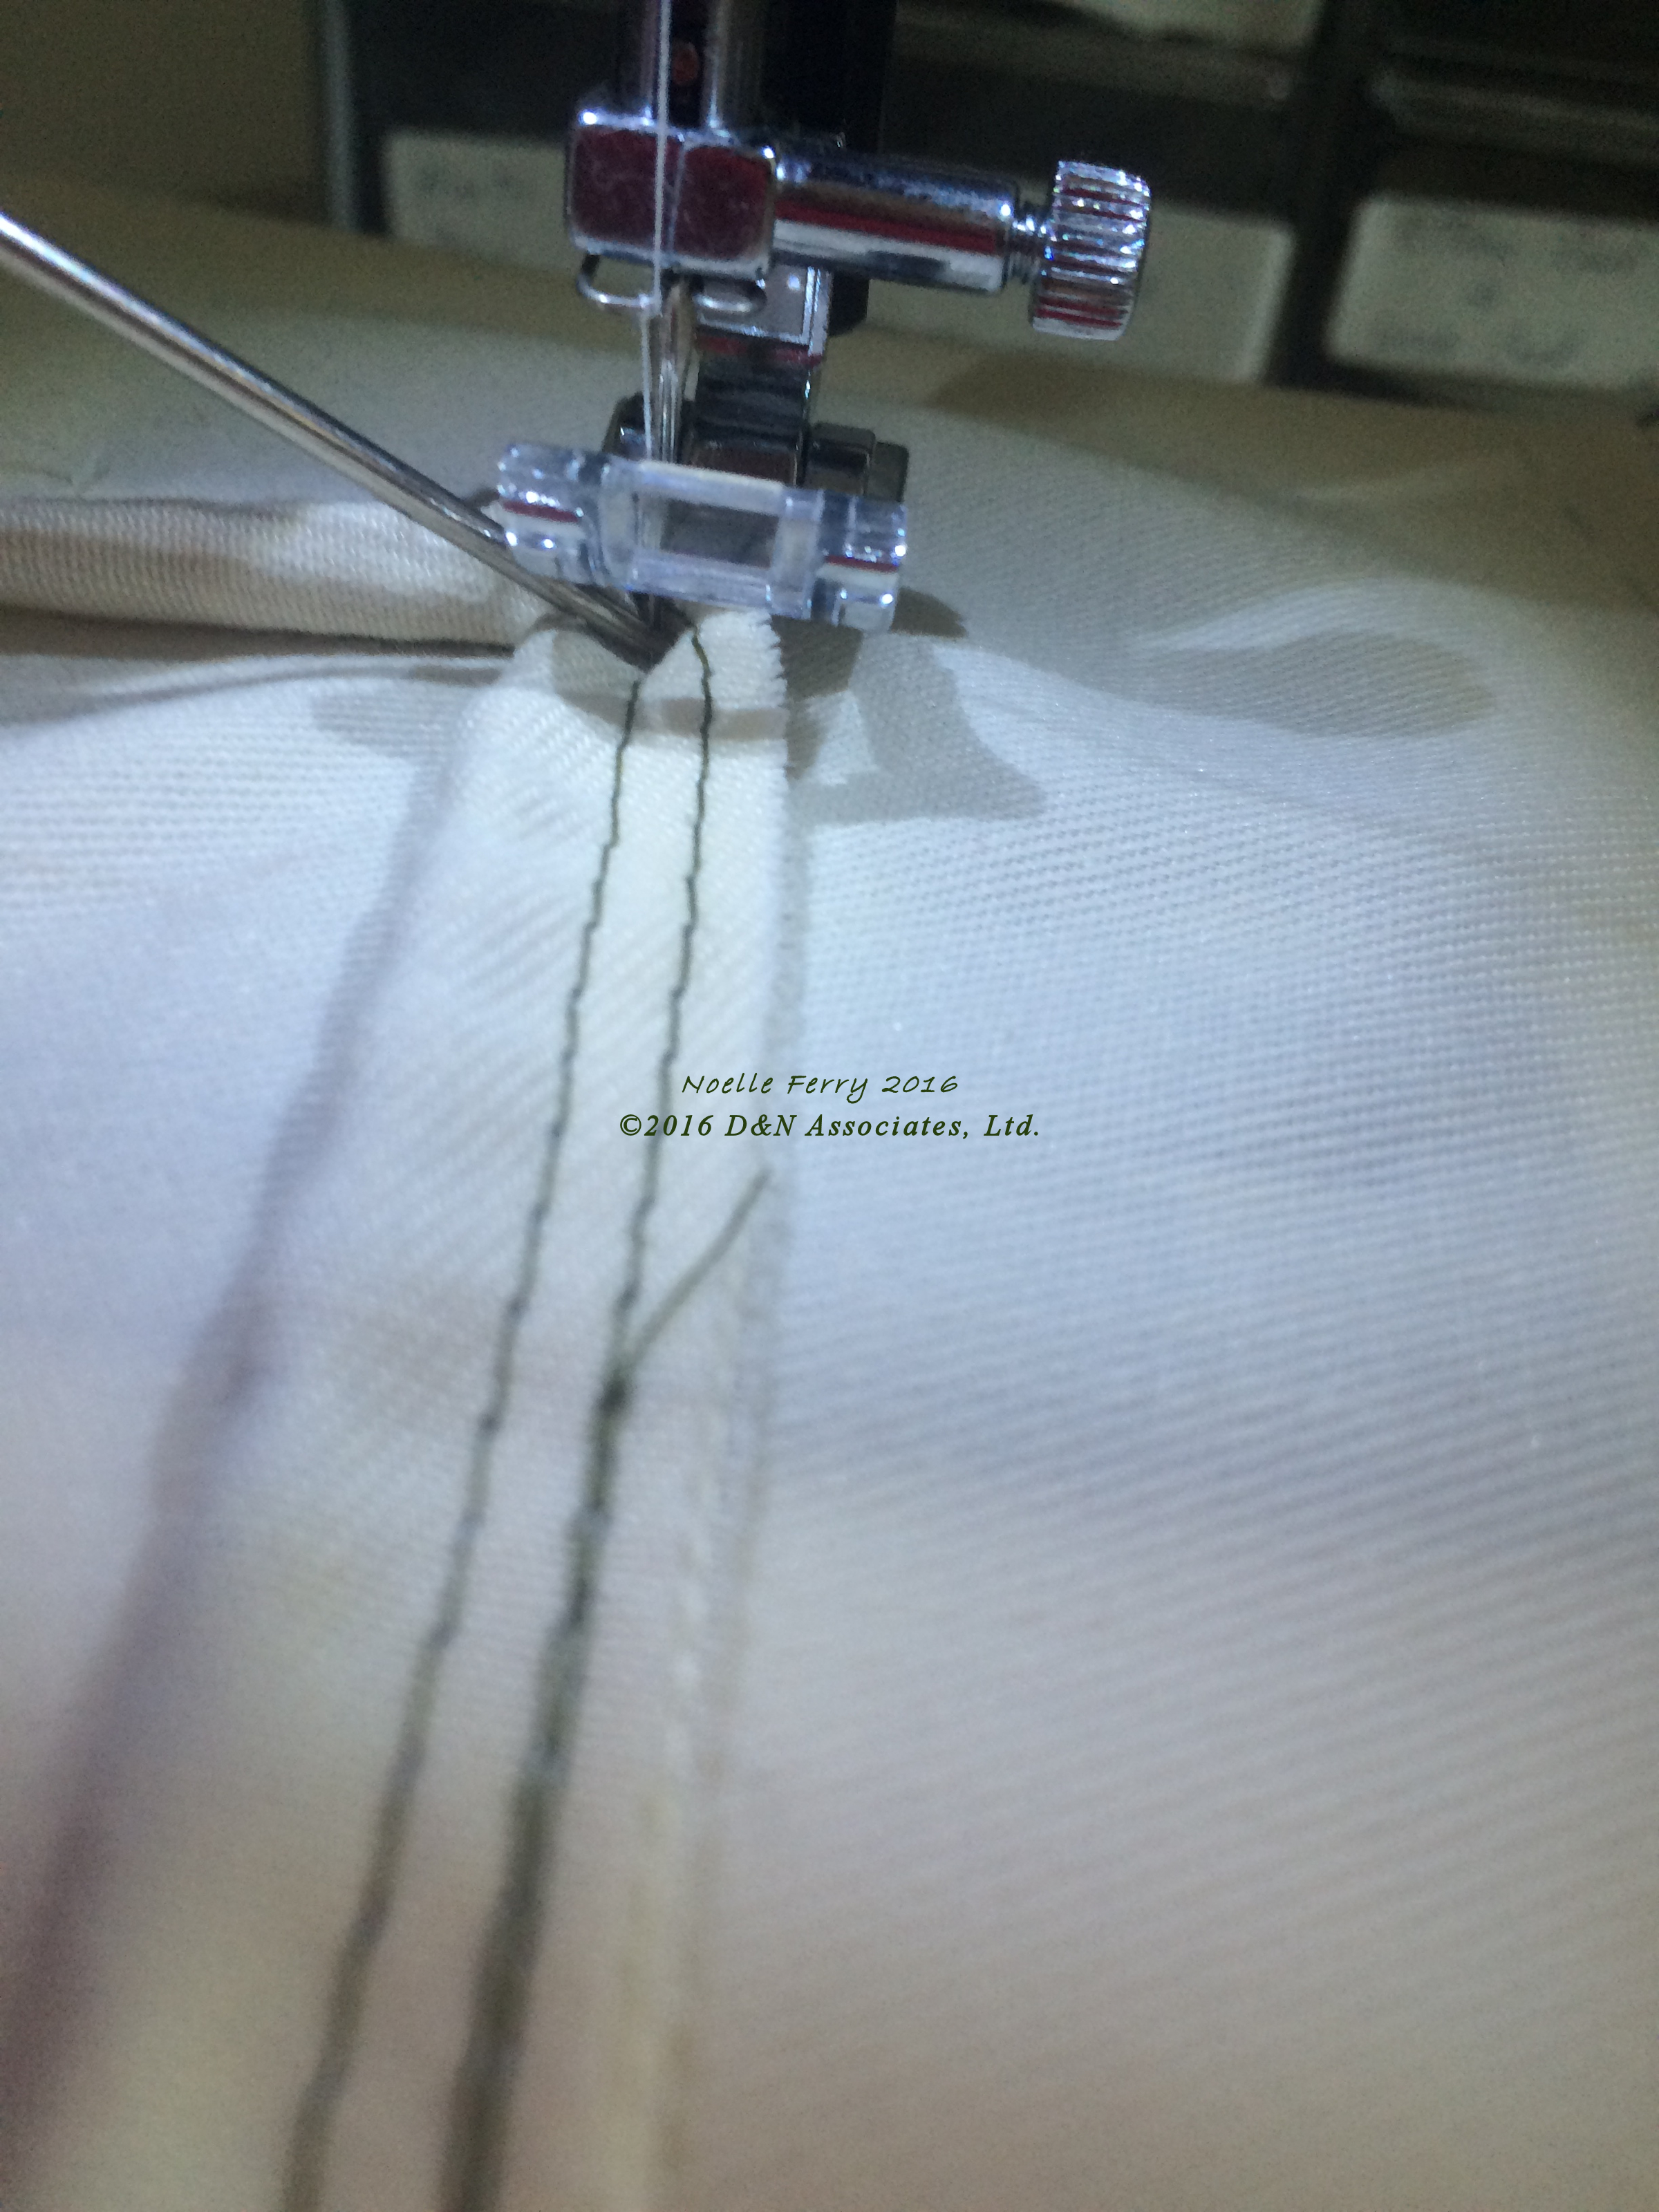
If you have read my other blog posts you will have seen that I often used long, blunt ended darning needles. For this piping, I used a length of blue 6-stranded (non-separated) embroidery thread through the darning needle’s eye. I looped the purple cording through the blue embroidery thread and then preceded to work darning needle and cording through the folded and sewn fabric.
When I finished pulling the purple cording through I decided to do another line of machine sewn basing just to move the purple cord up closer to the fold line of the fabric. This is all shown in the above photo.
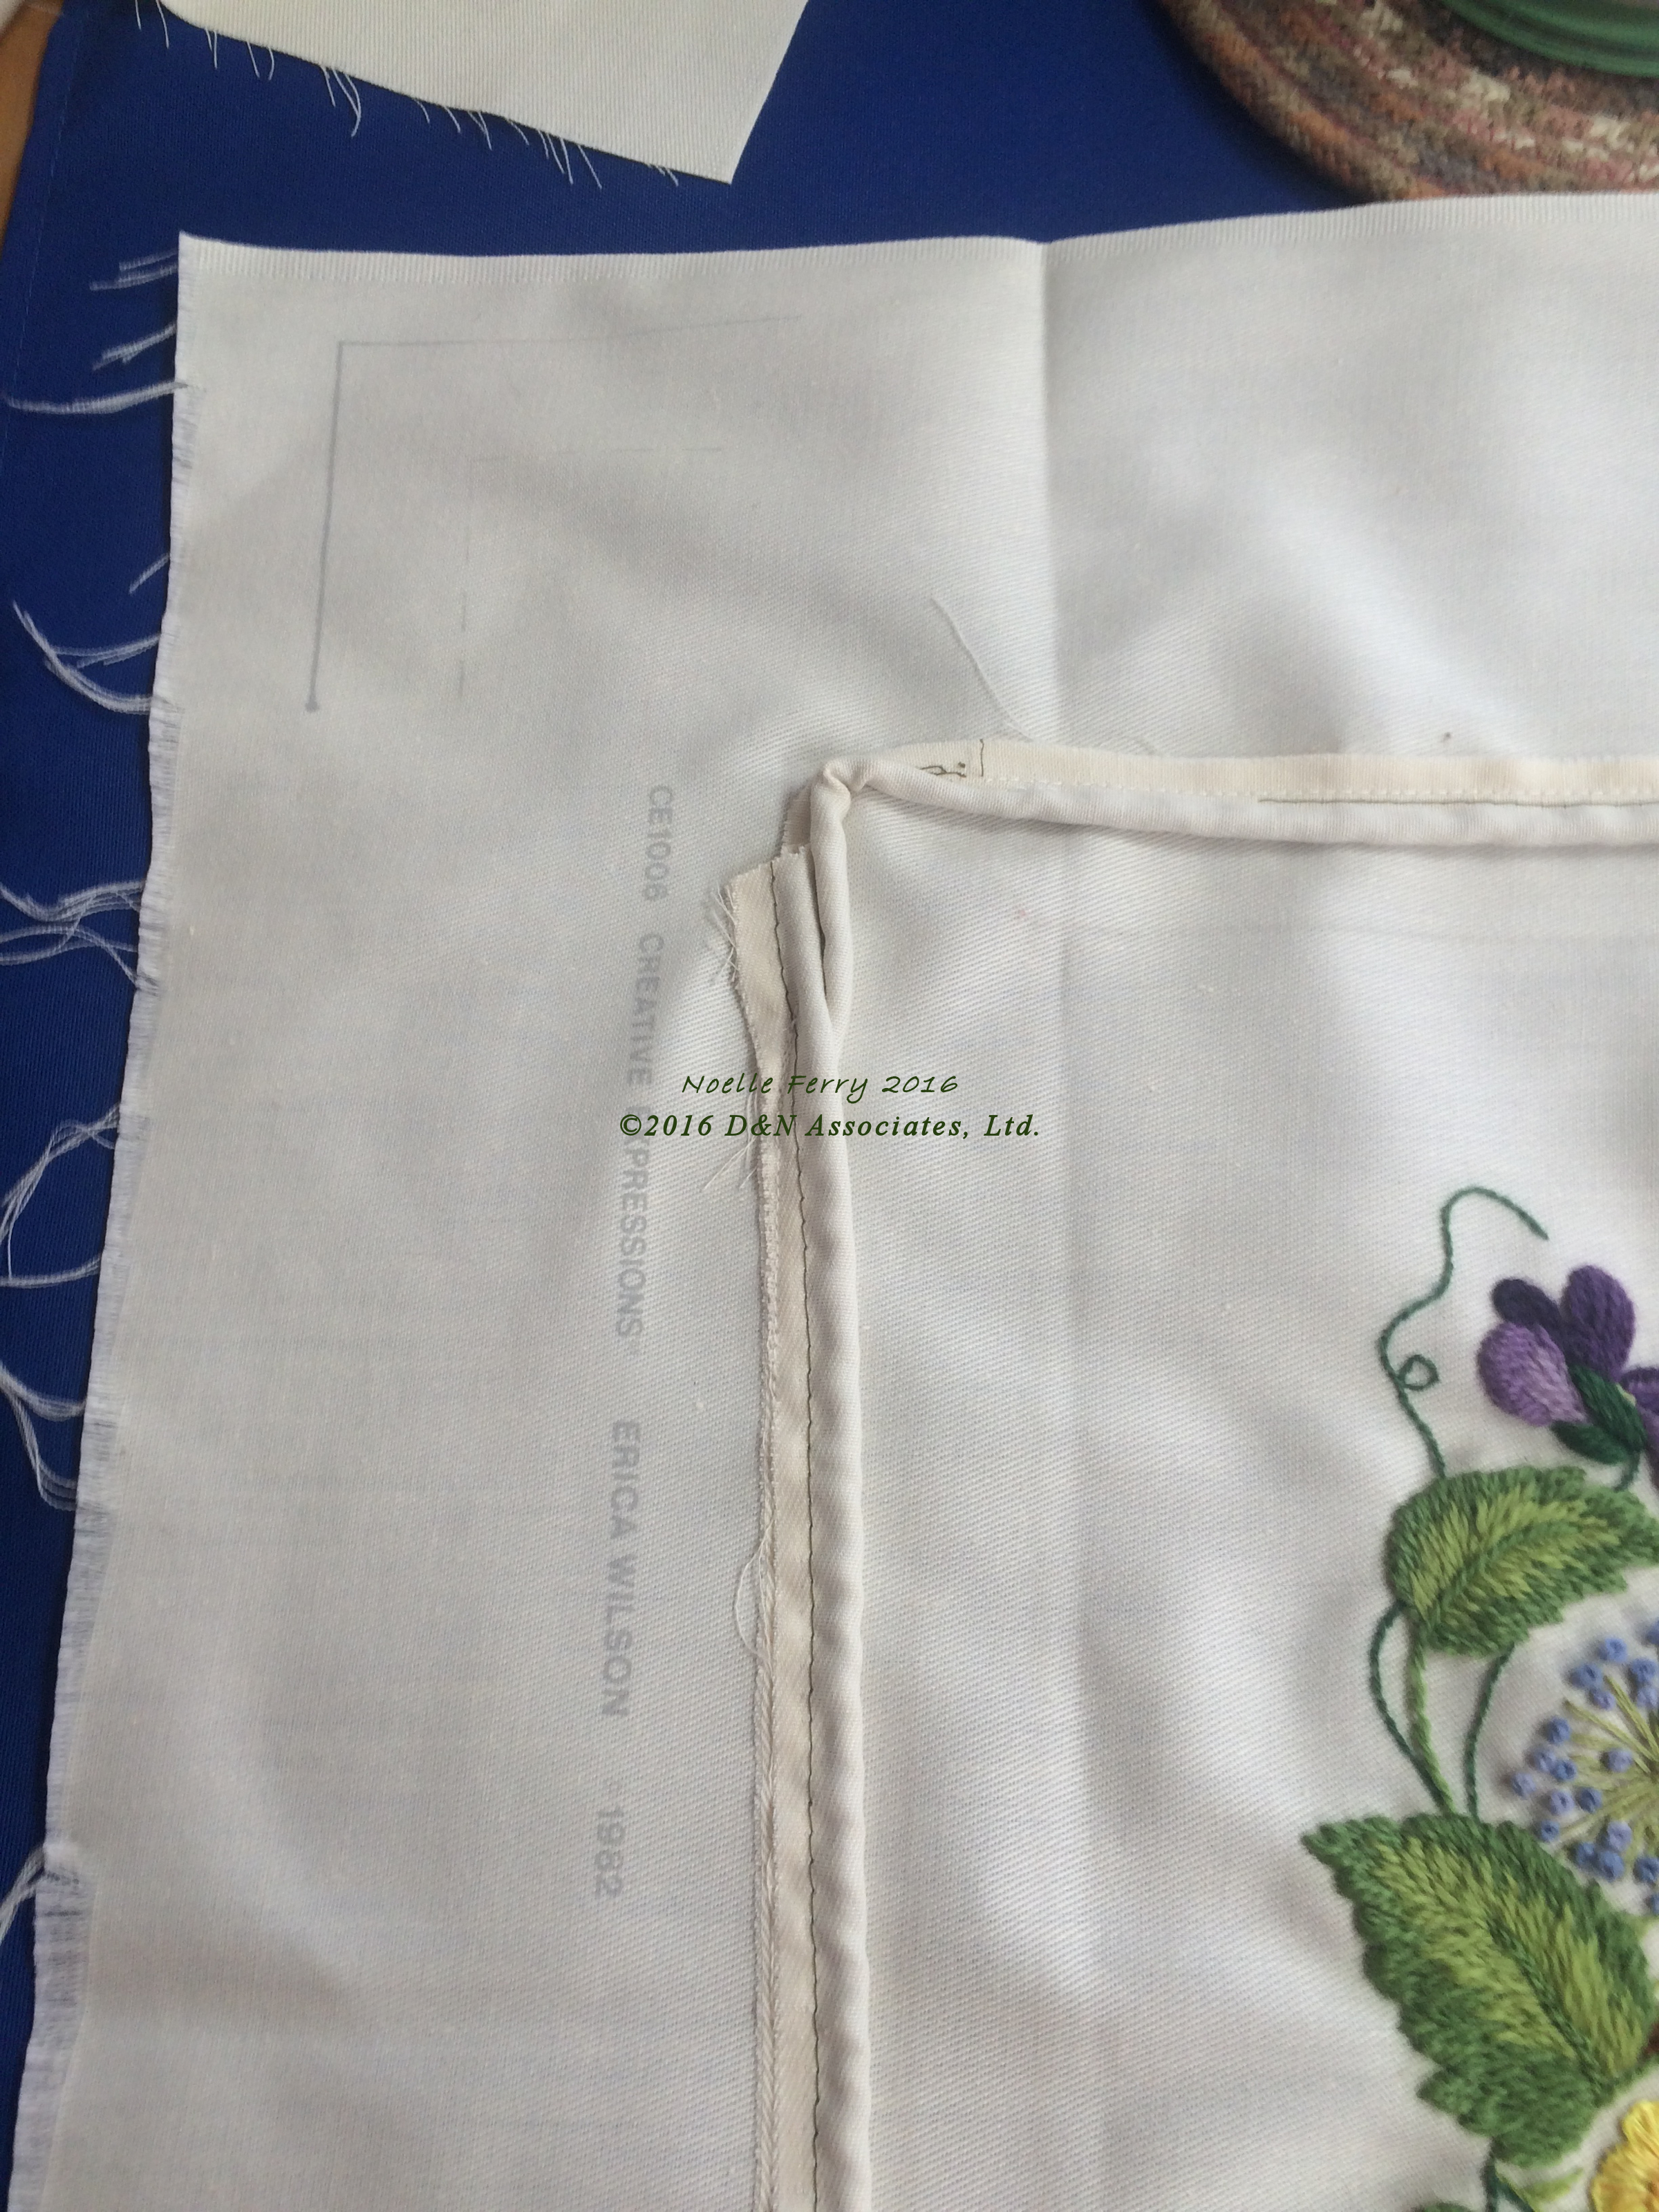
 In this photo I am ready to stitch the piping onto the worked fabric and have several things going on.
- I have switch threads on my sewing machine to be a beige color.
- I placed my worked (front piece) of fabric face up with the long length of piping placed such that the raw edges of both the front piece and piping face outwards. This, of course, means that the piping hides the dash guidelines printed on the front fabric. But while sewing I lift the piping up now and then so that I can see the printed guidelines and check that I am sewing the piping along the guidelines.
- For my securing of the stitched piping onto the worked front fabric I used the general purpose foot on my sewing machine and sew using long stitches. I am using the general purpose foot because I want to do this machine stitching a little bit away from the bulge (where the cording goes through) of the piping.
- I have set my machine’s needle to be in the down position whenever I stop. This way, with the machine’s needle down, I can lift the pressure foot up and pivot my fabric and piping around as I do each corner.
- In the corners I use my long darning needle to help and push the piping into position so that it is not bunched.
 When finish sewing the piping to the fabric I take time to check to ensure I have not bunched any of the fabric. Once I feel Ok with my machine sewing I remove the two lines of dark green stitching from the piping.
1) My next step is placing the pillow’s backing fabric on top (of the sewn together front fabric and piping). Make sure the backing fabric is square with the front fabric. This fabric is not slippery at all so it stayed put as I stitched. I did not need to pin or hand base the three layers (front, piping, back) into position.
2) I shorten my machine’s stitch length to the (slightly under) middle length of my machine. Also I again set the sewing machine’s needle to be in the down position whenever I stopped.
3) I switched to my zipper pressure foot and set the machine’s needle sewing position to be as far out as possible. Using the zipper pressure foot allows me to get quite close to the bulge of the piping and the bulge of the piping works to keep the pressure foot slight away thus keeping me from going up onto the piping as I stitch (by machine).
Stitching the back fabric on is worked rather blindly. With the three layers (front, piping, back fabric) in place, I use my finger tips to feel the sew line of the piping (remember I did this sew line slightly away from the bulge of the piping).
I worked (the machine sewing) slowly. Keeping a watch that the back fabric was not skewing and making sure that I was stitching close to but not into the bulge of the piping. Be sure along one side to leave several inches un-sewn in order to pull the pillow outside out and for stuffing the pillow.
Once I finished this final step of machine sewing and then checked my work. I next folded the back fabric at the unsewn side and ironed a sharp crease along this unstitched part of the back fabric. This (the sharp crease) will help me when I do the hand stitching after stuffing the pillow.
When finished machine sewing the pillow is inside out. This is my last chance to easily correct any problem so I once again did a careful check of the machine sewing to make sure that the stitched three layers lay nice and flat (in that nothing skewed or bunched as I did the machine stitching). Once Ok with my efforts I cut (the raw edges) away (about an inch) from this final stitch line and then using the unstitched length in the one side of the pillow to put my hand in and turn the pillow out.
With the piping now out along the pillow’s edge and the worked design facing me I again did a check to make sure I was happy with the machine sewing. After that I used loose filling to stuff the pillow followed by hand stitching to close the open length on the one side.