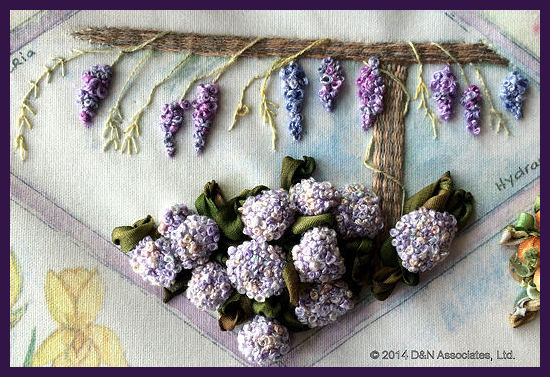
Hydrangeas and WisteriaThough I have Ms. Niekerk’s detail instruction book for this design panel I went to her website and viewed her tutorial on stumpwork Hydrangeas. Her instructions suggested using 2-3 different color stranded threads. I choose to use a Chameleon stranded cotton that I purchased from her (No 48 Magnolia). This Magnolia thread has a muted green-blue-lavender-pink-orange range to it, which is the colors I see in our Hydrangeas as they bloom. The wisteria arbor has been great fun to stitch. Instructions suggested to do French knots on top of French knots for three-D effort and I think it worked great. |
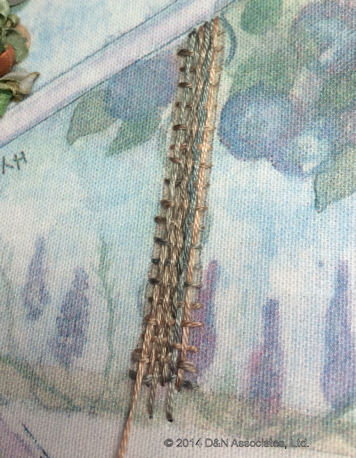
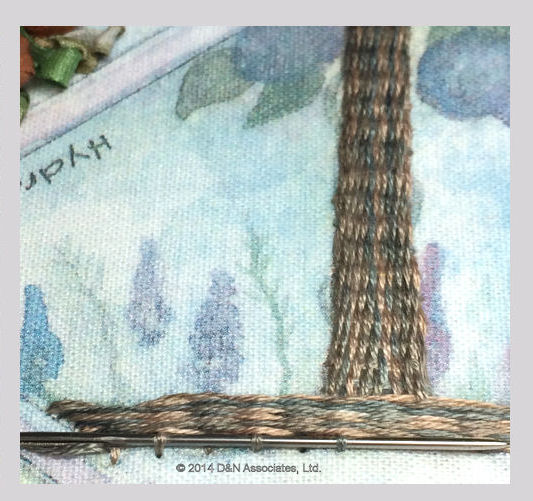
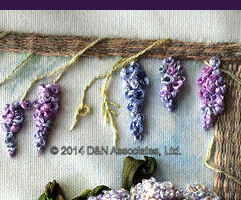
WisteriaPlease note I’m working this tree arbor with the panel turned upside down so the stitching is near me as I work. The tree arbor is comprised of straight stitches filled in with weaved thread (using a blunt needle). Instructions suggested to use Chameleon stranded cotton Rustic Brick, number 66. I had it on hand and used it. In these two photos you can see how pretty the thread colors are for a tree trunk. The photo below shows how the trunk looks after I have weaved two long strands of the Rustic Brick thread through the straight stitches. The next photo shows the tree trunk finished. At bottom of the photo (which is actually the top of the arbor since I’m working this area of the panel with the design turned upside down) is closeup of my weaving the blunt needle through the straight stitches (to show how easy it is to do the weaving). For the weave you go up and over every other straight stitch then switch which straight stitch you do up and over as you work the next length through. The wisteria blooms are worked in two strands of Chameleon stranded cotton number 5 (Arctic Blue) and Threadwork number 1080 (Morning Glories). The vine is worked in 2 strands of Chameleon stranded cotton color 36 (Golden Green). |
|
Hydrangeas Lots and lots of 2 and 3 wrapped French knots. I worked these circles in a 6 inch square frame, used blue wash-out-able marking pen to draw the circles. Photos are notes to myself to show that the blue ink did wash out after a brief dunking soak in color water. Normally I could had been concern for rust marks from the tacks, needle or magnetic but these are all well out of the stitched area. I let this dry overnight (in the frame) and looks like my balls-to-be Hydrangeas are Ok. The tail ends of each stitched circle around the French knots is behind the fabric. I shall bring them to the front before I cut out and draw into ball forms. Instructions called for 12 and I did 14 in case I needed extras. The detached lazy daisy stitched leaves around the hydrangeas are stitched in Ms. Neikerk’s 7mm (about 1.5 meters in length) of the silk ribbon color 26, Ivy. |


